


DIY Wood Riser


Editor’s Note: Amy Mings was one of the finalists for our 2023 Brand Ambassador contest! See the entries of our other finalists (here, here and here). Today, Amy is sharing with us her DIY wood riser.
I love adding wood tones to my décor and elevating pieces I already have on hand. This easy DIY wood riser achieves both with a touch of farmhouse style!
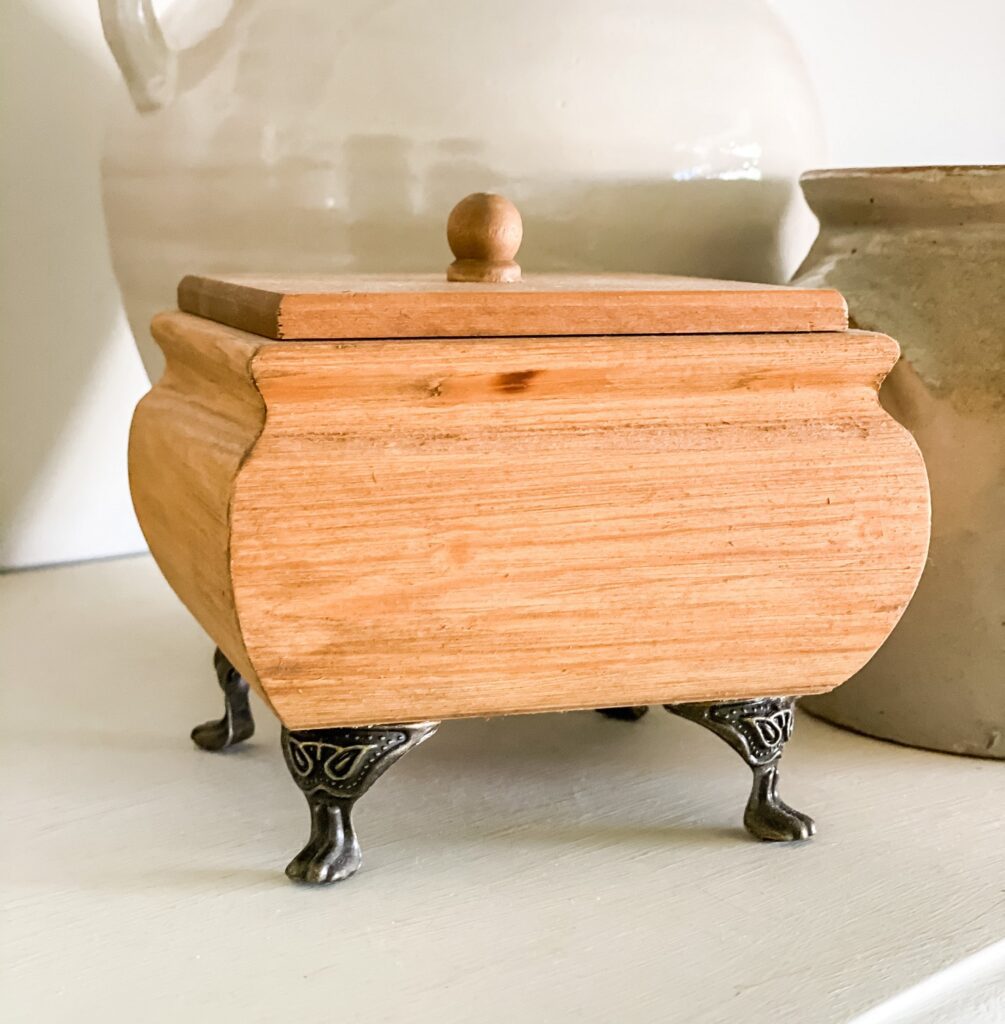
Crafted of wood, this easy wood riser exudes beauty and charm with a timeworn look. Make this DIY in less than 10 minutes, and you’ll have created your own look like no other. The beautiful antique brass feet set any wood display piece apart from big box store finds.
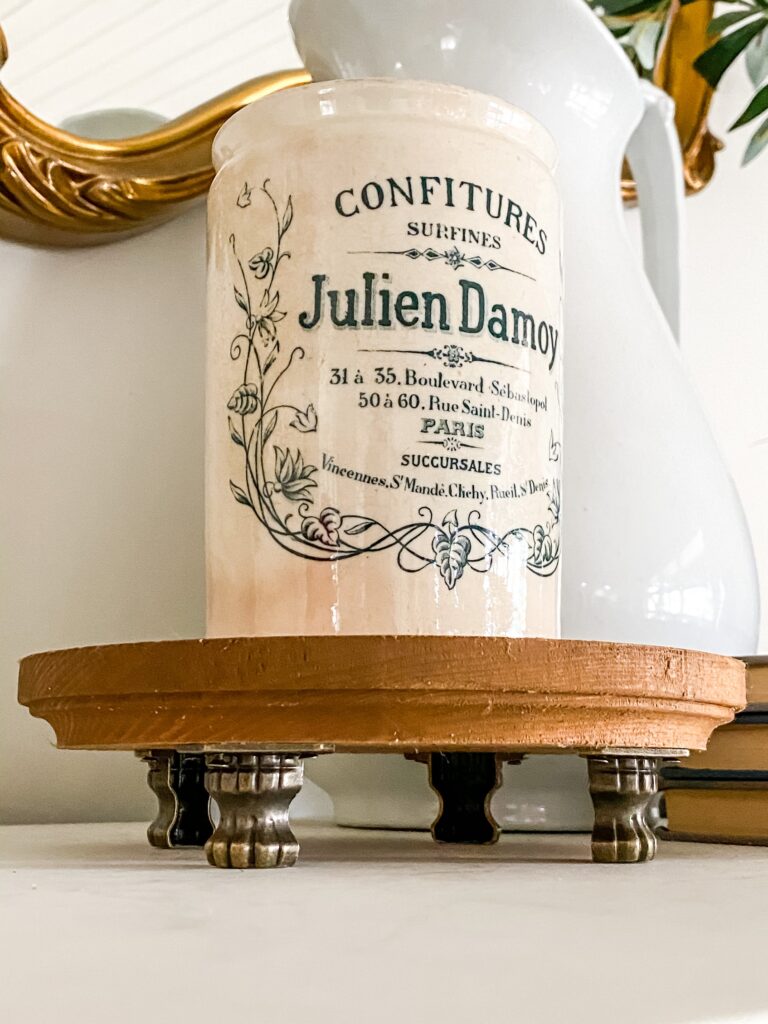
Designed to resemble vintage decorative wood displays, you can style this piece for maximum versatility. Add your favorite antique finds or candles and display them for a stunning addition to your console or tabletop vignette.
The beauty of this DIY wood riser is that it will flawlessly transition with each season with class and charm. Add the antique brass feet to decor items for an entirely different look. This easy DIY could also be used as a centerpiece for a rustic wedding, outdoor party, or any other occasion.
What You’ll Need:
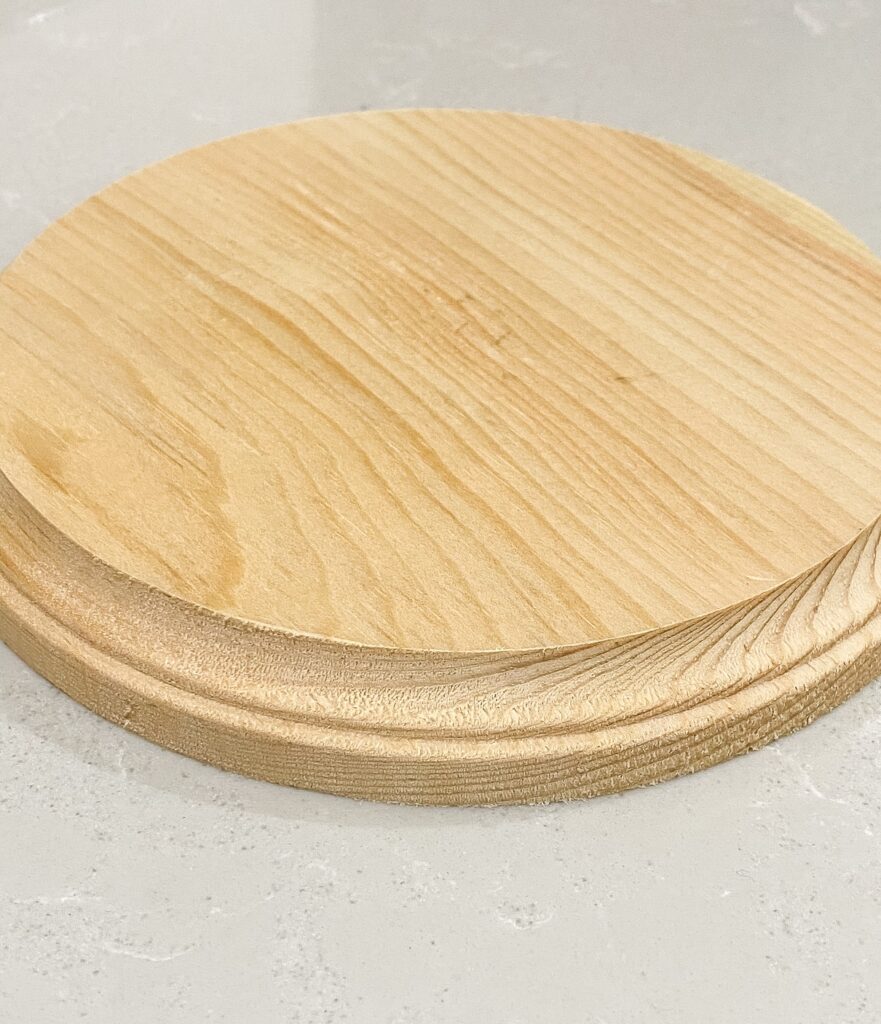
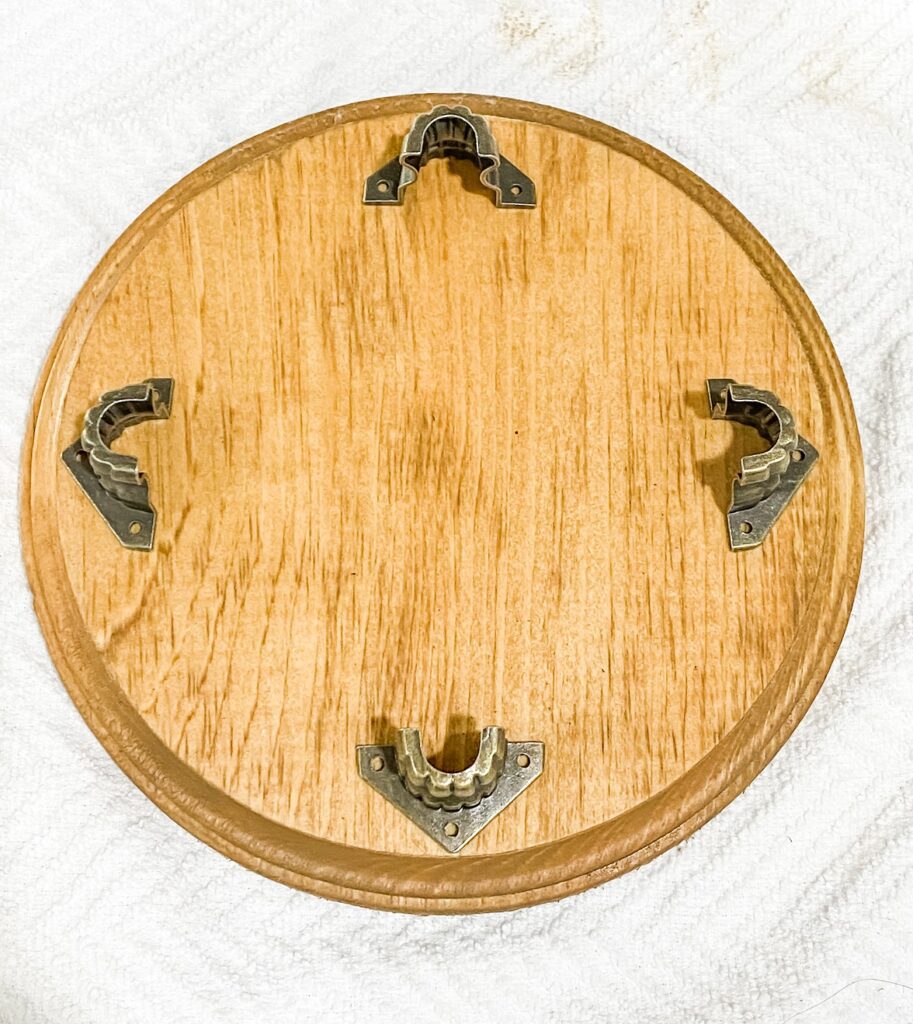
- 1 decorative wood round or square plaque (or decorative wood box)
- Optional: wood stain or paint
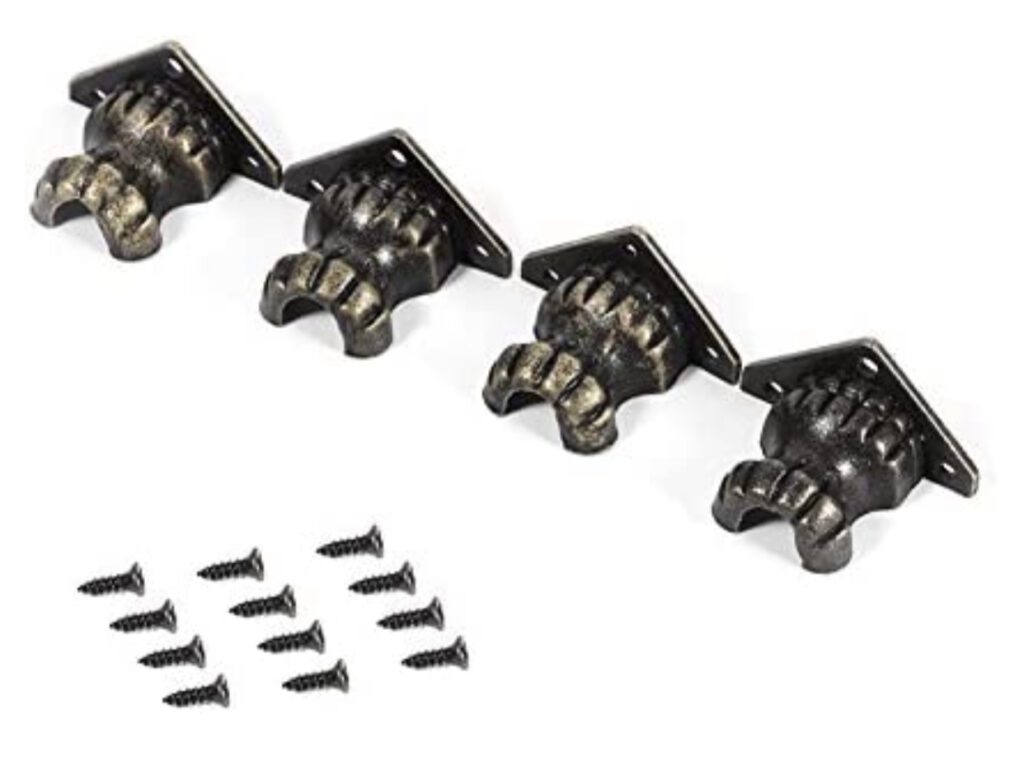
- 4 antique brass feet hardware
- Pencil
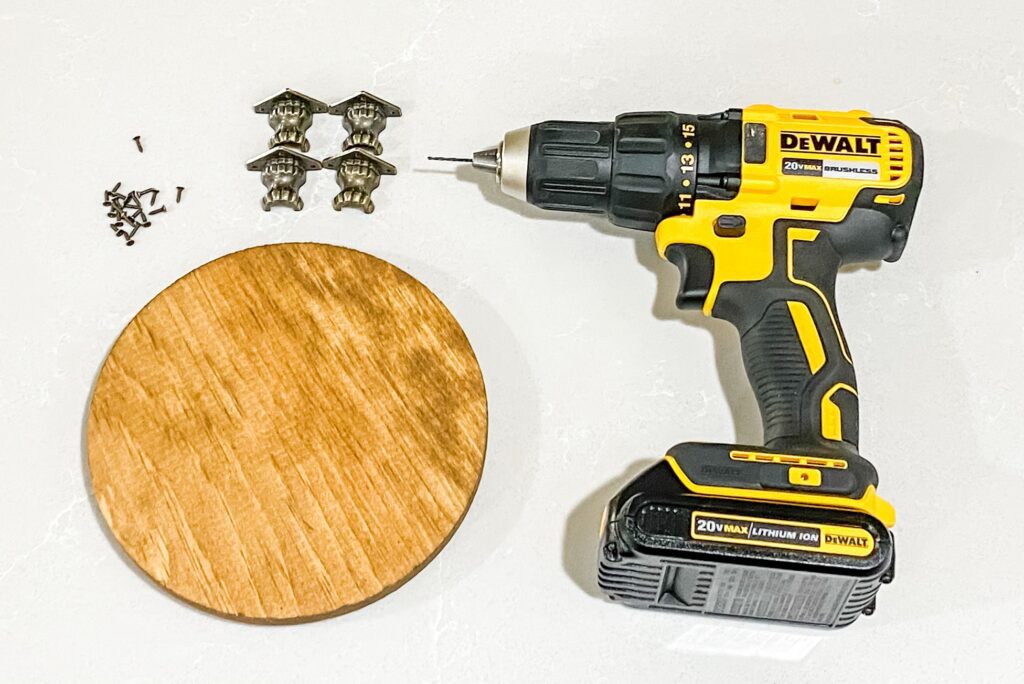
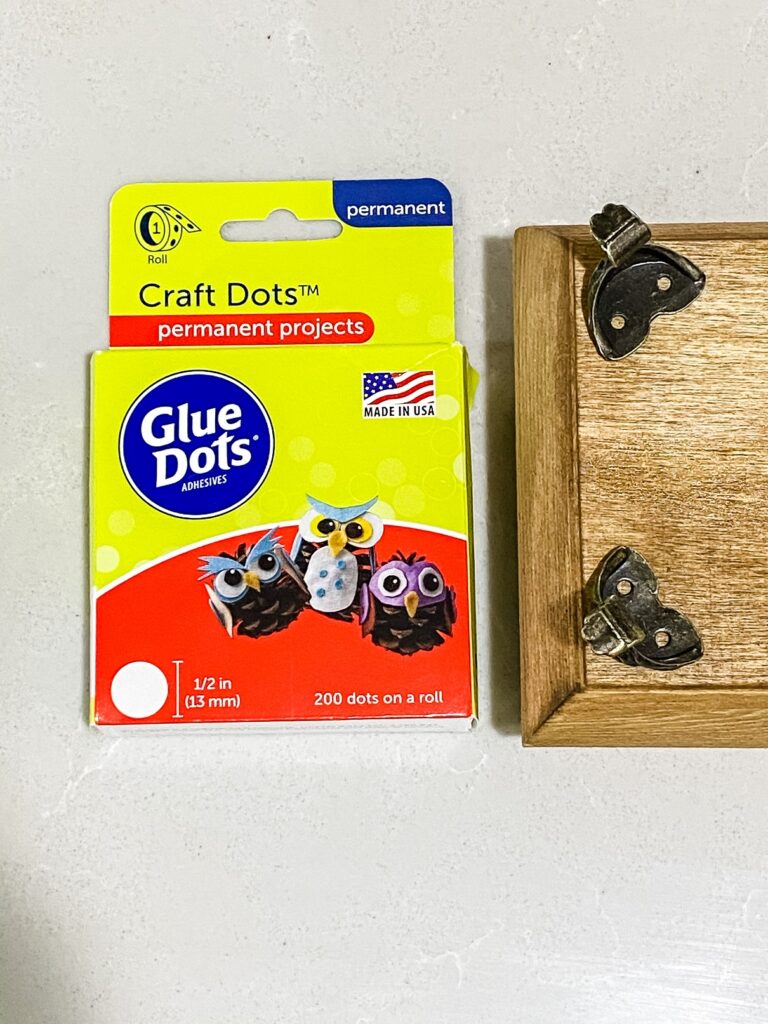
- Drill and 1/16-inch drill bit (alternately, craft dots or super glue)
- Small Phillips screwdriver
- Stain
- Dry cloth

What You’ll Do:
Note: Once you have all the materials, this DIY should take less than 10 minutes to create.
1. Start by staining (or painting) your decorative wood piece. I prefer to use a 50:50 mixture of Minwax fruitwood and provincial.
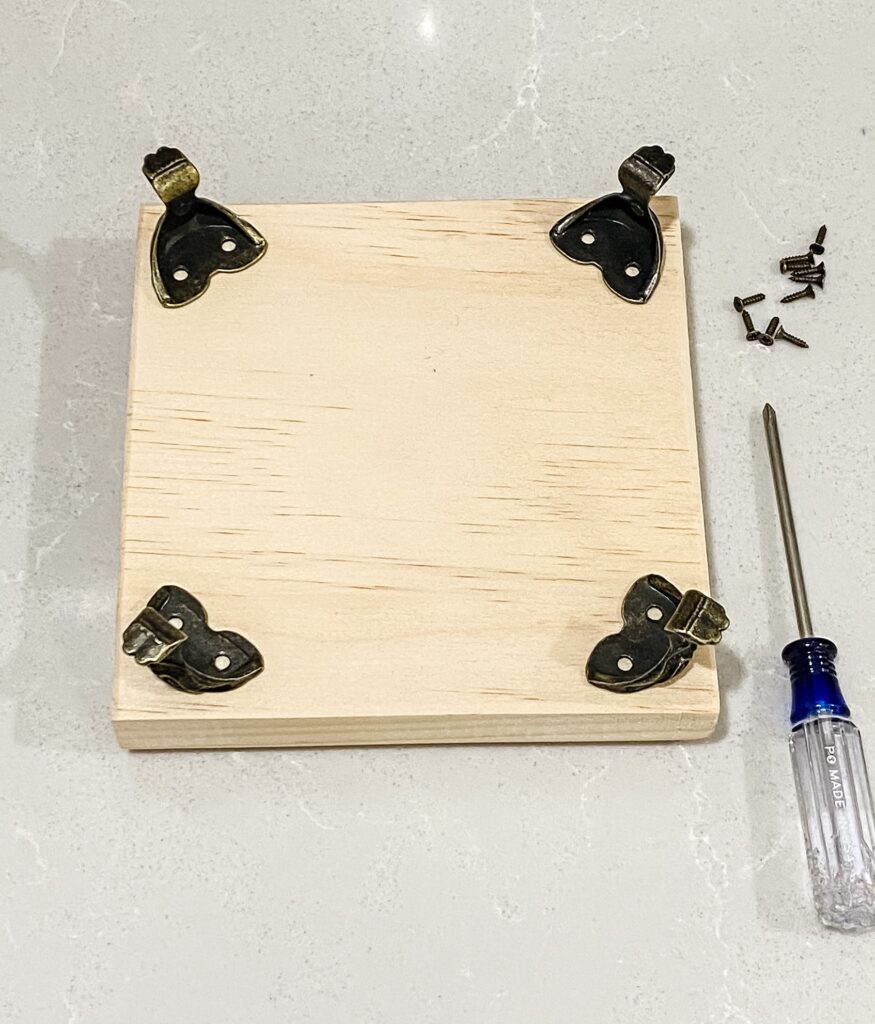
2. Next, use your screwdriver to attach the square wood plaque to the four antique brass feet with the screws provided. Ensure the square wood plaque will sit with the beveled side up – on the opposite side attach the antique brass feet and screw from the bottom.
Tip: To help screws go in more easily, consider using a drill bit to make a pilot hole.


3. If you are not an avid DIYer or don’t own a drill, you may consider simply using Craft Dots or super glue to attach the legs to your wood piece.
Once your wood piece is assembled and stained, you are ready to style!
Additional DIY Wood Riser Ideas:
For a modern or industrial look, consider painting the wood matte black. If your style lends itself more towards farm cottage or French, consider chalk painting or whitewashing the wood. Both options would complement the antique brass feet. As with any DIY, you get to be the designer—be creative!

Love this DIY project? Check out our Pinterest board full of farmhouse style inspiration! Of course, don’t forget to follow us on Instagram and Facebook too!