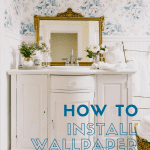


How to Install Wallpaper Yourself
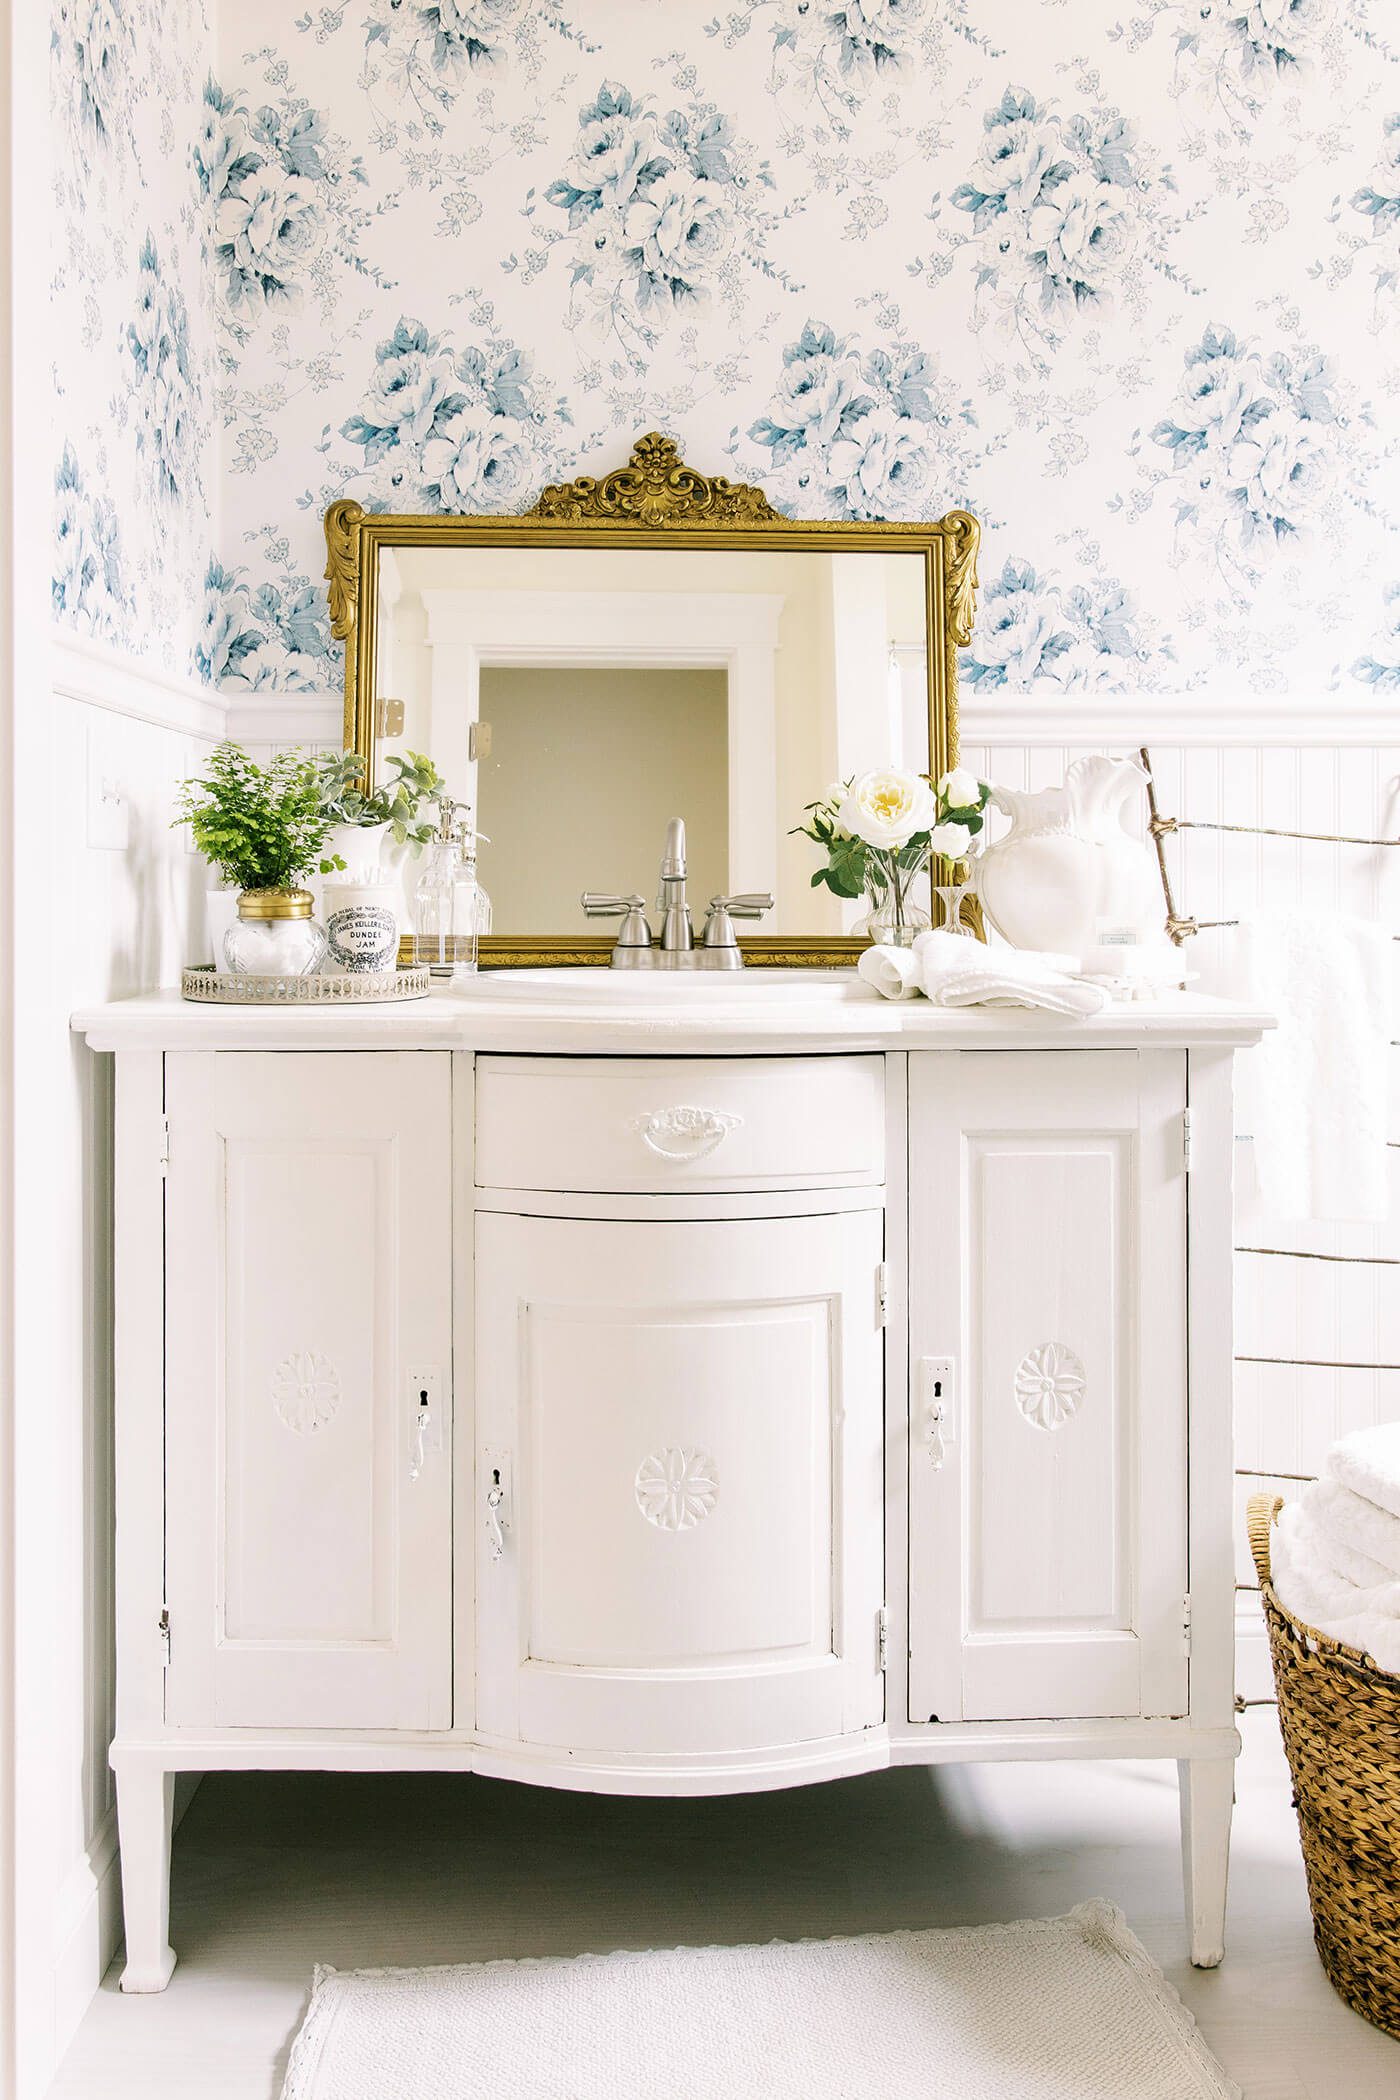

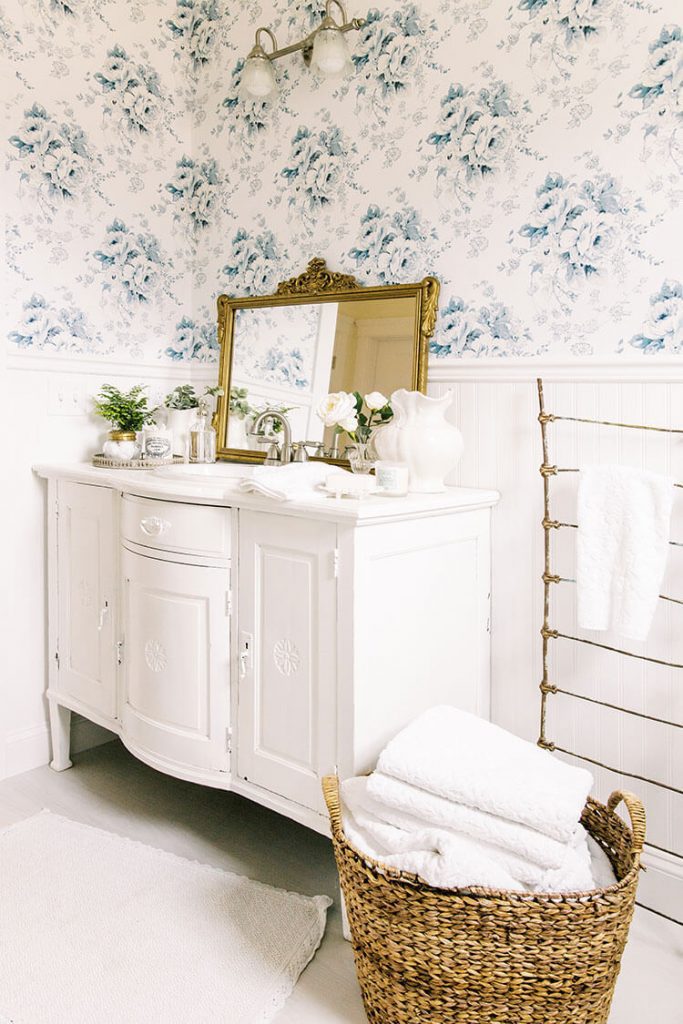
Papered walls are a hallmark of a historic American farmhouse. By the beginning of the 20th century, wallpaper was used to add pattern and design in nearly every room, from hallways and kitchens to bathrooms and bedrooms. Today, wall coverings continue to add character and personality into a space with relatively little cost or time. It only appears difficult to install wallpaper. Like most skills, you get better with practice, but most errors can be remedied, repaired, or avoided by using the right tools, a little common sense, and by selecting a pre-pasted paper with a simple repeat pattern.
What You’ll Need:
- Pre-pasted, washable wallpaper in pattern of choice
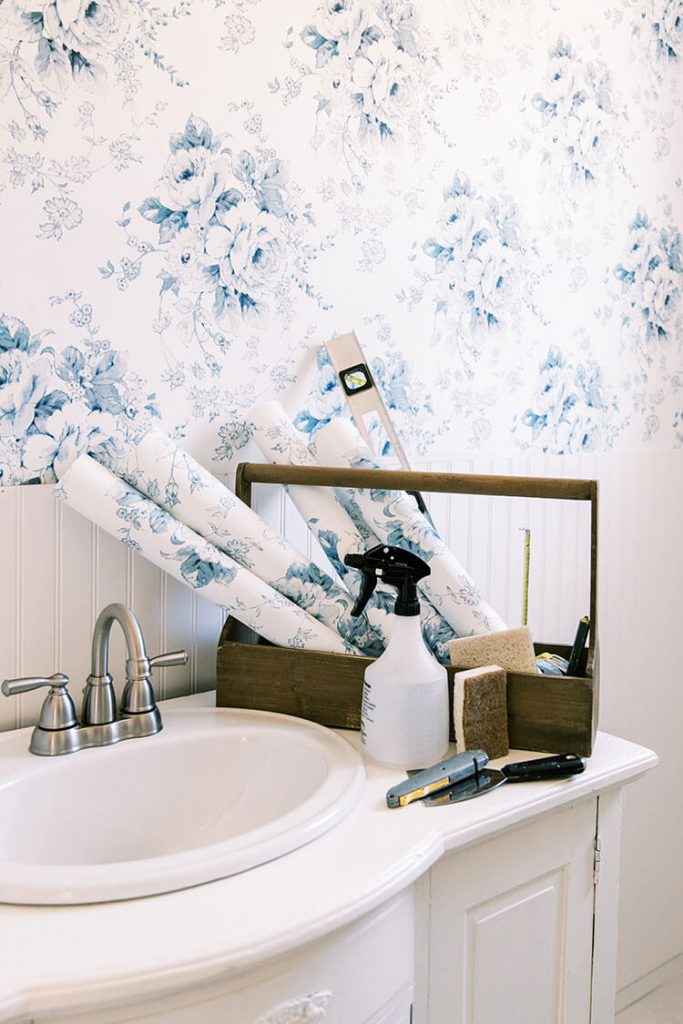
- Sponge and water bottle or tray of clean water
- 4”-6” straight edge
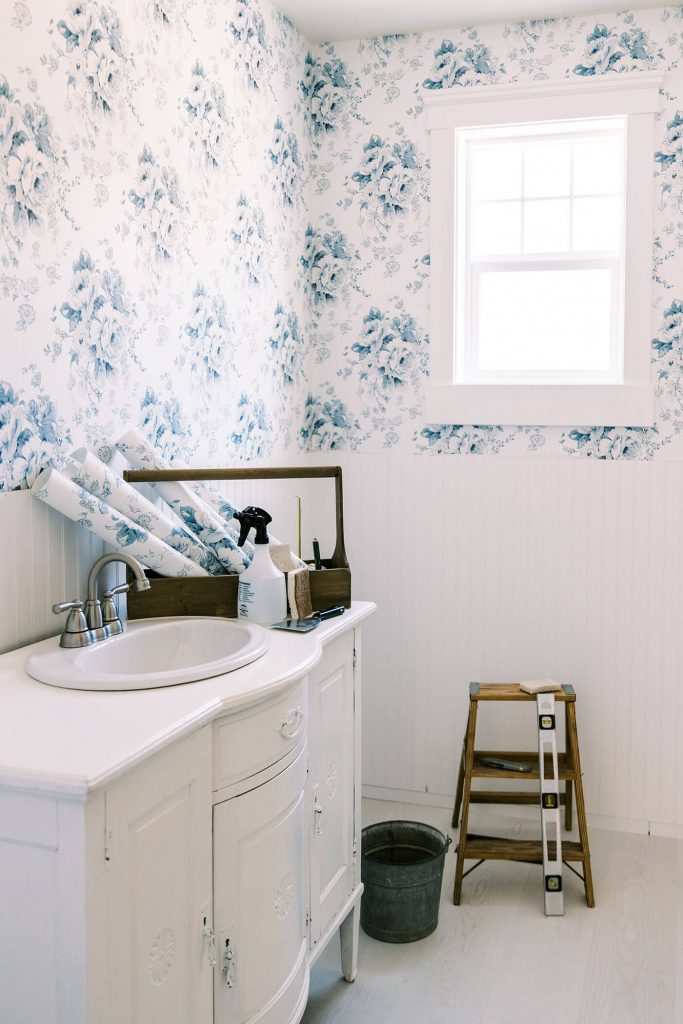
- Utility knife with new blades
- Pencil
- Level
- Tape measure
- Scissors
- Clean workspace and drop cloth
What You’ll Do:
1. Select and Purchase the Wallpaper
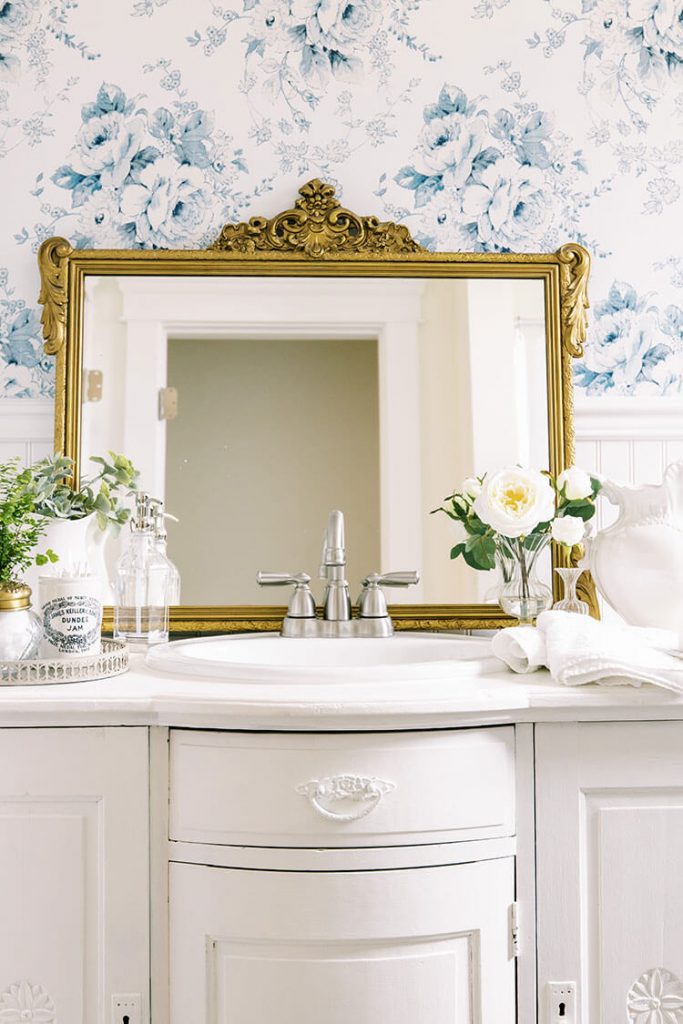
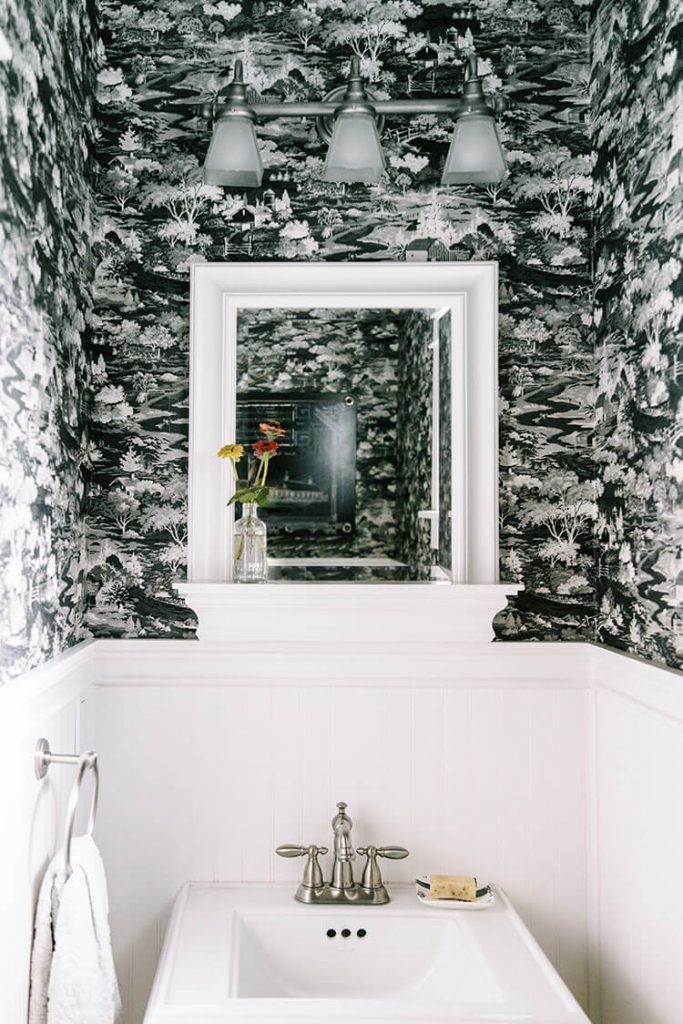
Start by selecting the wallpaper pattern your prefer and order enough rolls to complete the job. Consider a floral, stripe or toile pattern for classic country appeal. Wallpaper is manufactured in various lengths and widths, and sold by the roll. An “American double roll” typically covers about 66 square feet.
To calculate the number of rolls you need, divide the total square footage of the walls (including doors and windows) by the square footage of one roll of the paper. Purchase at least 10% more to accommodate errors and adjustments when you go to install wallpaper. Many online wallpaper dealers also offer calculators to make this process simple.
2. Prepare the Walls
Prepare the surface of your walls by repairing holes with spackling and sanding thick or rough patches of drywall texture. To install wallpaper is easiest on a smooth surface. Apply a thin coat of wall primer and allow it to dry completely. Be sure your walls are clean before you begin to paper them, and carefully remove electrical plates or light covers.
3. Test First
Determine where to start papering by selecting an inconspicuous corner. The pattern will not match when hanging the last strip next to the first, so to hide the mismatch, pair them up in a corner behind a door or a large piece of furniture.
4. Install Wallpaper
Using a tape measure, a level and a pencil, measure and mark out a straight vertical line down the wall. This the most crucial step to install wallpaper, as a straight and level first strip will impact the rest of the room. Take your time to do this first step correctly.
With your measuring tape, measure out from the corner of the wall the width of the paper minus 1/2 inch and mark there. Repeat this at the top, bottom and middle of the wall. Place a level at the marks and draw a plumb line.
Hint: Every time you reach a corner or start a new wall, repeat this procedure to be sure you hang the wallpaper straight.
5. Cut the Wallpaper to Size
Next, cut all strips of paper to size, leaving a 4-inch overhang on each end and making sure the pattern will align from strip to strip.
6. Prepare the First Wallpaper Strip
Lay the first strip on a clean worktable, pattern-side down. Using your spray bottle, wet the bottom half of the back side of the pre-pasted paper—be sure to wet the dried adhesive fully to activate the glue. Some pre-pasted paper requires a 30 second dunk in a wet bath, so read the directions on your roll for precise directions.
Book the paper by bringing the bottom of the paper up to the midway mark, and be careful not to crease the seam. Wet the top half of the paper and then fold the paper down to the mid section as well. Read the instructions included with your paper to ensure set time, but typically you’ll let the adhesive activate for 10-15 minutes.
7. Hang the First Strip
Hang the first strip by unfolding the upper half and aligning the edge of the strip with the appropriate pencil line. Place the top edge so it slightly overlaps the ceiling. Smooth the paper against the wall with your hands, moving sideways and downward until you reach the midpoint. Unfold, and affix the bottom half. If your paper is washable, use a wet sponge to help smooth the paper.

8. Hang the Rest of the Wallpaper
Hang the next strips precisely by matching seams, edge to edge. It may help to use a small piece of painters tape to mark a key on the papers where they will match up. Smooth the paper to align the pattern. Use your wet sponge to carefully go over the seam in a vertical direction using pressure to seal the seam.
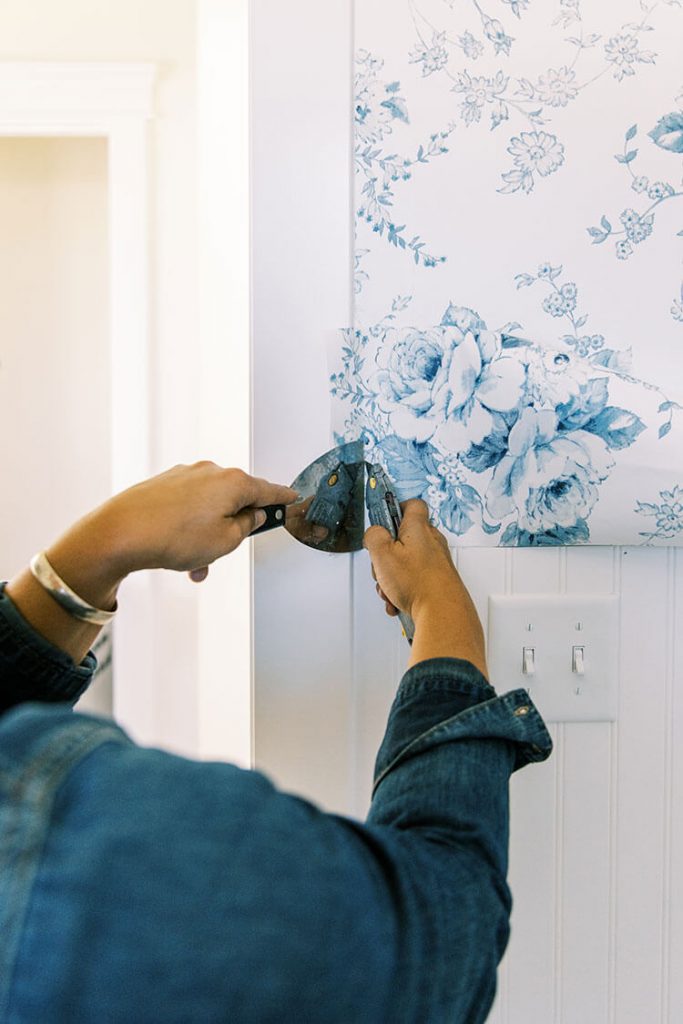
9. Clean the Edges
Finally, take a wide scraper blade or spackling knife and press it tightly against the paper where it meets the edge of baseboard molding or ceiling. Cut the paper on the opposite side of the straight edge using a sharp utility knife. Change the blade often to avoid tears.
Hints for Hard Spots
For Corners:
When papering a corner, cut the strip so that only 1/2” extends past the corner. Hang the strip and trim, leaving 1/8” of the wallpaper beyond the corner. Align the next strip to overlap this extension.
For Windows and Doors:
When trimming windows and doors, it may be helpful to use sharp scissors to remove some of the waste bulk before using the straight edge and knife to cut around the trim.
Alyson Dorr lives on a family farm nestled in the beautiful mountains of Montana, just minutes from Glacier National Park. She finds joy in the simplicity and hard work of the farm and raising a family. She and her husband are chronic DIYers who are currently renovating the homestead cabin on their farm. You can visit her at Farm Kid & Co.