


DIY Concrete Chargers


As the fall season gathers around us, I find myself anticipating entertaining family and friends around our table once again. Certainly in a year such as this one, we need our homes to be a haven, a place full of grace and hope. For our family, the dinner table is our sharing space. There is nothing like the laughter of my family around the table to bring a sense of belonging and joy, and that’s why these DIY concrete chargers are so fun.
Perhaps because setting the table was my childhood chore, or maybe it’s the art of creating each table to feel special, but regardless of the reason, I love setting a pretty table! I always look for budget-friendly tabletop options that will mix and match to create many different looks for my table.

After hunting for affordable concrete chargers unsuccessfully for two years, I recruited my favorite DIY guy (a.k.a., my hubby) to make our own DIY concrete chargers. I don’t know why we didn’t do it long ago because I absolutely love them! Natural materials like concrete and pottery are trending on the farmhouse decorating scene right now, though I have long loved the timeless look of concrete. I love how our low-budget DIY makes a big statement on our table, and I know these DIY concrete chargers will be used for many seasons to come.

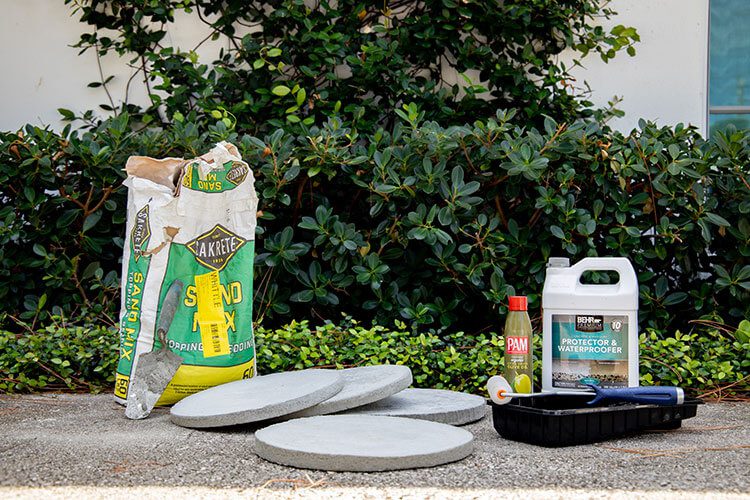
What You’ll Need:
- 12” cardboard column form (find it in the concrete building materials section of your hardware store)
- 1” painter’s tape
- Round-tip trowel
- Cement mix (We used a sand mix for topping & bedding)
- Container to mix the cement
- Wood base (we used a scrap piece of melamine)
- Cooking spray
- Concrete waterproof sealer
What You’ll Do:
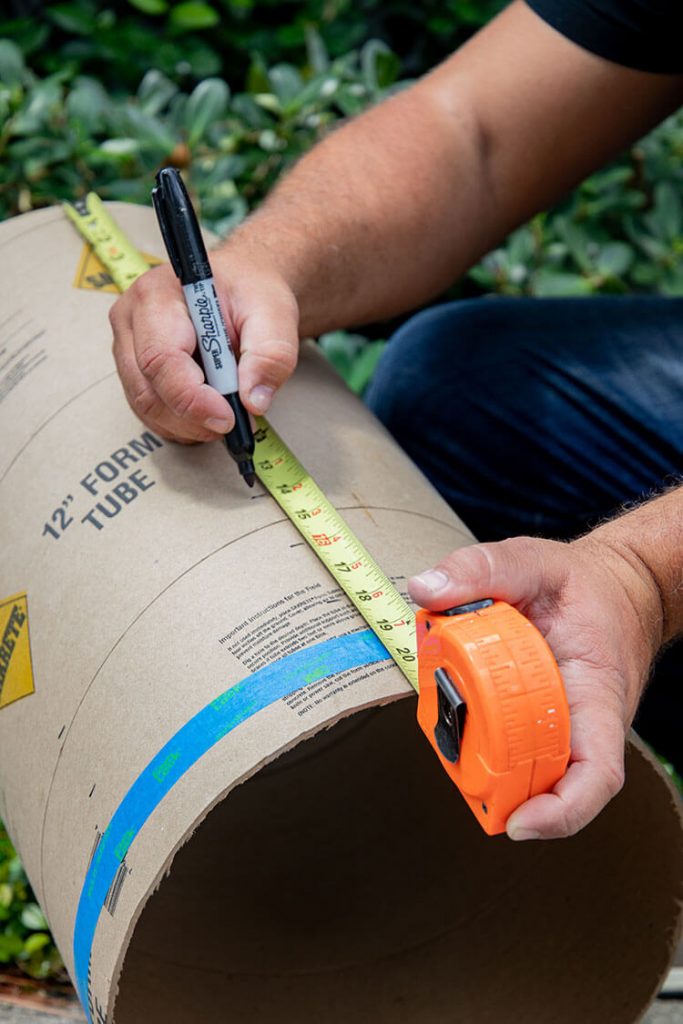
1. After gathering your supplies, the first thing to do is mark your cardboard column at two-inch intervals. We found it helpful to make several marks around the perimeter to get a straight line for the tape.
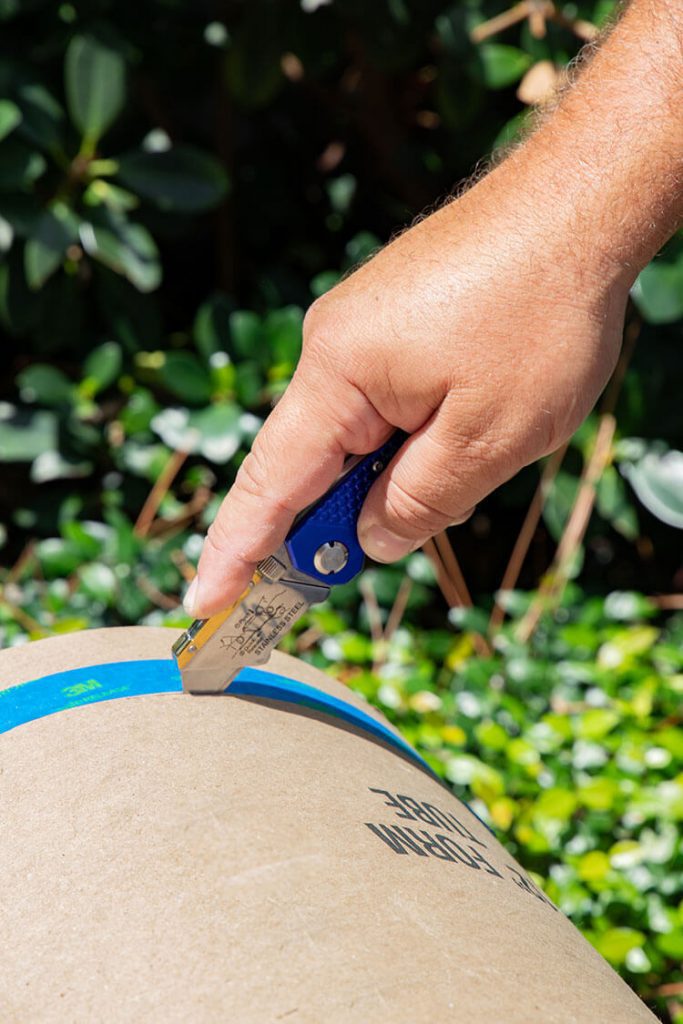
2. Cut your cardboard forms. Cutting at the top & bottom edges of the tape gives an ideal depth for your DIY concrete chargers. Don’t worry about making them too perfect. One of the great things about natural materials, such as concrete, is that imperfections add charm!
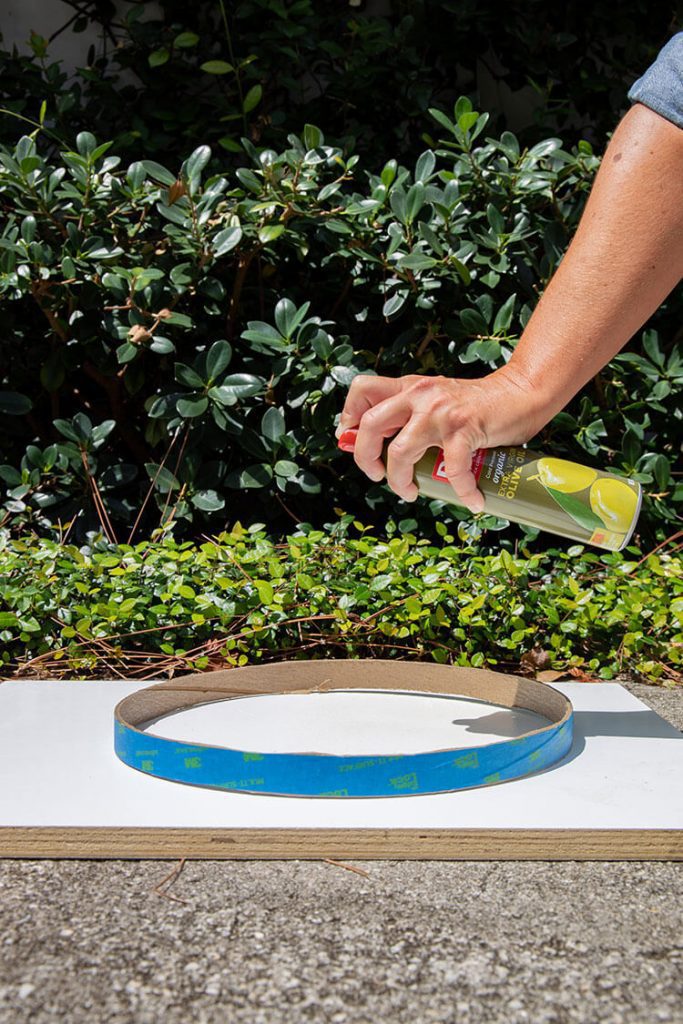
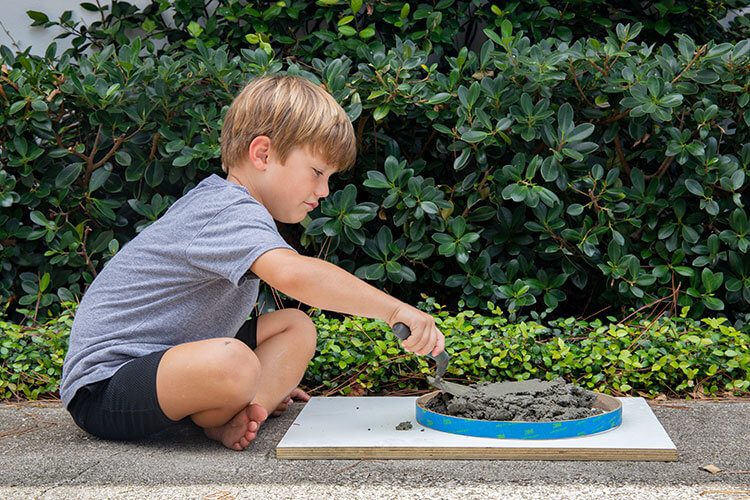
3. Spray your wood base with cooking oil and set your form on the base, ready for the concrete. The spray will make it easy to lift your charger off the base when you are finished. We found smooth melamine to be a great base for this project.
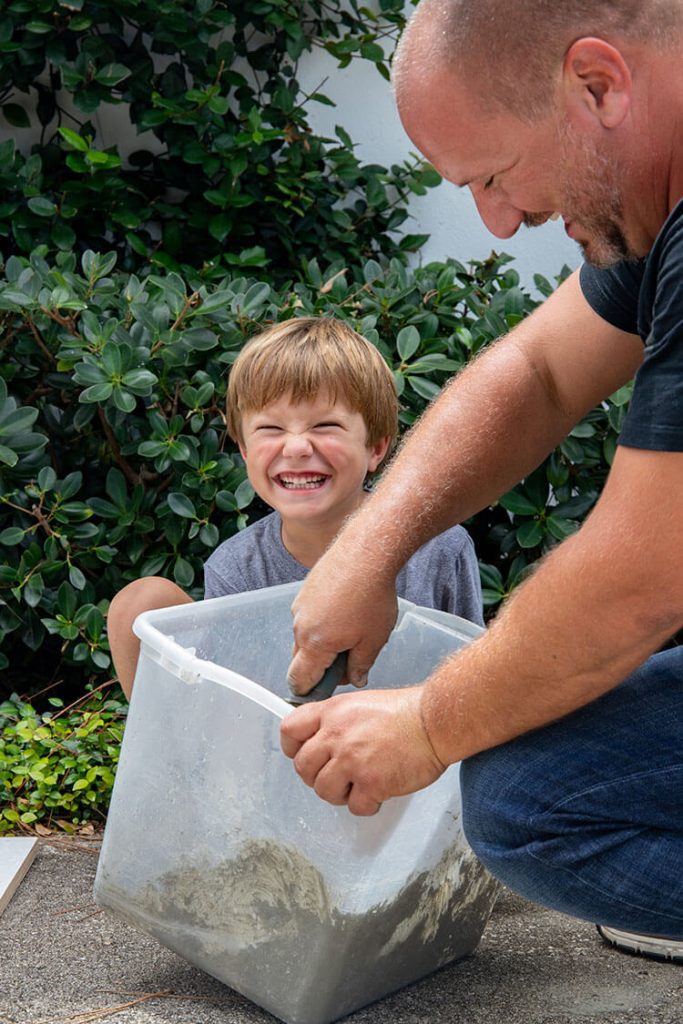
4. Mix your concrete. We used an old plastic tote that was laying around. It took us a couple attempts to get the right mixture of water and cement. You don’t want it too runny!

5. Scoop the concrete mix into your cardboard form and then smooth it with a round-tip trowel. Be sure to pack the edges tightly. On this step, remember to embrace the imperfections!
6. Allow your DIY concrete chargers to set for 24 hours. After 24 hours, you may choose to seal your chargers for longer-lasting use!
Robyn Huff is a mom and the voice behind the Instagram account, Robyn’s French Nest. She’s all about intentionally curating her family’s home home with vintage, budget-friendly pieces and with family function in mind.