


Learn Brush Lettering in 3 Easy Steps
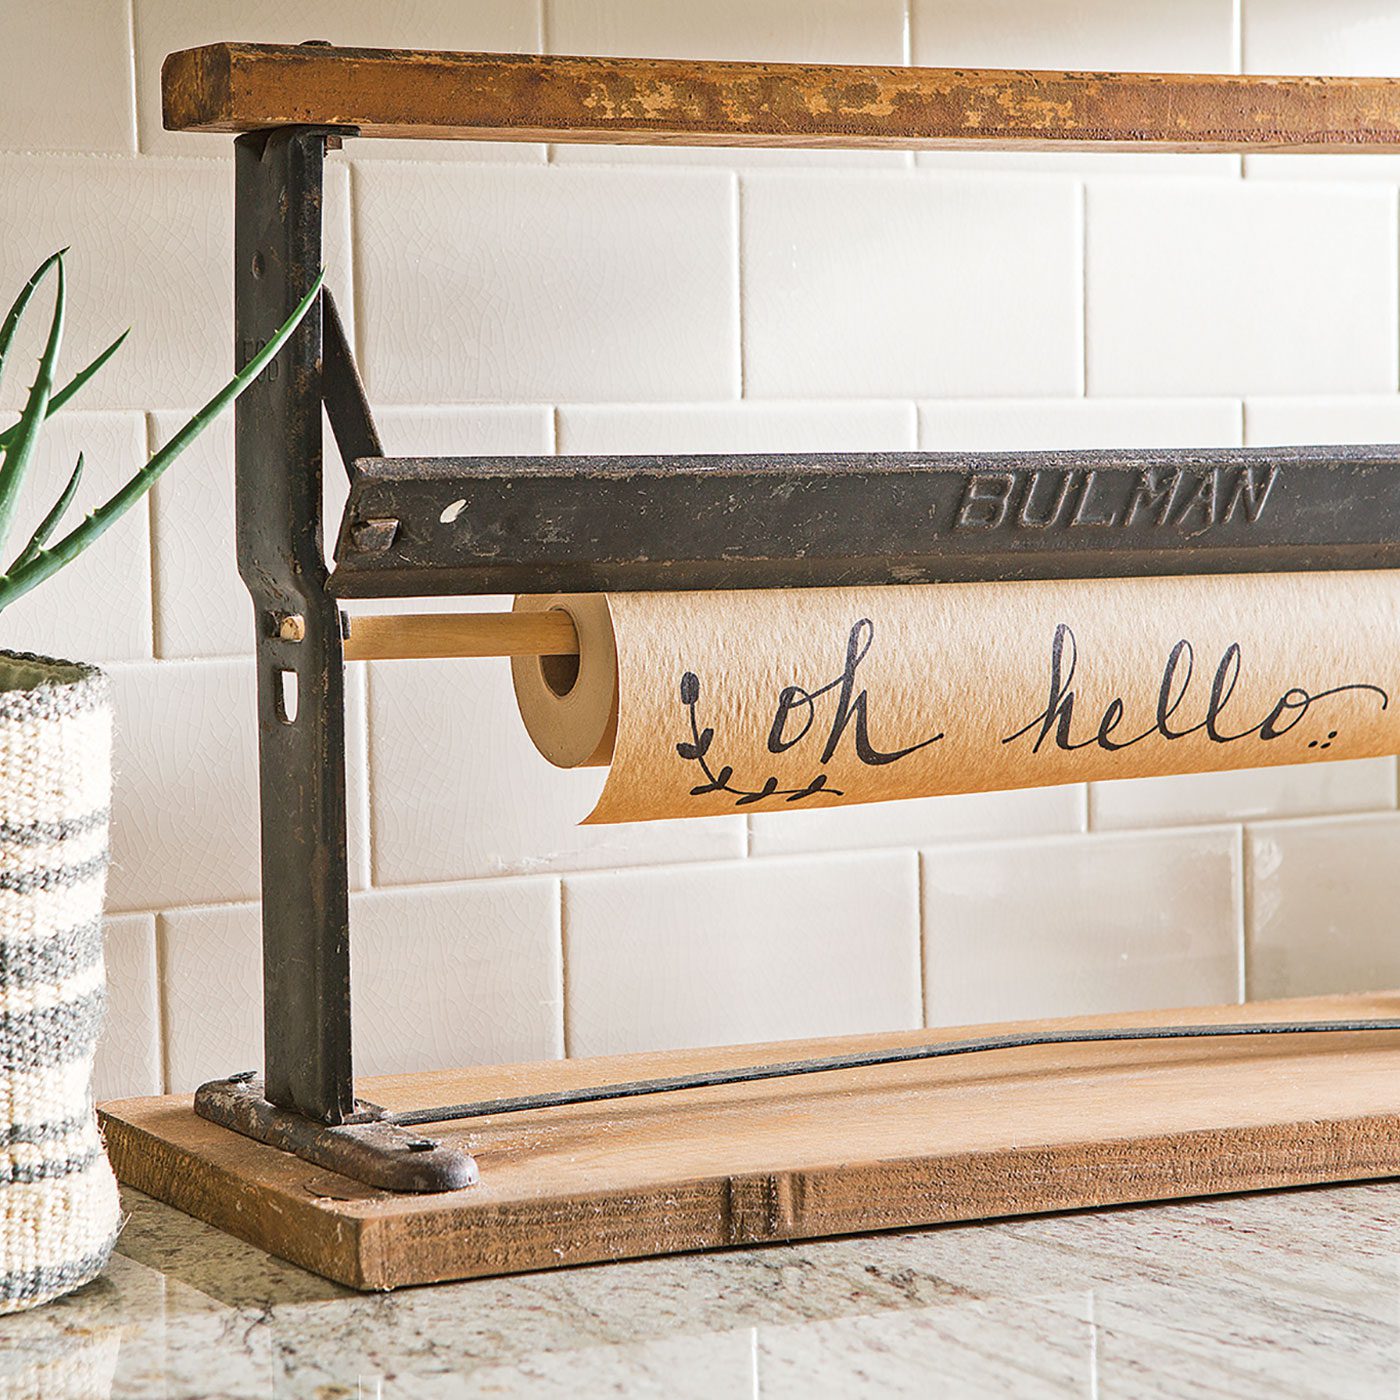

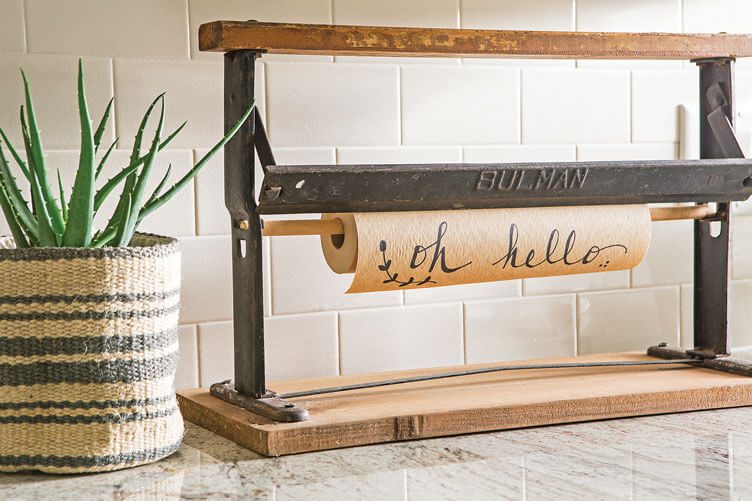
Beautiful penmanship can make such a difference on a handmade object, whether that’s a chalkboard, organization station, gift tag or birthday card. Brush lettering is a calligraphy technique that uses a brush pen to create thin and thick lines.
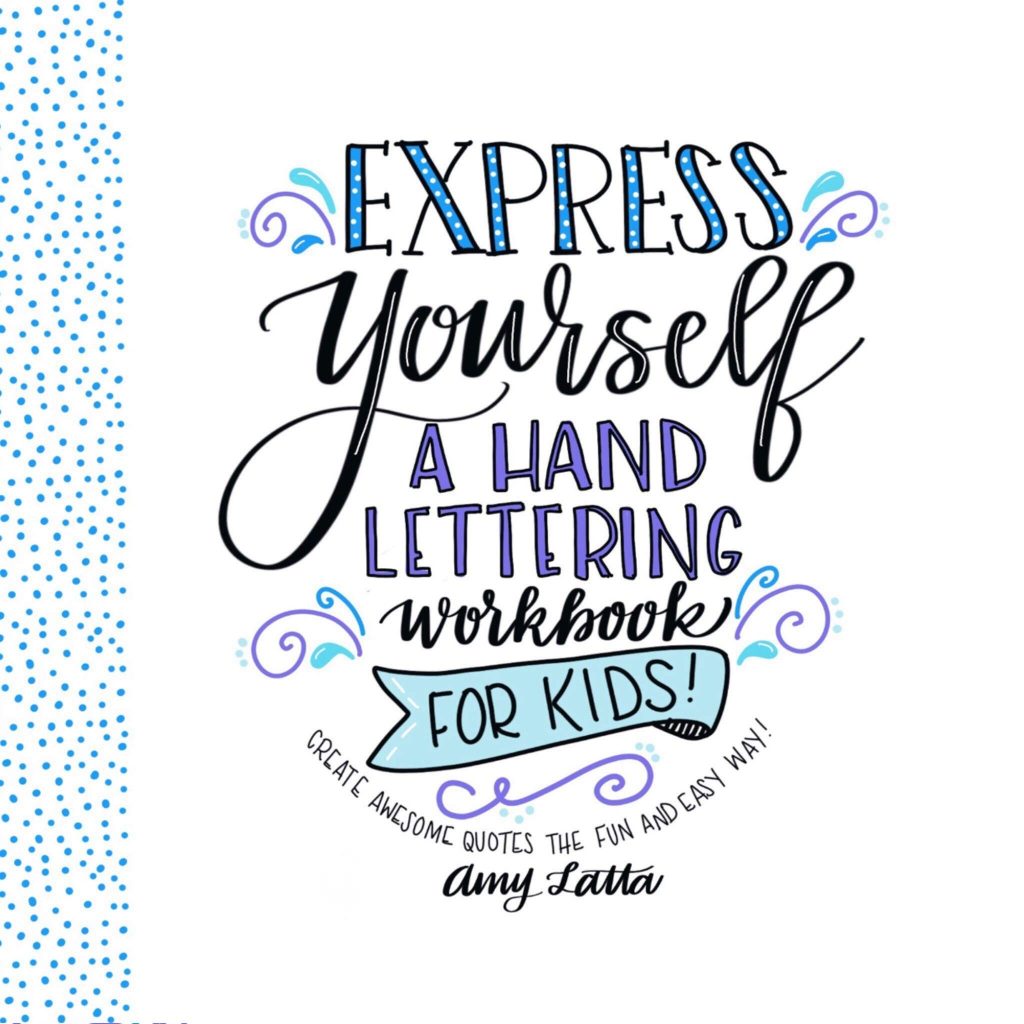
“It requires a good bit of practice and repetition before you get the hang of it, but once you do, it will get in your muscle memory,” writes Amy Latta, author of Express Yourself: A Hand Lettering Workbook for Kids. Here are the three easy steps so you can learn brush lettering yourself.
(As an Amazon Associate, American Farmhouse Style earns from qualifying purchases.)
Step 1: Get the Right Tools
While you can “fake” this look, it’s easiest to use the right tool. You’ll want a brush pen, which has a different shape than a regular pen.
“Unlike a regular bullet-tip marker, a brush tip is flexible and is meant to act like a paintbrush,” Latta writes. Some brush pens come with a flexible tip on one end, and a fine point tip on the other. You’ll use the flexible tip for your main lettering, and the fine tip for filling in details and creating extra flourishes.
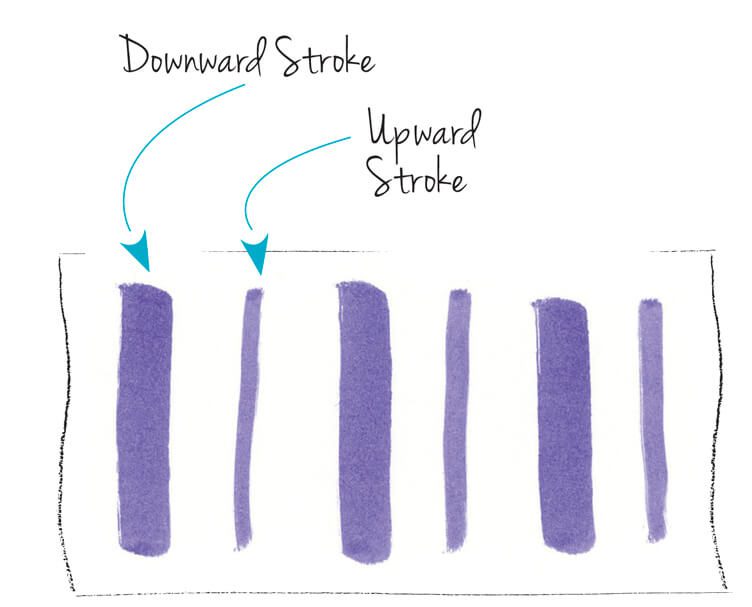
Step 2: Learn the Brush Strokes
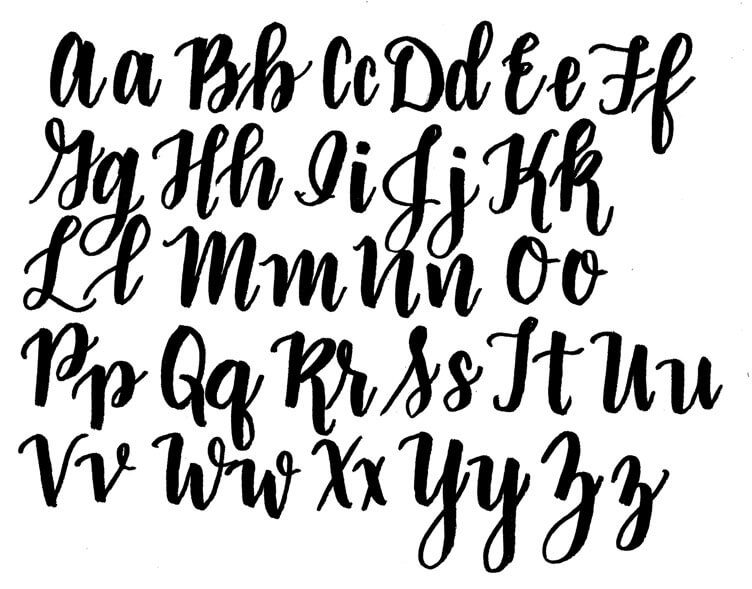
The basic technique to learn brush lettering is quite simple. When you make a downward stroke, press harder on the pen to create a wide, bold line. When you make an upward stroke, lighten the pressure to create a thin line. All the strokes in your brush lettering should follow this principle. After you get more comfortable with the technique, you can add fancy flourishes and experiment with your font.
Step 3: Practice
Don’t expect your brush lettering to look perfect right away. Remember that this is a technique, just like sewing or embroidering. You’ll want to practice, practice, practice until you’re happy with your letters.
If you have a particular message you want to learn for a project you have in mind, focus on those letters first. Remember how you drew your A,B,Cs over and over in first grade? Use this same method of repetition to perfect your brush lettering font.

One tip as you practice is to not connect your letters at first. While the traditional brush lettering font is a script, you don’t have to connect all your letters when you make them, or even use a single stroke to create each letter. Lift your pen as you would for a print script to reset your hand—this will make it easier.
To help you in your new-found artform, Amy Latta offers free downloadable practice templates on her website, amylattacreations.com. Find the uppercase alphabet here and the lowercase alphabet here. Ready to dive in? Check out these fun projects to get started, or check out Express Yourself for more detailed instructions.
Of course, don’t forget to follow us on Instagram, Facebook and Pinterest to get your daily dose of farmhouse inspiration!