


Updating Your Pantry with Farmhouse Charm

An easy way to add your own rustic wood shelving.
Hey there, Farmhouse Friends!
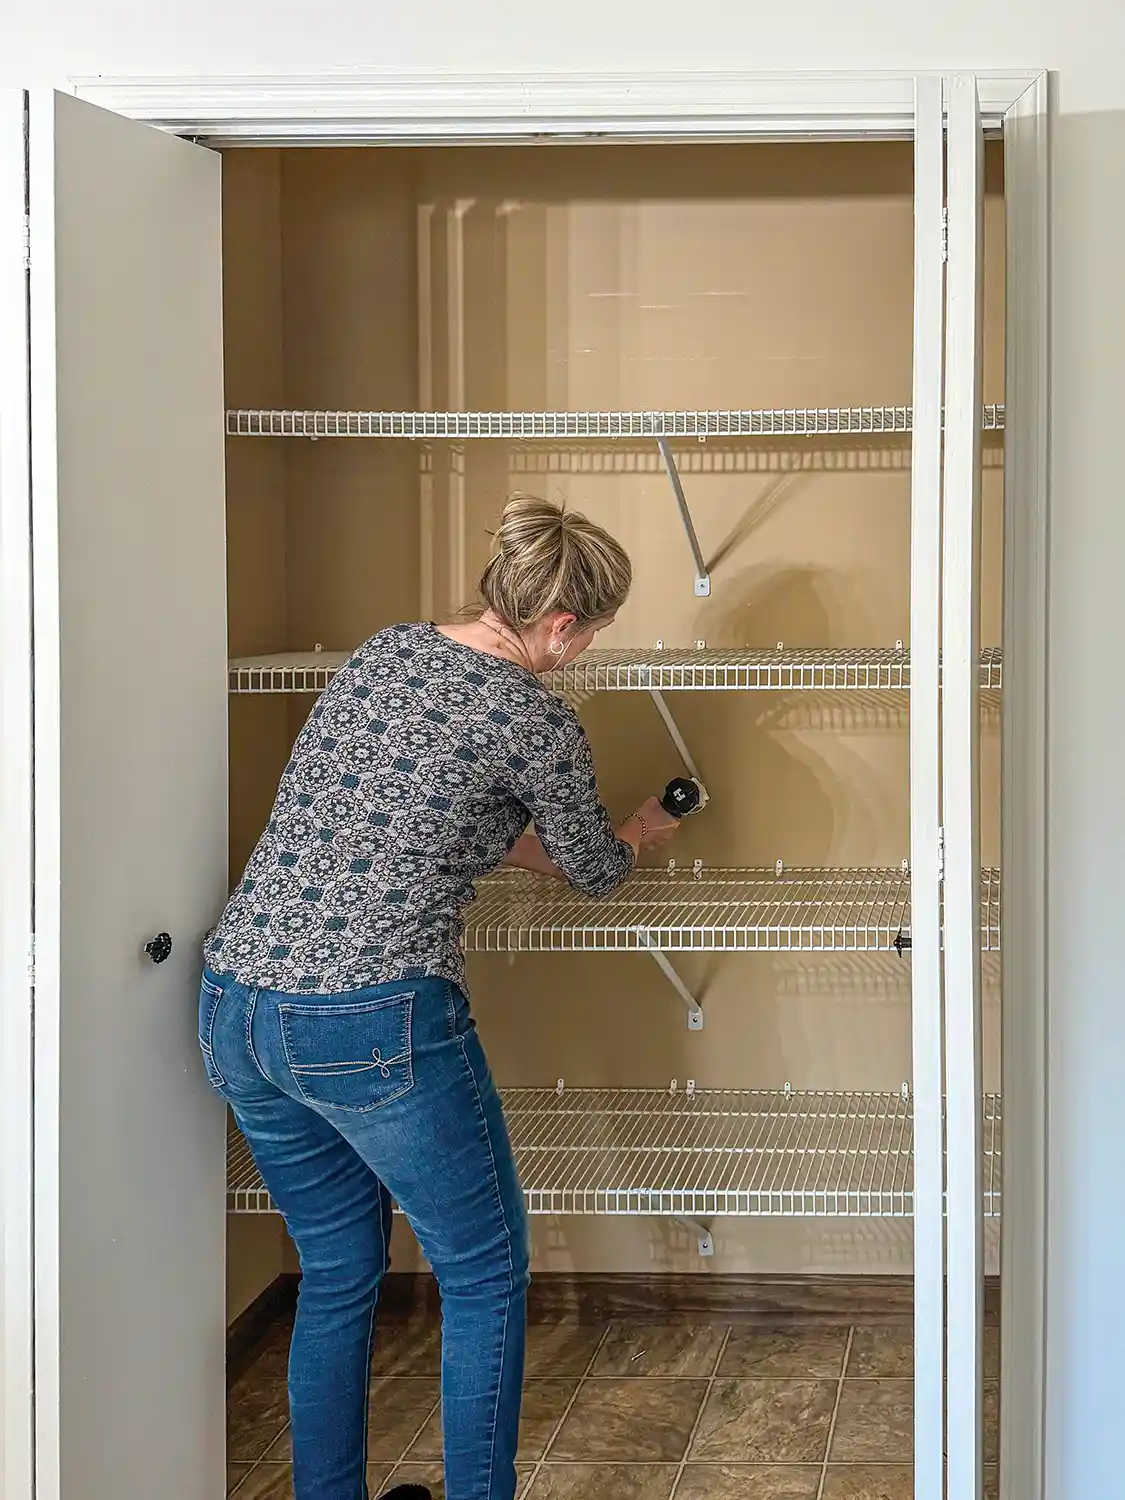
Do you happen to have wire shelving in your kitchen pantry? If so, you can transform your wire shelved pantry into a rustic, farmhouse-inspired space with the simple addition of wood shelving. Not only does this upgrade add warmth and character to your kitchen, but it also enhances functionality by maximizing storage and organization.
Whether you’re a seasoned DIYer or just starting out, installing wood shelves is an easy and budget-friendly project that can make a big impact. In this tutorial, I’ll walk you through the step-by-step process so you can achieve that charming, farmhouse look with ease. Let’s get started!
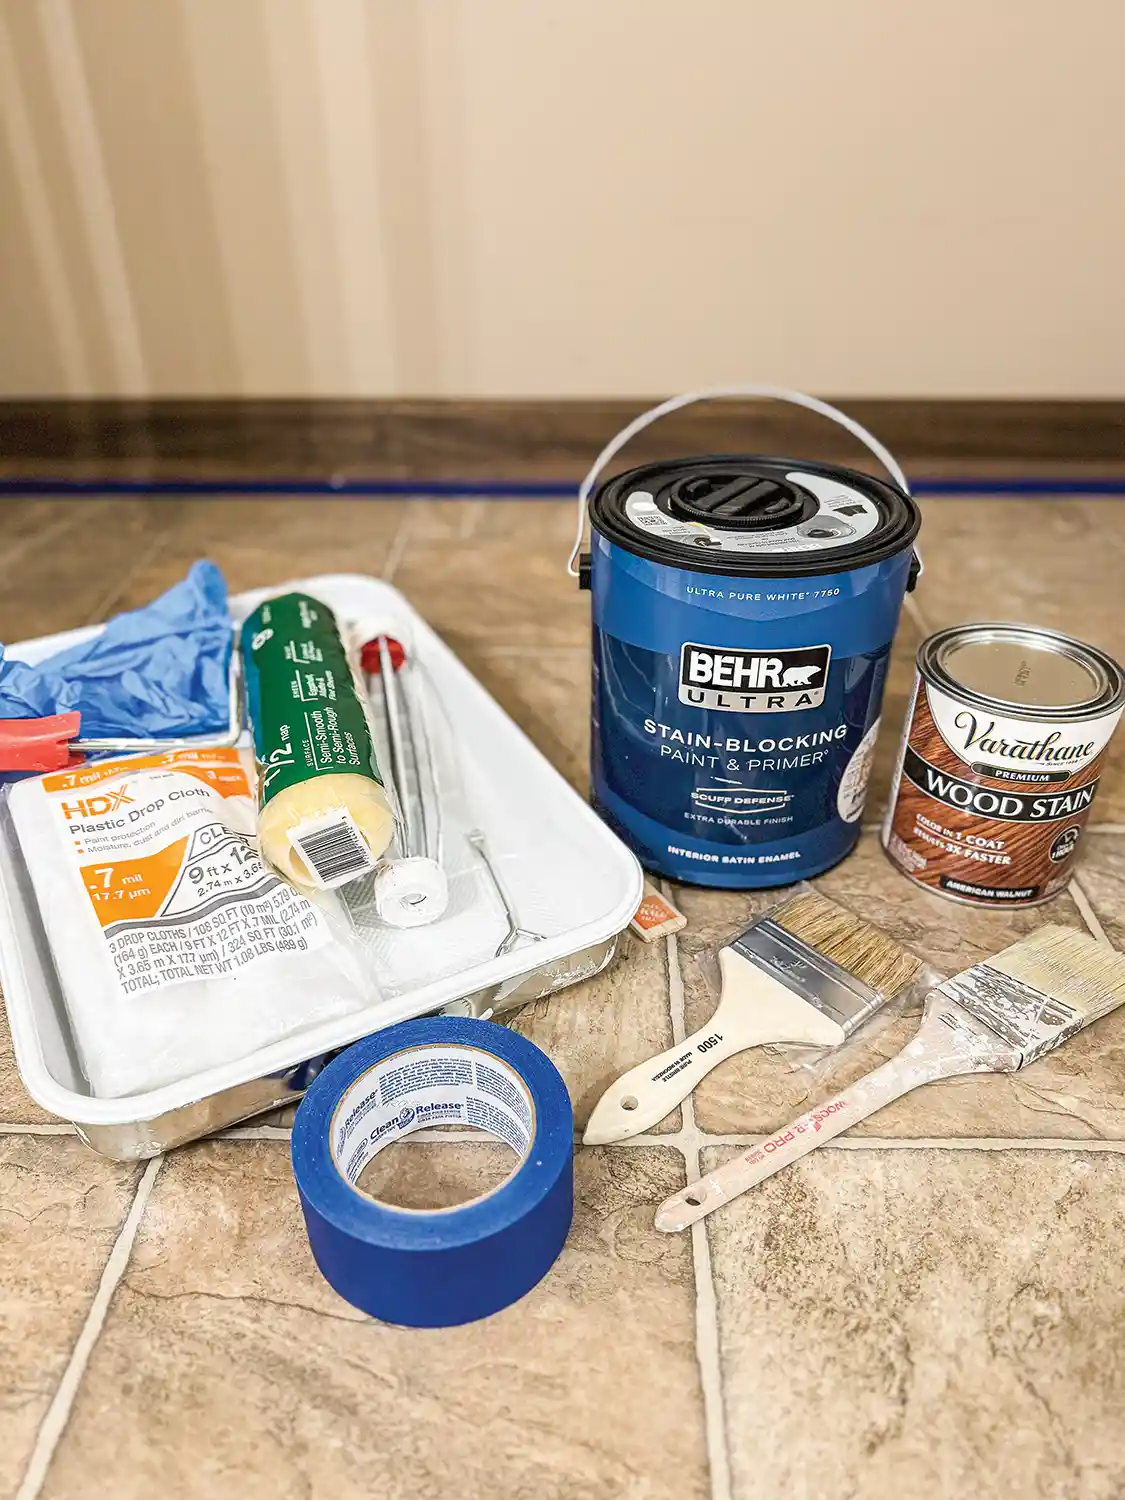
What You’ll Need:
- Shelving material (we chose ¾” pine plywood
- Measuring tape
- Furring strips (2 x 2 pine boards)
- Drill/drywall screws
- Paint and stain of your choice
- Hammer
- Brad nailer to install trim
- Skill saw
- Stud finder
- Paint roller/chip brush/cloth rag
- Level
- Caulk/putty for repairs
- Painter’s tape
- Sandpaper
- Finishing trim of your choice
What You’ll Do:
- Remove all food items and wire shelving from the pantry.
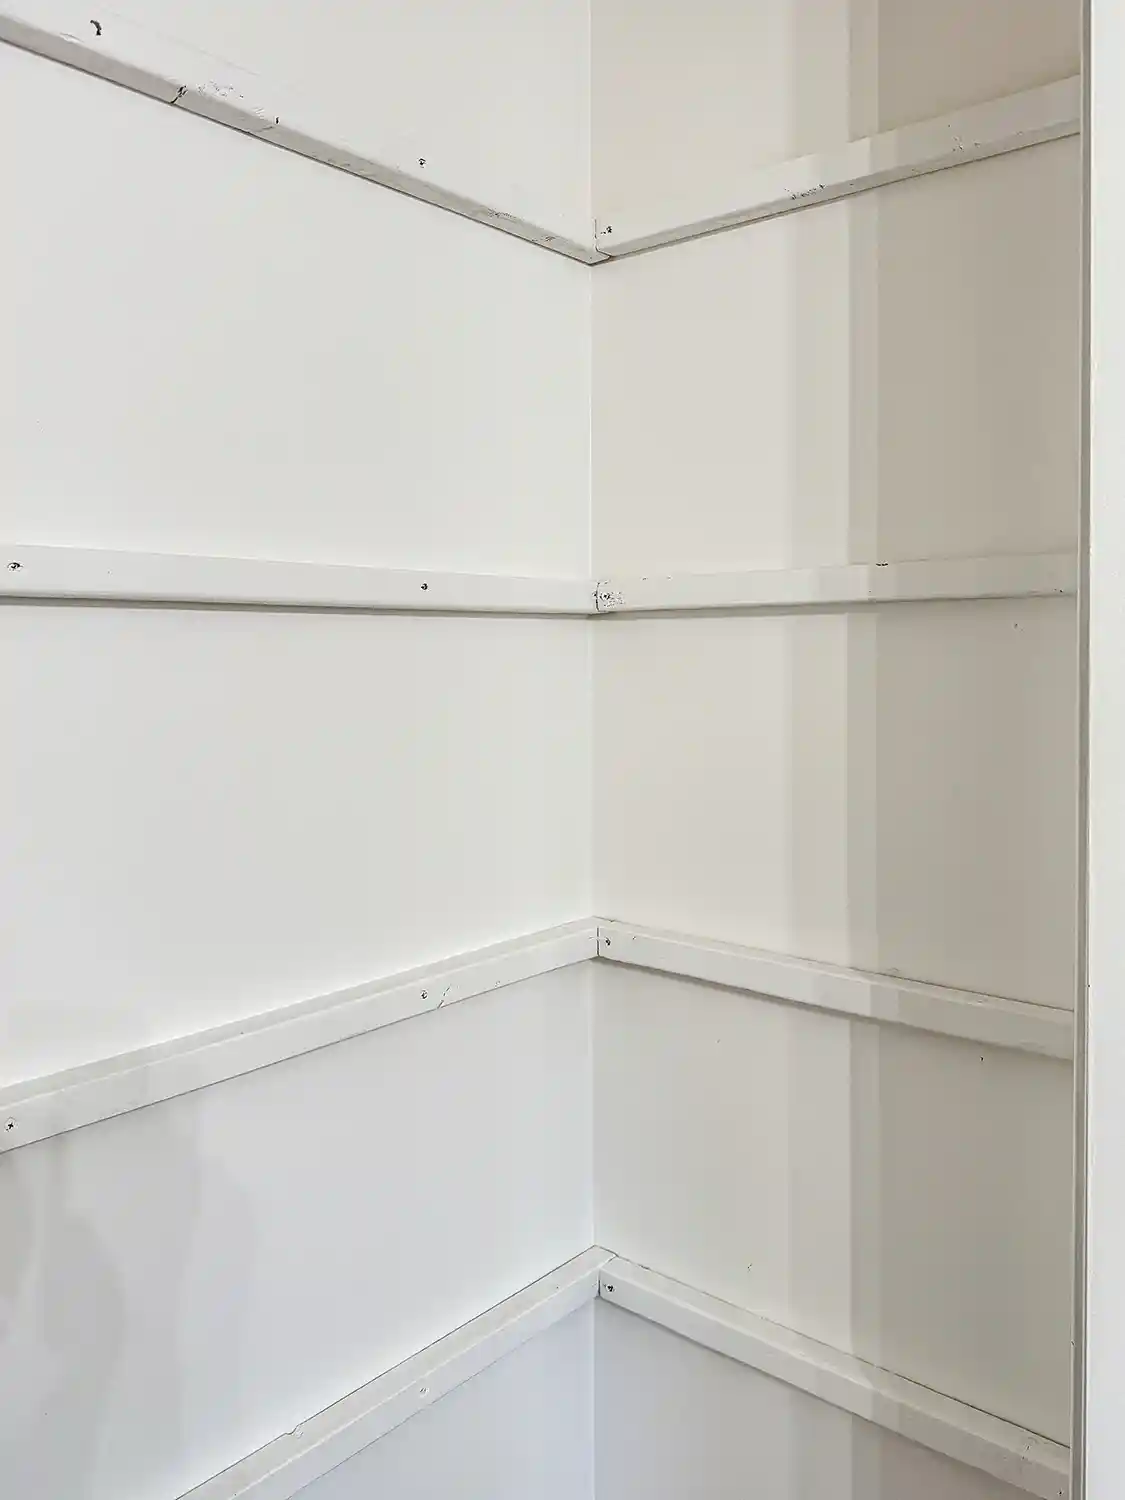
- We also removed the inside trim of the closet to make extra space before installing the shelves. When the shelves were in, we put it back up.
- Repair walls if needed with caulk or wood putty (we installed our wood shelves at the same level as the previous shelving, so the furring strips covered up any holes).
- Clean the walls and baseboard and sweep the floor of
any debris. - Paint the walls a fresh coat of paint. White paint is a great option to brighten a space. Use painter’s tape to protect the edge of the floor where the baseboard starts if you will be painting the baseboard as well. If you’re a messy painter, put a drop cloth on the floor, too.
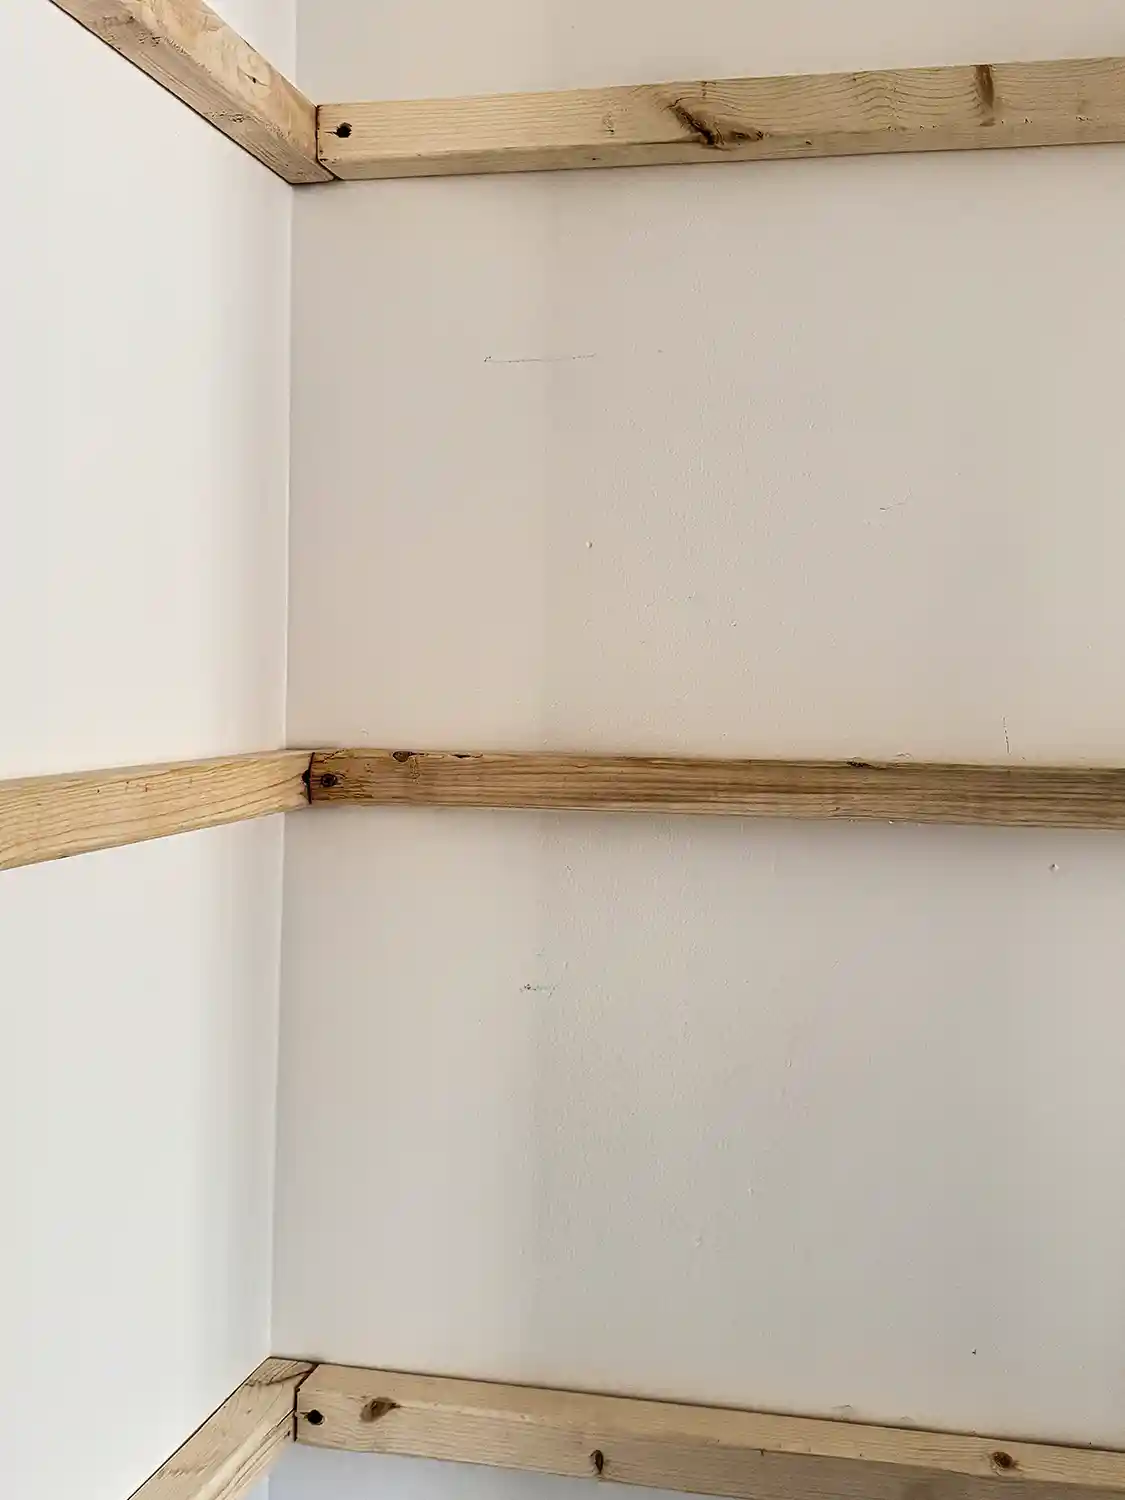
- After you decide on the size of shelves and the placement, measure for the placement of furring strips and cut furring strips for the back and sides of the walls. We made sure to use a stud finder to locate the studs and installed the strips into the studs. Also, a level is handy to ensure that the furring strips are level when installing.
- After the furring strips were up, I also painted them to match the wall paint so they would be less visible.
- Using the measurements for the shelves you need, cut them out of the plywood. My pantry closet is not deep enough to install corner shelving, but I wanted my shelves to be as deep as possible to fill the entire space.
- When shelves are cut out, use sandpaper or an electric
sander to lightly sand off any imperfections and keep the surface smooth. - Stain the shelves outside or in a well-ventilated area. When staining large wood pieces, I recommend brushing the stain on with a chip brush and then going over it with a cloth rag. Stained shelves add warmth to a space and are a great choice for farmhouse charm.
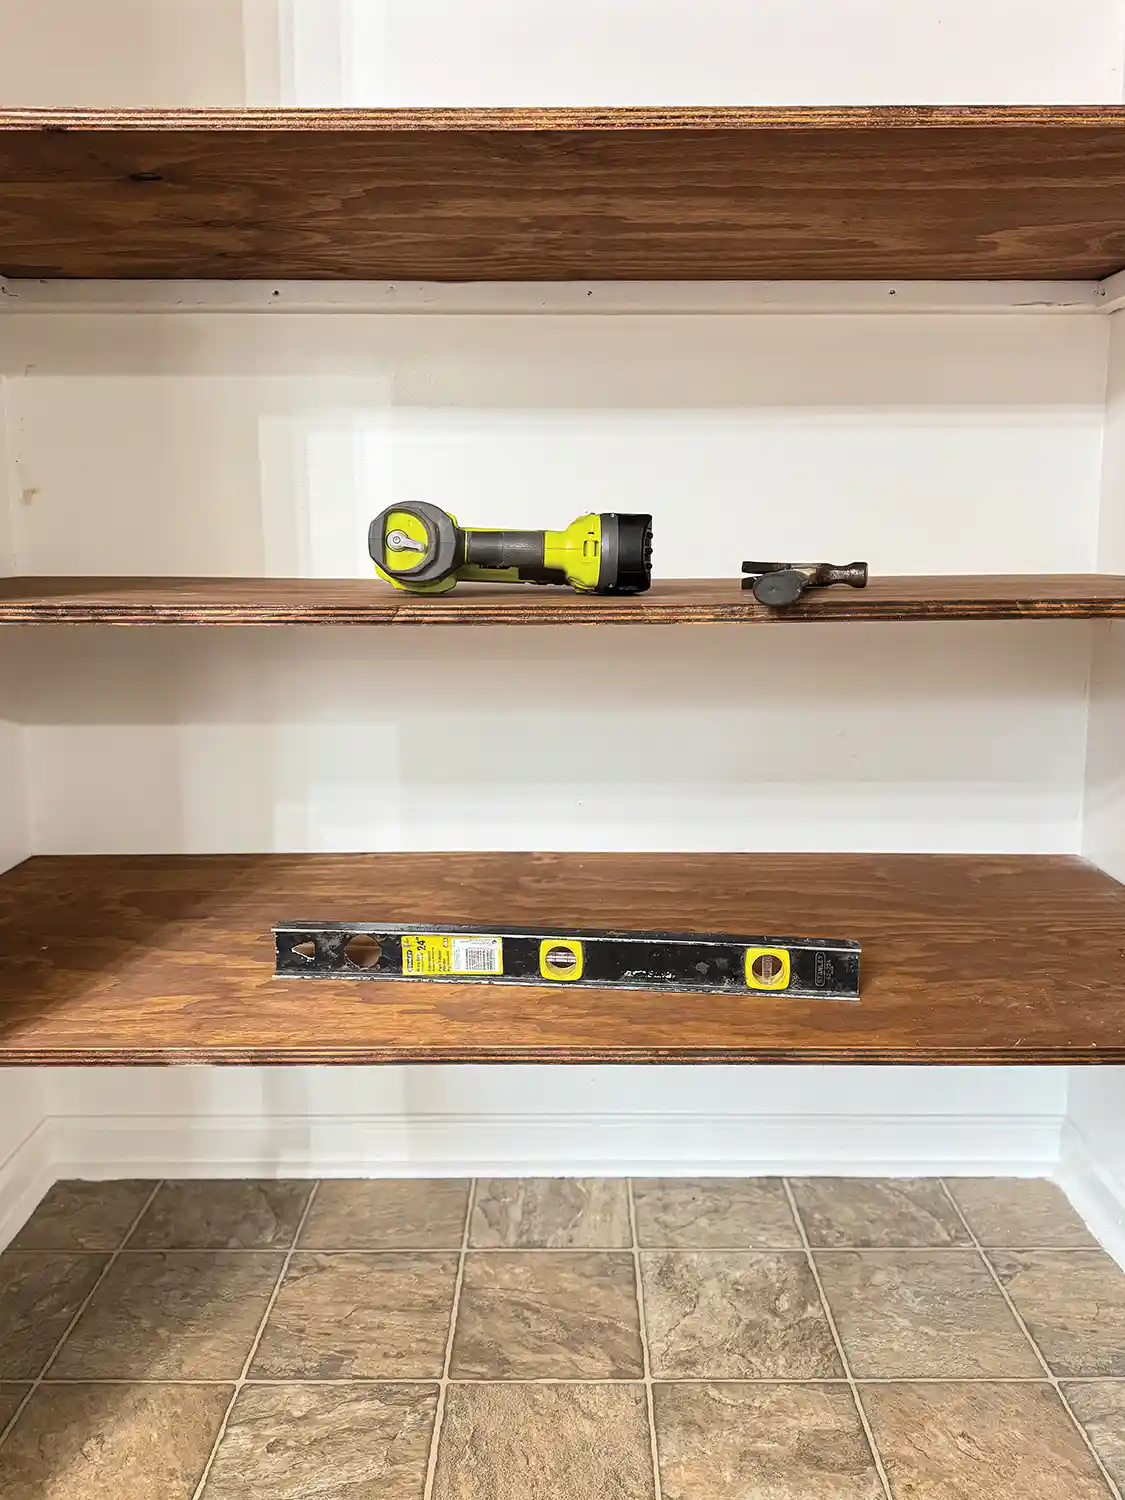
- After the stain has dried completely, you are ready to install in the pantry.
- We started with the bottom shelf and worked our way up. As each shelf is placed into position, securely attach it to the furring strips with your drill and screws.
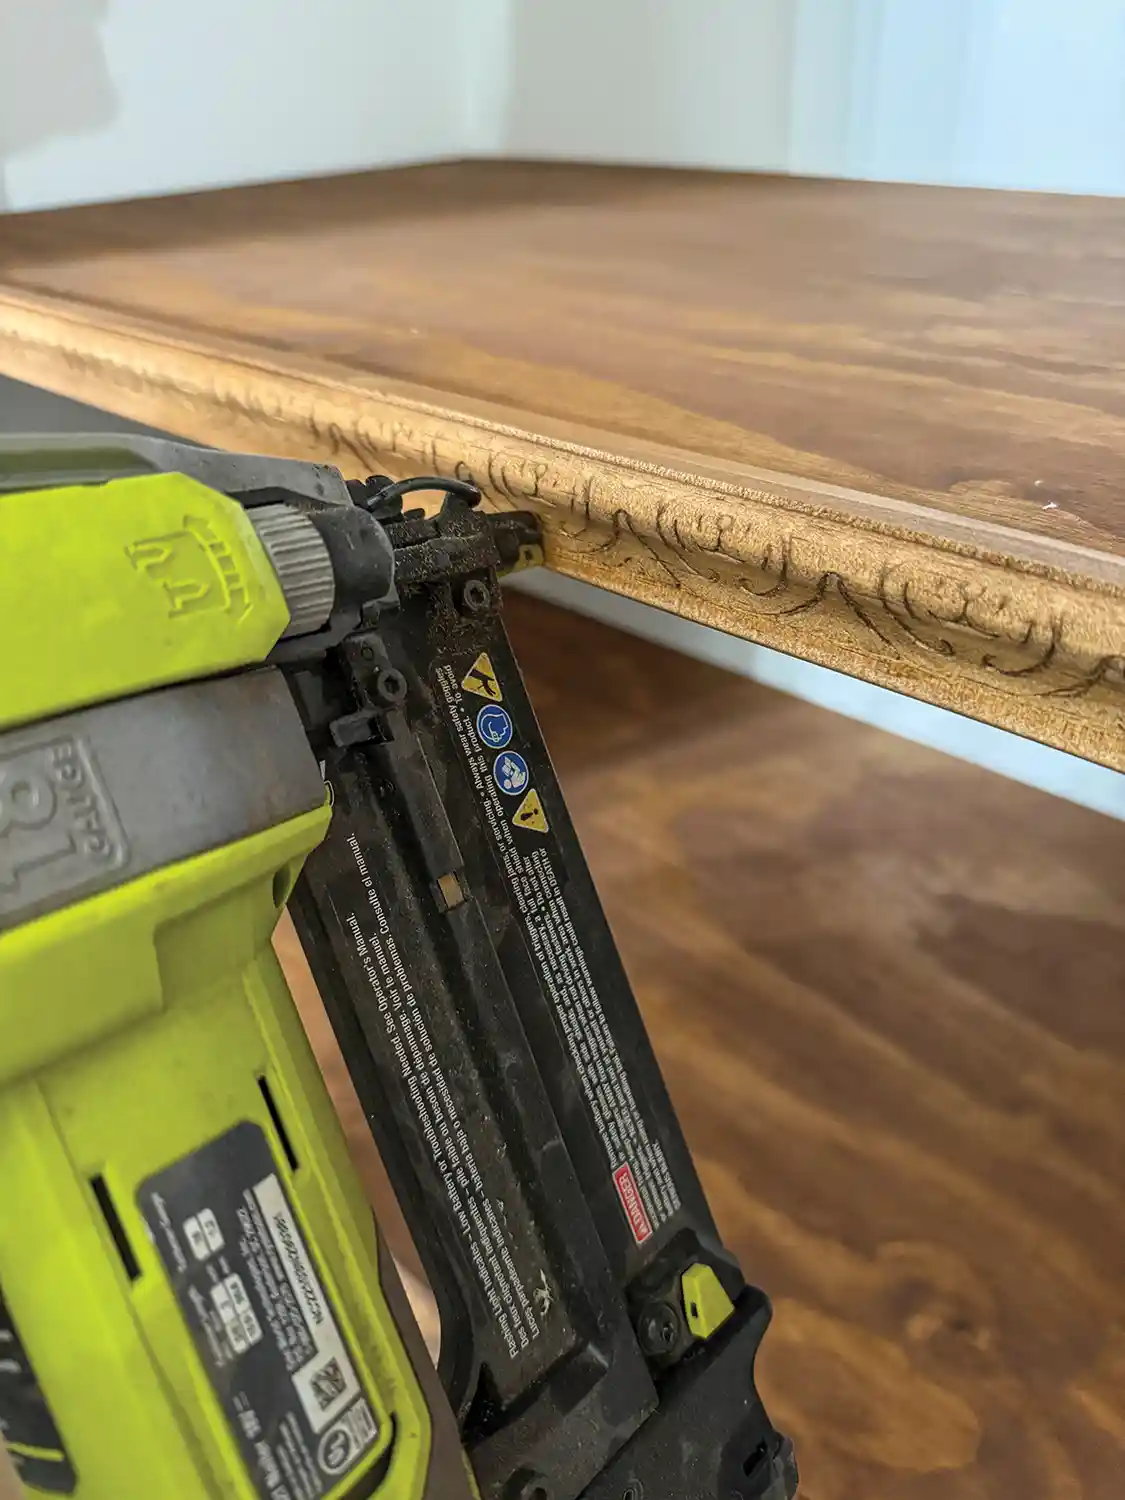
- Measure the front of each shelf for the length of trim needed.
- Cut your decorative trim to the length you need, stain, and allow to dry. Install the trim on the front of each shelf with a brad nailer. We chose a solid pine decorative trim, and it looks beautiful with our wood shelving.
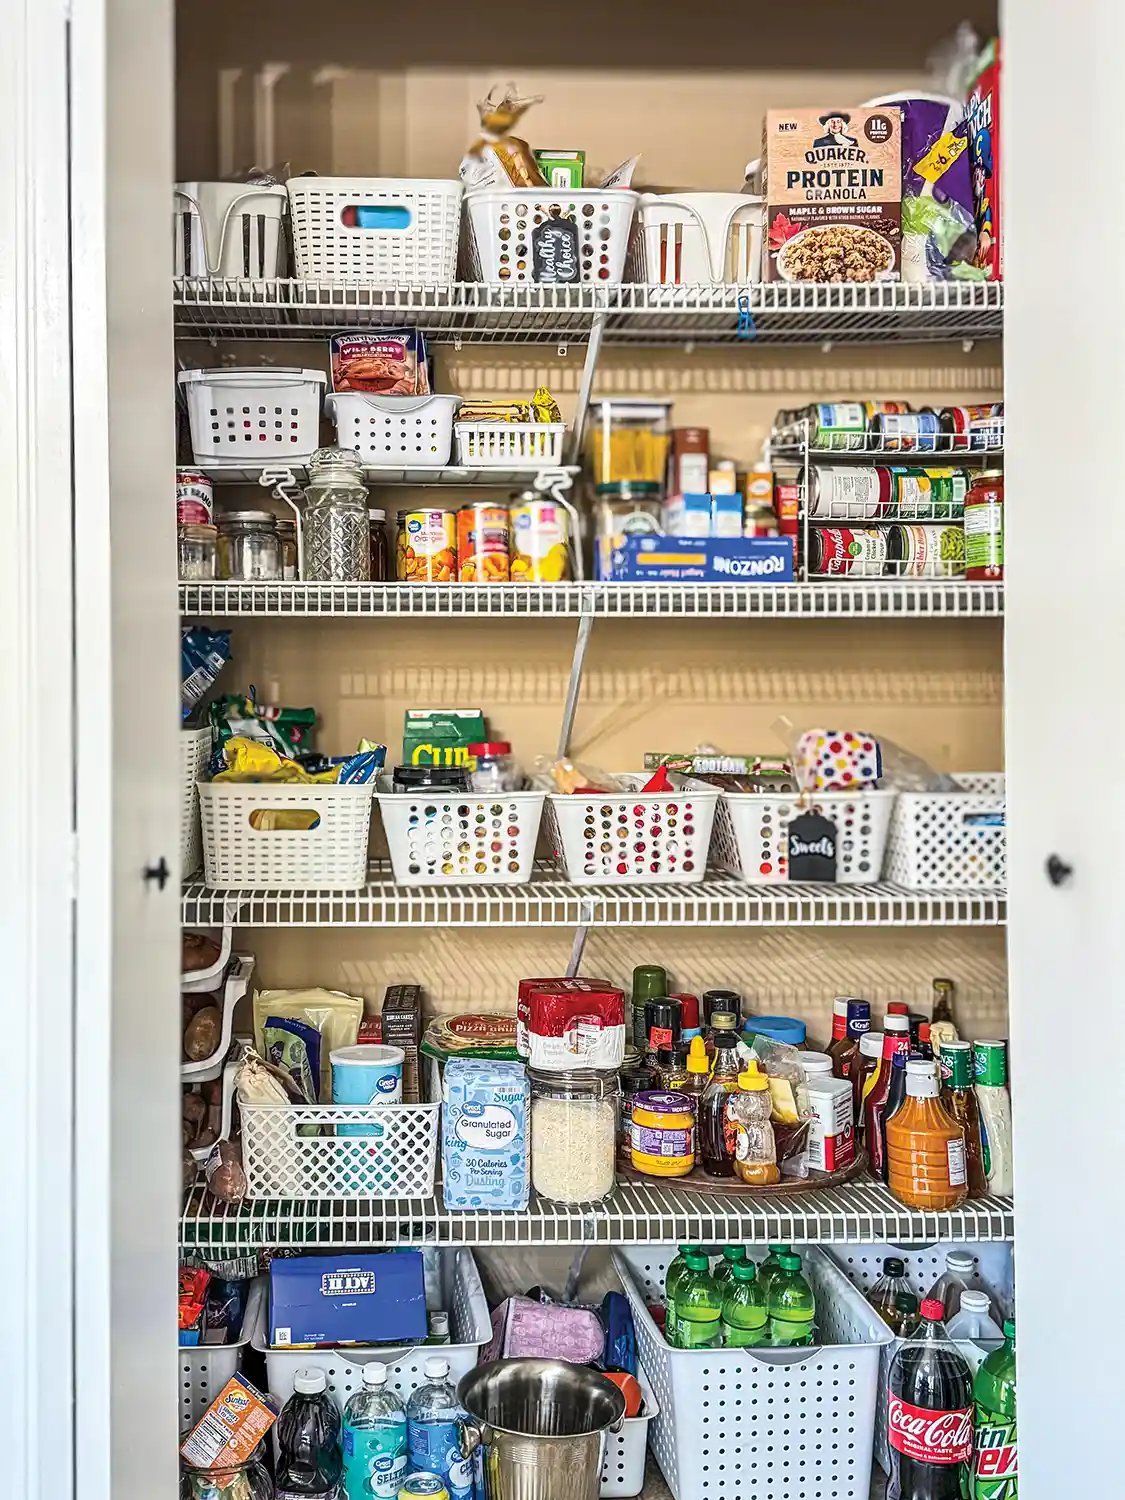
Now you’re ready to move on to the fun part! There are many options to choose from when it comes to organizing your pantry, but for farmhouse charm, I recommend baskets, trays, and wood crates in neutral tones, as well as clear containers or jars. A wood Lazy Susan is also helpful in the corners of shelves to keep them easily accessible. Group like items together and place most often used items at eye level within easy reach.

Gone are the days of things tipping over on wire shelves in my pantry. The deep shelves offer a sturdier option for holding canned goods, and they look so nice! The decorative trim on the front of the shelves and the ticking fabric skirt hiding what’s on the floor are perfect additions, too.

I made the most of the entire space, and it’s keeping me organized so I can easily see what items are low in stock when making my grocery list.
See you next time,
Lynn
Follow Lynn on Instagram @athomeinthewildwood.