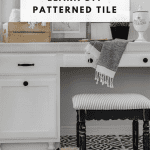


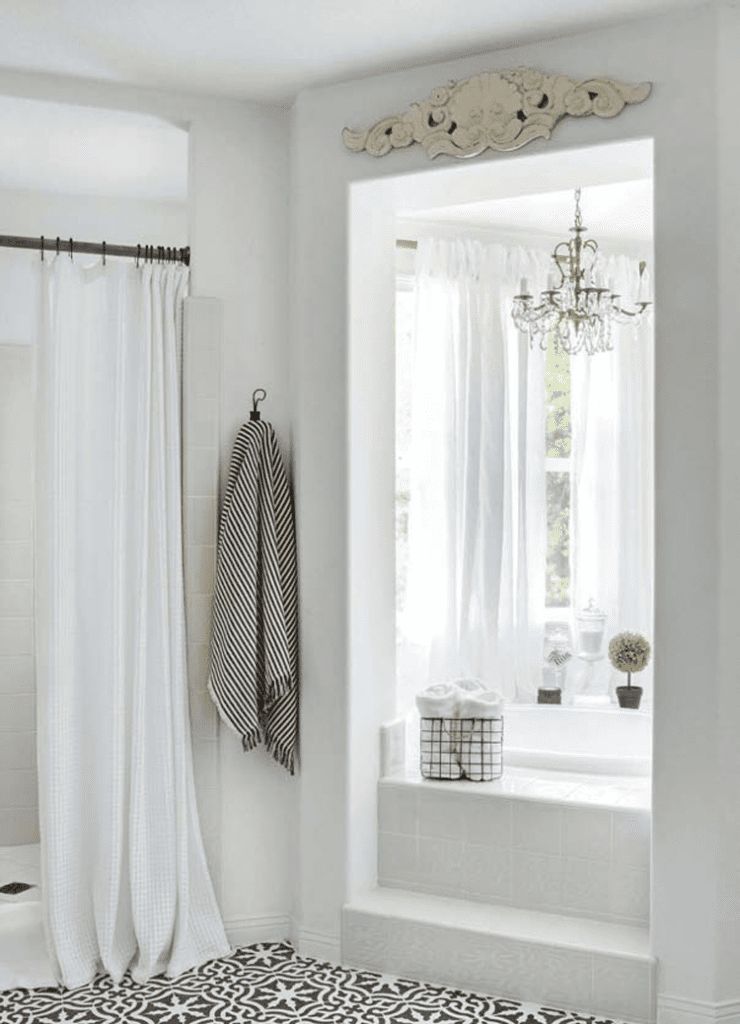
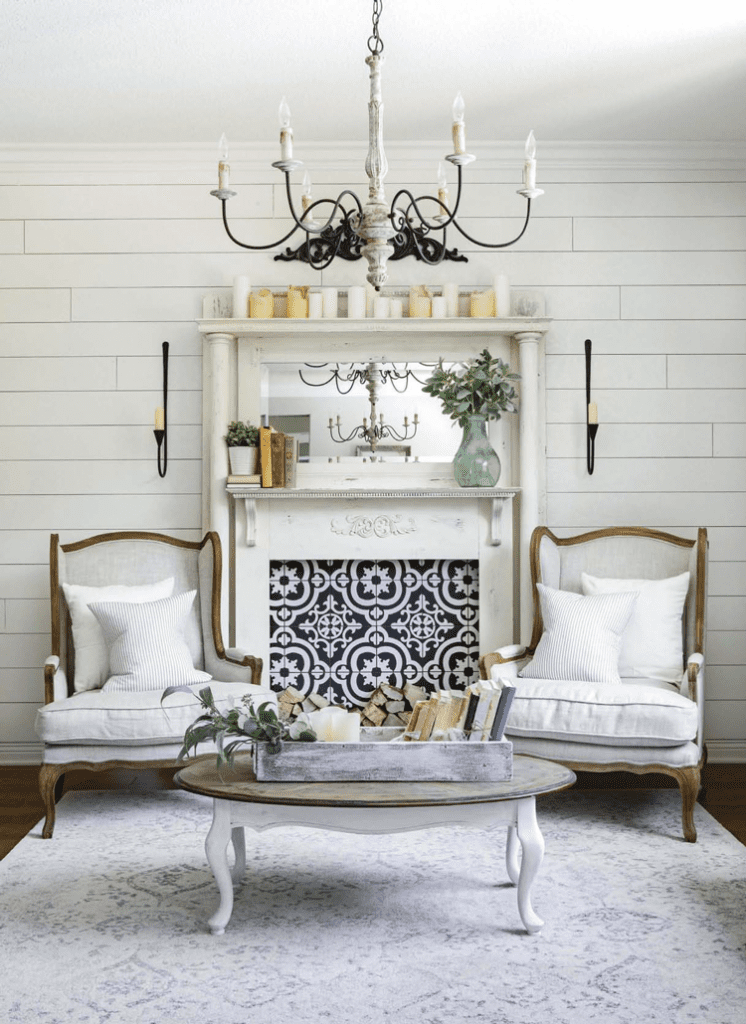
DIY Patterned Tile
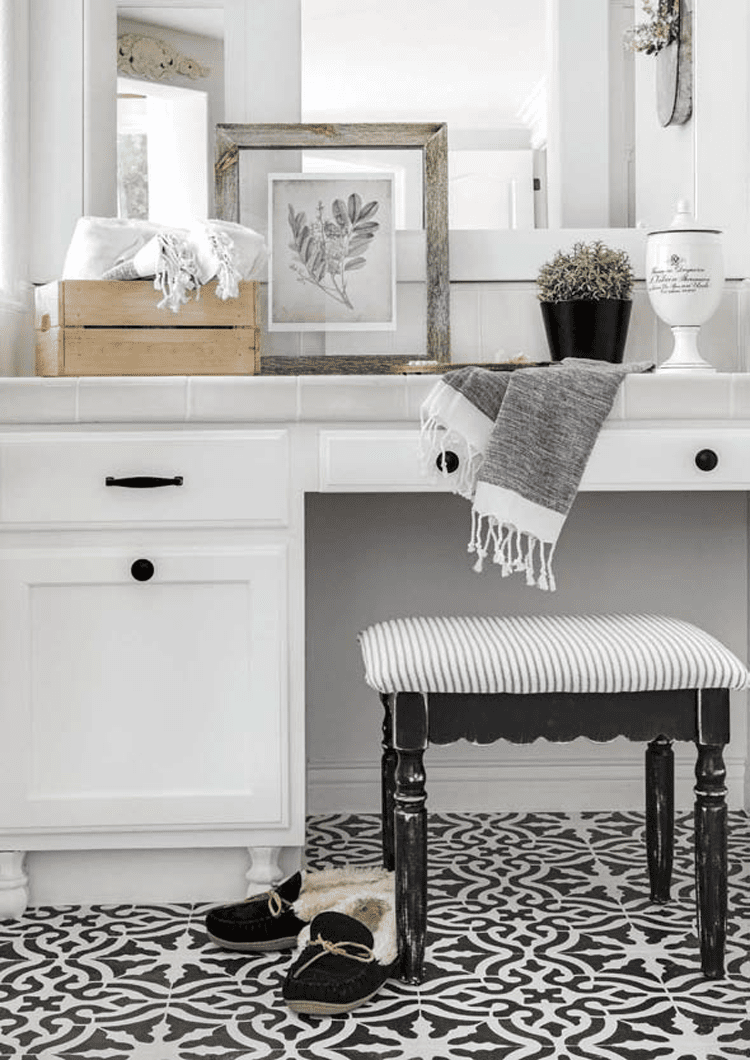

If you love the stenciled tile look but don’t want to fork out the dough, you can paint your own patterned tile instead. Be patient and follow all the steps—this project took homeowner Jaclyn James a full eight days, but the result was worth the work. Want to learn more? Take a look at Jaclyn’s beautiful home!
(As an Amazon Associate, American Farmhouse Style earns from qualifying purchases.)
What You’ll Need
- Heavy duty cleaner, such as TSP
- Painter’s rag
- Painter’s tape
- Primer (we recommend Zinsser)
- 1” paint brush (for edges and grouts)
- Foam paint rollers
- Chalk paint, in two colors (such as Dixie Belle Paint)
- Stencil of choice (Jaclyn used Royal Designs)
- Artist’s brush (optional)
- Protective polycrylic finish (Jaclyn used Minwax)
- Bathroom caulk
- Caulk gun
What You’ll Do:
1. Prep your tile. It needs to be immaculately clean before you start stenciling. Jaclyn recommends using TSP and a painter’s rag.
2. Apply painter’s tape to the cabinets and baseboards to separate them from your work space.
3. After that, prime the floor. Use a 1” paint brush and foam paint rollers for your primer coats. “Work in sections, painting the edges and grout lines,” Jaclyn says. Then work your roller along the tiles. “Allow the first coat to dry completely and repeat.” Depending on the type and color of your current flooring, you may need 2-3 primer coats.
4. After the primer has dried, it’s time to start the chalk paint. You’ll paint a full 2-3 coats of your base color before you begin stenciling. As with the primer, begin with the edges and grout before using your roller for the tiles.
5. Once the chalk paint is dry, you’re ready to begin stenciling. First, line up your stencil. “Line the stencil up with the painter’s tape and then line up the stencil on your tile using the grout line as a guideline,” Jaclyn says.
6. Then, use a roller to gently roll the second paint color over the stencil—don’t press too hard or the paint may bleed underneath and leave an imperfect design. You may also want to use an artist’s brush to fill in any areas (such as the grout) the roller missed.
7. Repeat this process across your floors, working in small sections. For larger paint bleeds, you can use the artist’s brush and a little of your base color to hide the drips.
8. Once the whole floor is painted, cautiously remove the painter’s tape from the baseboards, going slowly so you don’t peel up any of the paint. Your stenciled tiles are almost done!
9. Next, seal the stenciling with several coats of protective polycrylic finish. “Allow two hours of dry time in between each coat,” Jaclyn says. For the last coat, she recommends letting the seal sit overnight.
10. Finish with caulk. “As a final precaution and to really complete the look, run a thin bead of white bathroom caulk along the edge of the entire floor to seal it completely,” Jaclyn says. This will provide a clean finished look between your floors and the walls.
Tip: When choosing a stencil for your patterned tile, look for one that’s the same size as your floor tiles. This will allow you to use the grout lines to place your stencil and keep the pattern straight.
Now go make your own patterned tile! But don’t forget to follow us on Instagram, Facebook and Pinterest for your daily dose of farmhouse inspiration!