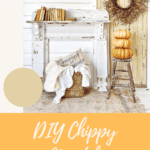


DIY Chippy Mantel
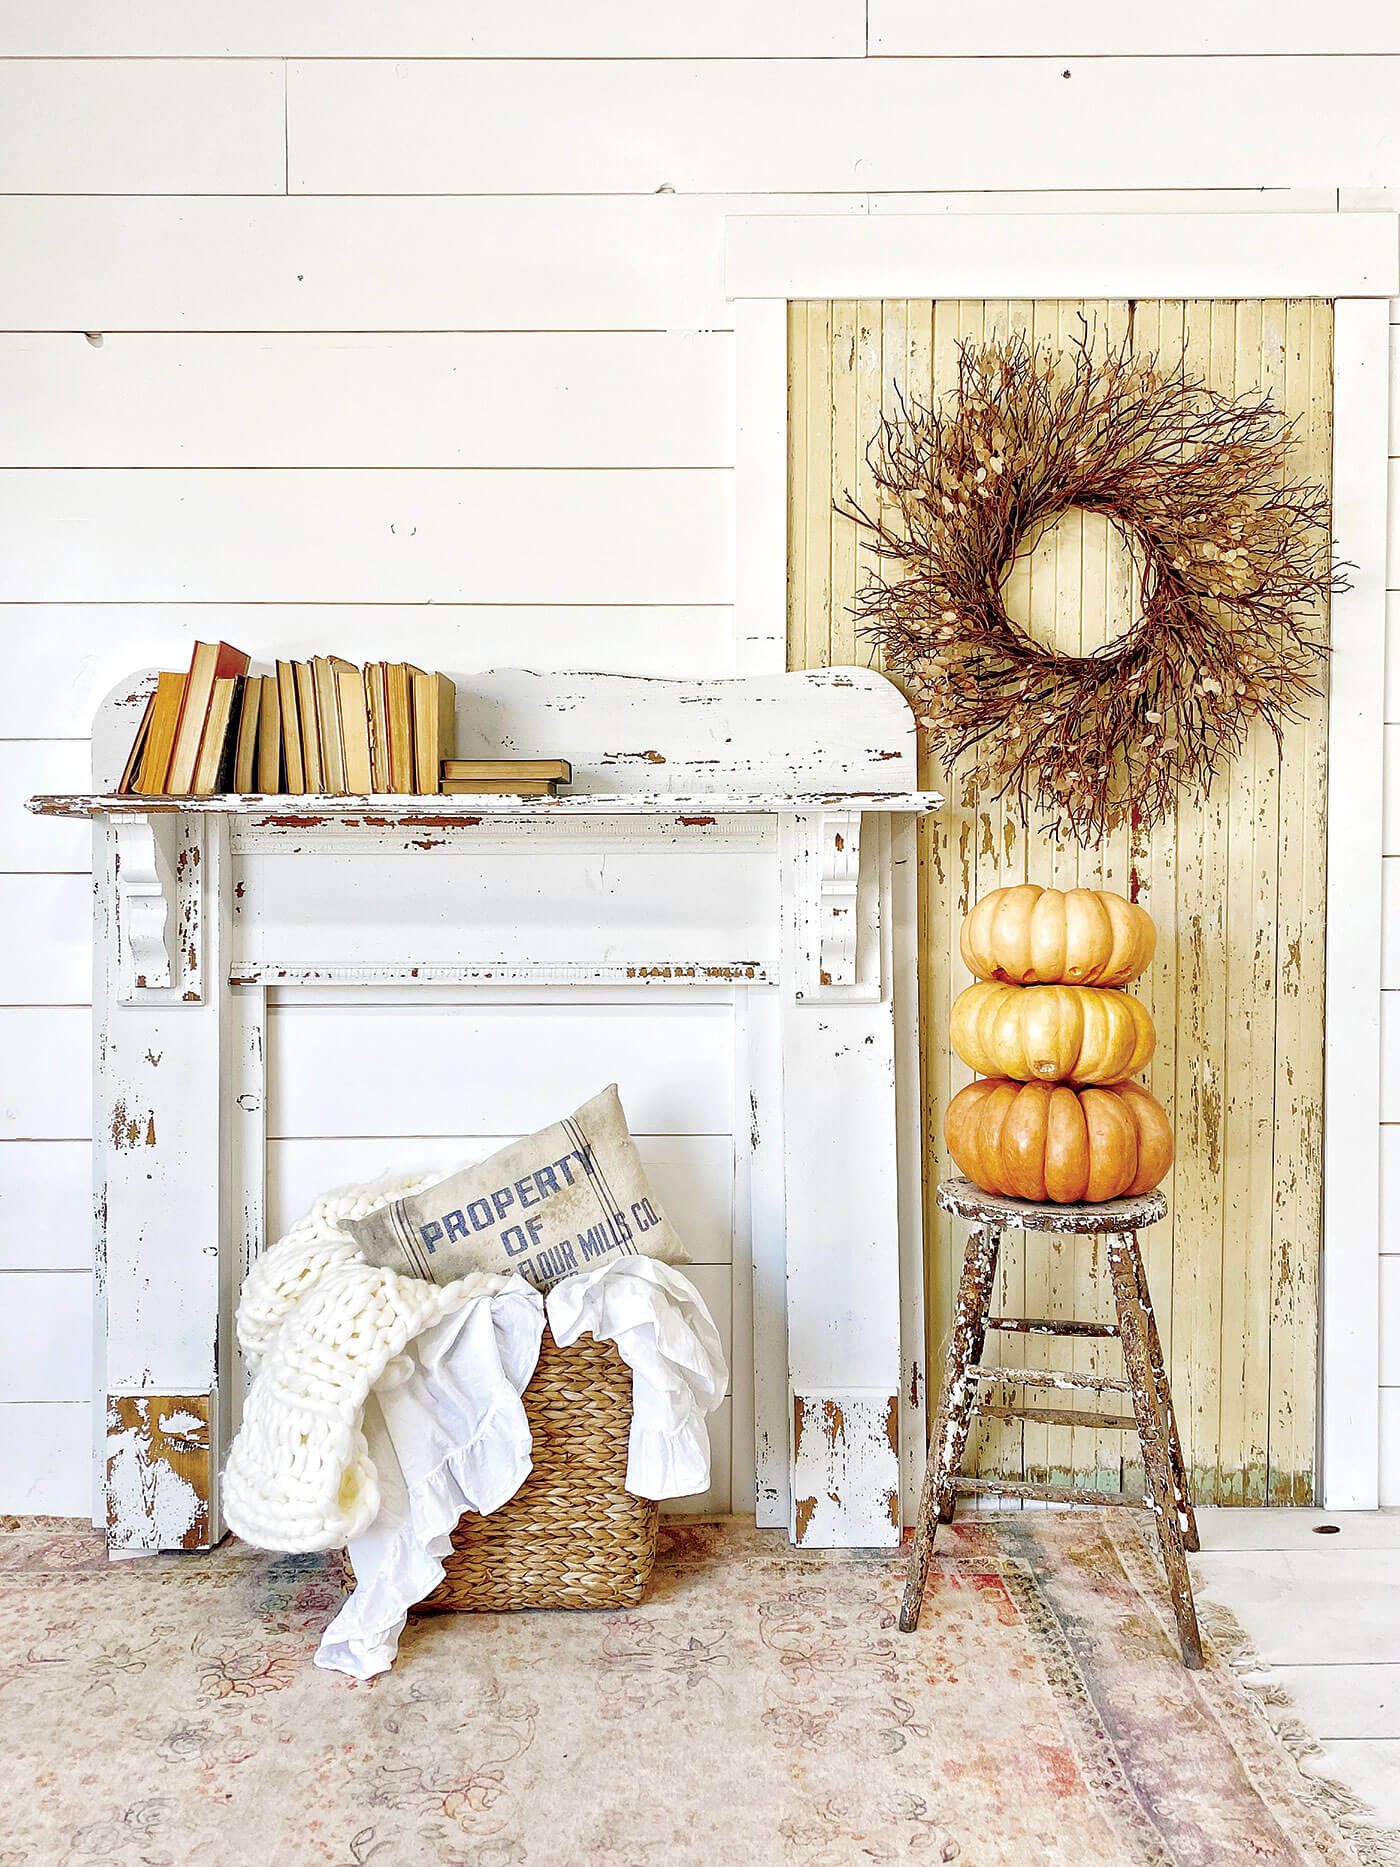

Mantels don’t have to be connected to working fireplaces to be a decorating opportunity in your home. Milk paint is the perfect type of paint to use on a furniture upcycle. Not only is it non-toxic and environmentally-friendly, but it’s also easy to manipulate into looking aged for this DIY chippy mantel.
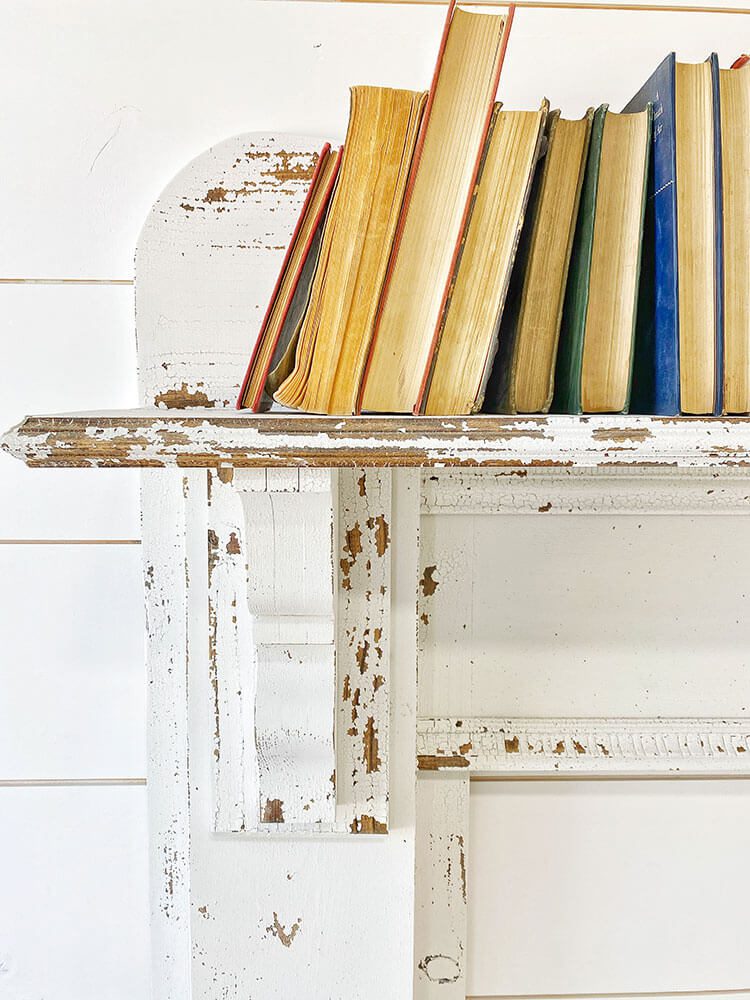
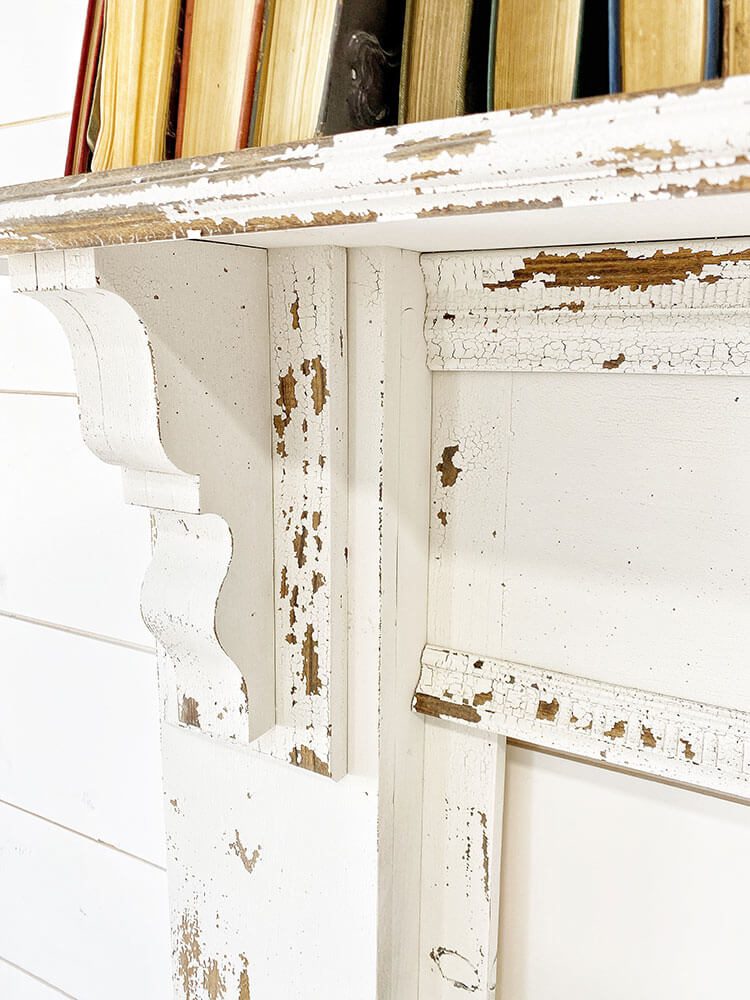
“A true milk paint like ours is the only type of paint on the market that will naturally chip and flake off as it resists some surfaces, creating the perfect chippy and crackle finish,” says Sausha Khoundet, owner of Sweet Pickins Milk Paint. There are a variety of finishes you can pick for your milk paint that will either make it look smooth and new, or chippy and old. Here’s how to get this DIY chippy mantel, or a crackle finish on any other piece of furniture.
(As an Amazon Associate, American Farmhouse Style earns from qualifying purchases, at no extra cost to you. It’s truly a win-win!)
What You’ll Need:
- Finished mantel (this mantel was built new)
- 120-grit sandpaper
- Wood stain (optional; used here: Minwax)
- Spray on clear finish (used here: Rust-Oleum Clear Enamel)
- Milk paint (used here: Sweet Pickins Milk Paint in Flour Sack)
- Paintbrush
- Finish of choice (used here: Sweet Pickins Oil Wax in Clear)
What You’ll Do:
1. First, you’ll need a mantel. Because you’re creating an old and chippy look, you don’t need a vintage piece—Sausha made this mantel with new pine wood.
2. If your mantel is new, lightly sand it to get rid of any potential splinters. Sausha also decided to stain the mantel before painting it. “We wanted to see a dark finish when our milk paint chipped,” she says. If you do stain the piece, make sure it dries completely.
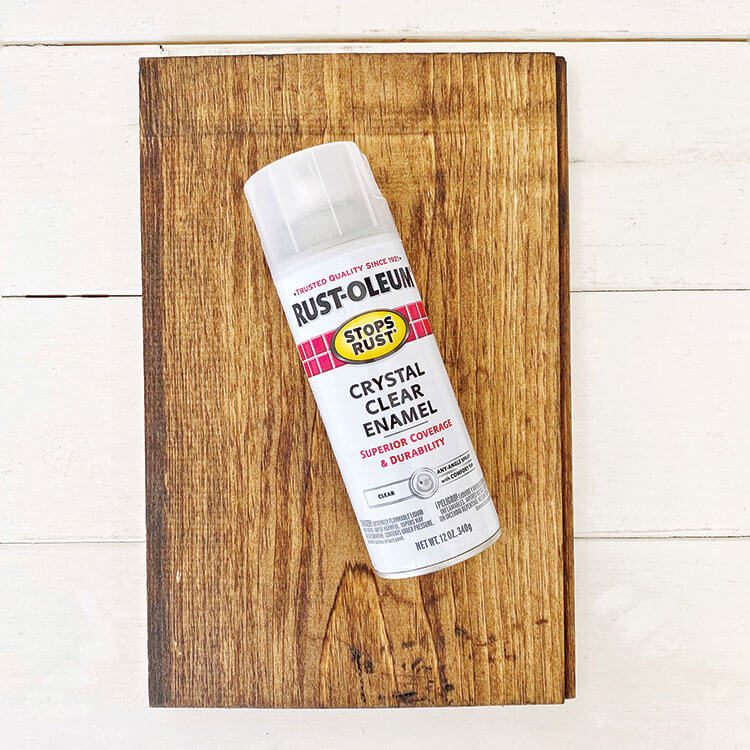
3. To make the milk paint look chippy, you don’t want it to stick to the wood very well. “We created a ‘resist’ so that the milk paint wouldn’t adhere in certain spots,” Sausha says. To do this, add a light layer of clear finish to the mantel—Sausha recommends using a spray-on finish. Don’t cover the entire piece, but simply add a “dusting” of the clear coat for your DIY chippy mantel.
4. While the clear coat is drying, mix up the milk paint according to the package instructions.
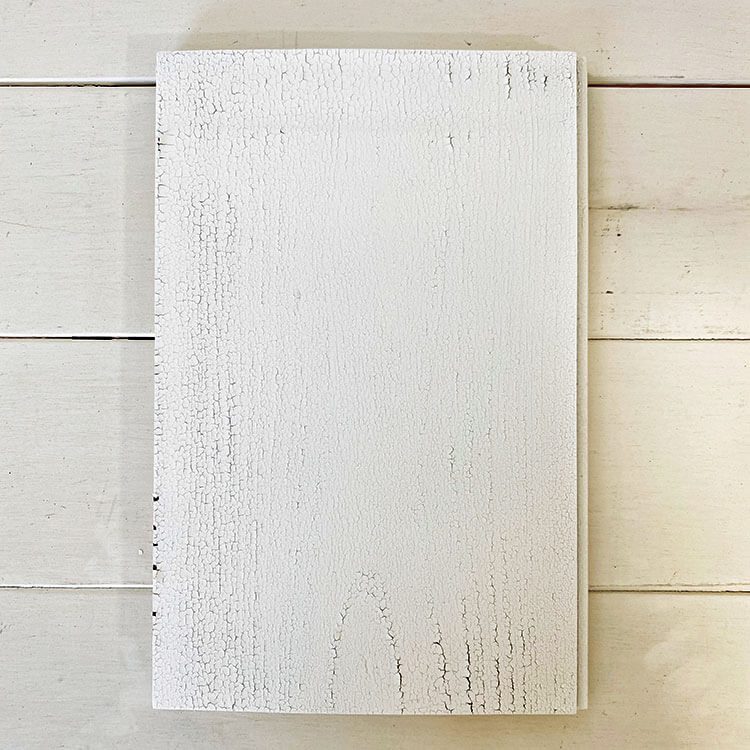
5. Brush or spray the milk paint onto the mantel and let it dry. As it dries, you’ll see it start to resist the areas where the clear coat is.

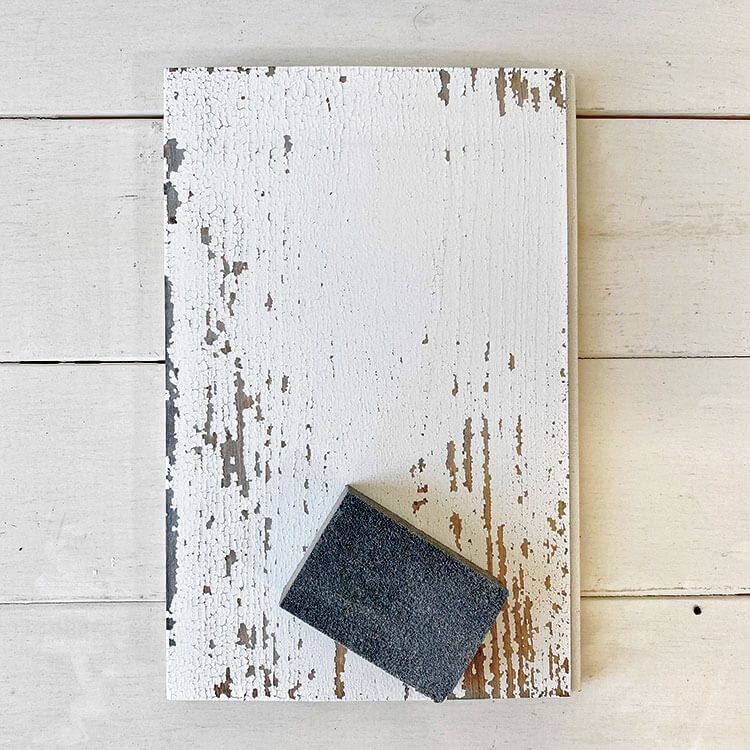
6. Once the piece is fully dry, lightly sand the DIY chippy mantel with fine-grit sandpaper to remove any loose paint. Then wipe the piece down with a cloth to remove remaining dust.
7. Seal the piece with your finish of choice. Sausha used her Sweet Pickins Oil Wax here, but Sweet Pickins also offers a variety of other nontoxic finish options. “You can even choose a sealer with a dark pigment in it to really highlight all that crackle goodness,” she says.
Love this milk paint project? Try another with more color! Of course, don’t forget to follow us on Instagram, Facebook and Pinterest to get your daily dose of farmhouse inspiration!