


DIY Built-In Fireplace


Editor’s Note: Astra Spanbauer @AtHomewithAstra is our 2022 Brand Ambassador! Today, she’s sharing with us her DIY built-in fireplace.
Upon first glance of the original fireplace below, I am sure you are wondering why there would be any need to build a new DIY built-in fireplace?! I promise, I’ll tell you! But first, let’s jump into exactly how I did it!

STEP 1: Gather Your Materials and Don’t Forget Your Measurements
MEASURE, measure, and measure again … then go out and get your materials! I spent a lot of time figuring out how much space I wanted my fireplace to take up …considering it’s an addition to my existing fireplace, I had to plan my space wisely. Why would I be adding a new fireplace to my living room when I already have a fireplace you may be asking?!?! Well, the original owners of my home permanently sealed off the existing wood burning fireplace and I figured I would explore my options when it came to fixing it. I decided on building a new fireplace addition with an electric fireplace insert!
Here’s a rough estimate of what you will need…
- Fireplace – $989 (most of your costs incurred will depend on the fireplace insert you choose)
- 2x4s – $50
- Underlayment Plywood – $22
- Tile Adhesive – $40
- ½ Inch OSB – $40
- Zellige Tile-$267
- Mantel & Trim Materials – $160
- Screws, caulk, wood filler, etc. – $40
Here’s what I used…
MATERIALS
- Touchstone Electric Fireplace
- 13- 2x4s
- Pocket hole screws
- 3″ Wood Screws
- Masonry Screws (only because I was attaching my studs to brick)
- Masonry Drill Bit (only because I was attaching my studs to brick)
- 4-1×4×8 Primed MDF
- 4-1x2x8 Primed MDF
- 4-8ft PVC Baseboard
- 2-1x3x8 Primed MDF
- 4- 8ft Shoe Molding
- 2-1/4”x4x8 OSB
- 5mm Poplar Plywood Underlayment
- Square Unfinished Pine 1x16x8 (used for my mantel)
- Select Pine Square Unfinished 1x10x8 (used for my mantel)
- 2- Boxes of Riad Zellige Tile in Snow White
- Wood Filler
- Caulk
- Grout
- Tile Adhesive
Paint (I used a satin pre-mixed White from Walmart Color Place)
TOOLS
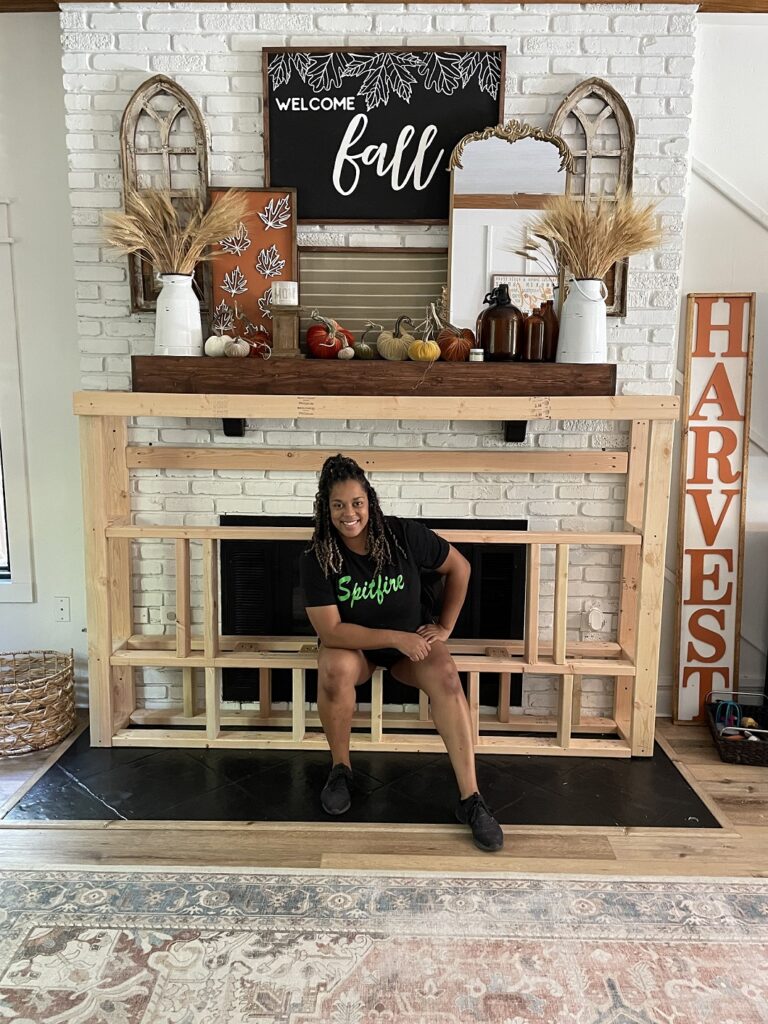
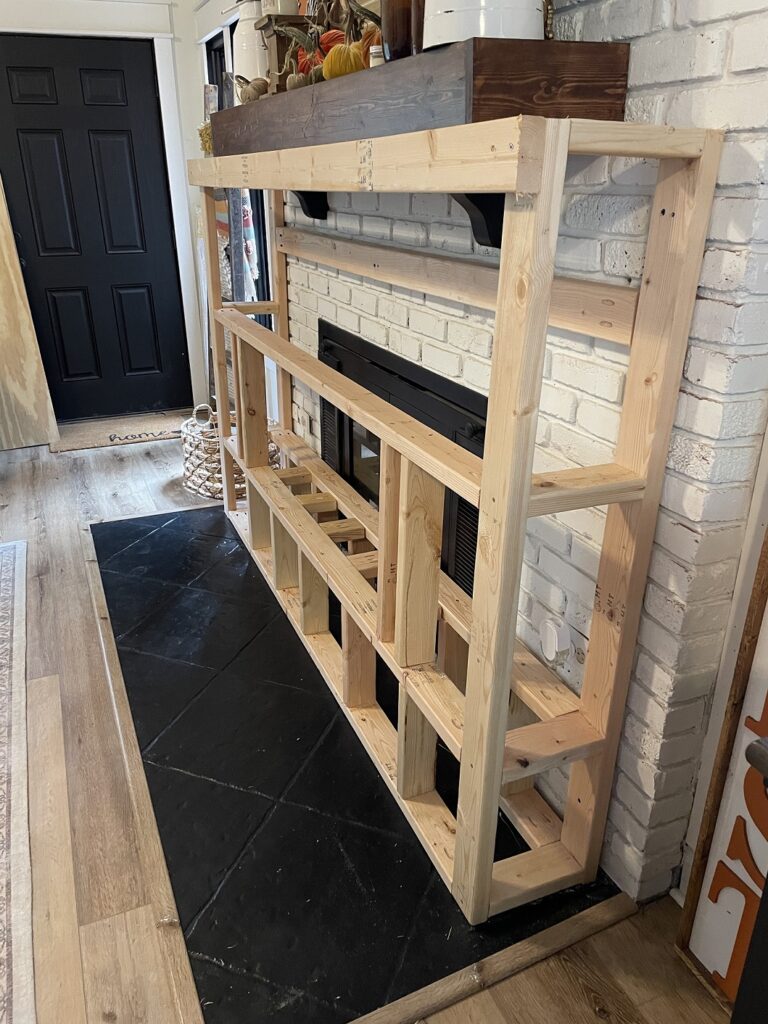
STEP 2: Frame Out Your Fireplace
I used 2x4s to frame out my fireplace. Everyone’s framework will differ depending on size as well as insert size. I started by attaching 2 vertical supports to the brick fireplace using a masonry drill bit and masonry screws to create the framework for the fireplace! I added 1 temporary bottom brace to the back wall to make sure my spacing was correct. Next, I added 2 more vertical supports in front of the first 2 so that all 4 corners of the fireplace would have a 2×4. I connected them with horizontal 2x4s at the top and bottom and pocket hole screws. I also built and attached what looks like a small ladder in front that connects the two sides. This is the main support that the fireplace will rest on. All of this was attached with pocket screws.
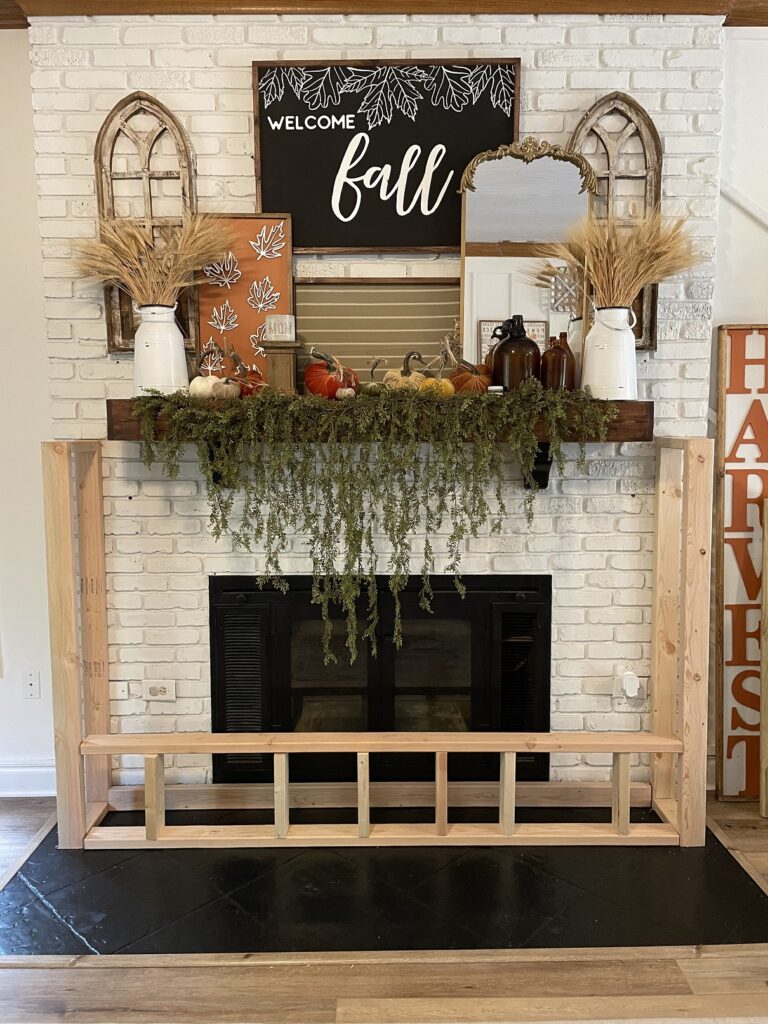
I continued my framing by adding a second ladder structure in the back of the frame that mirrored the front and connected them with 5 shorter braces to catch the remaining weight of the fireplace insert. I also added a back support closer to the top of the frame that connected to the bricks for extra stability.
Once my basic framework was done, I framed out the top and sides where the fireplace would sit and added extra supports just to make sure my structure was extremely stable and strong.
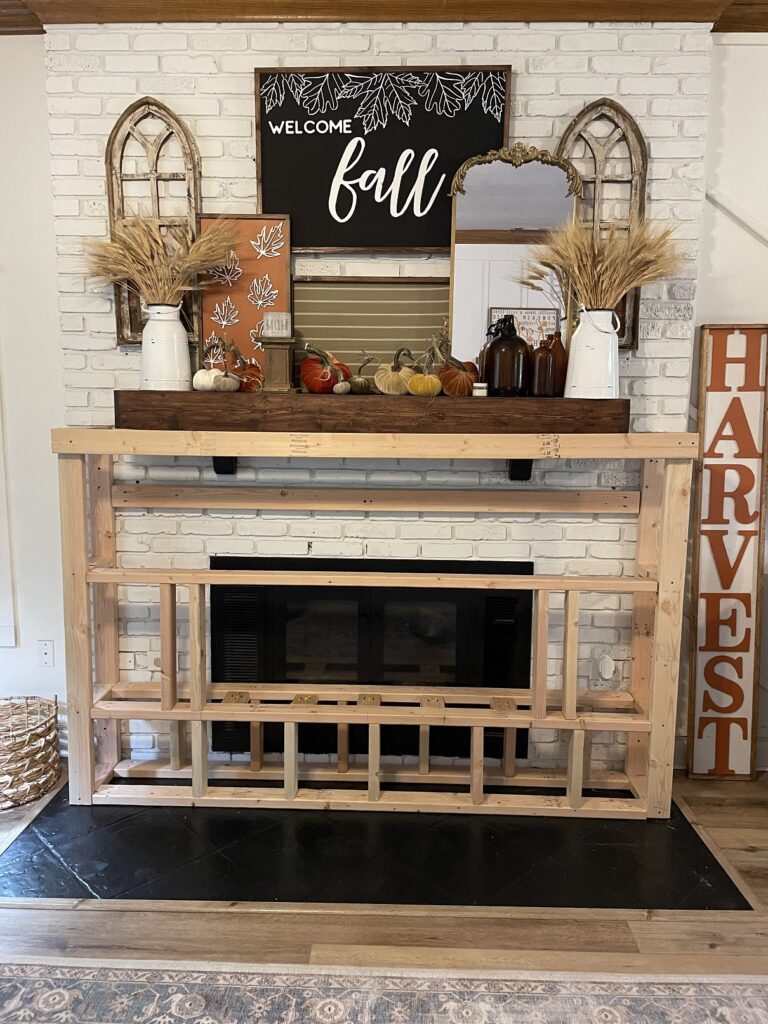
Once I finished building my framework, it was time to cover it all up!
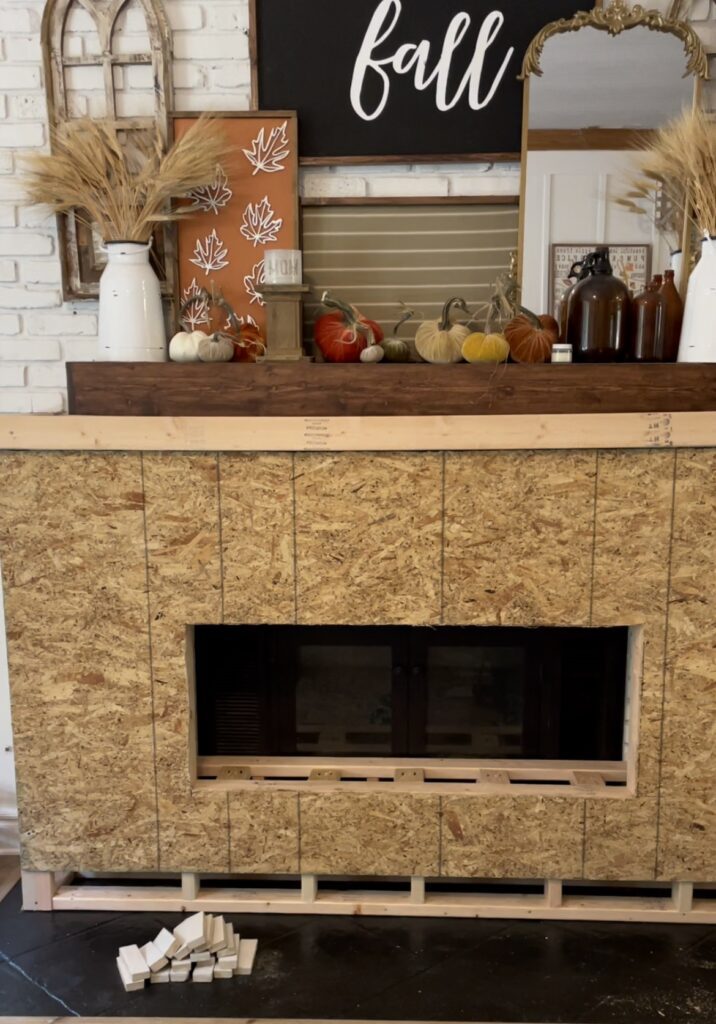
STEP 3: Cover It All Up
I used a combination of OSB (leftover in my garage from getting my roof replaced LOL) and underlayment 5mm Poplar plywood, but you could also use drywall here or any other plywood.

Then, I cut down the OSB to fit the front of my fireplace and used Plywood to cover the sides.
I screwed the front piece to the supports using my drill and wood screws. Then I measured and marked where I would need to cut for my fireplace insert.
I used my jigsaw to cut out the space for my fireplace insert.
Next, I did a quick fit to make sure the fireplace fit in its new home, and plugged in to test it out!
STEP 4: Cover in Underlayment, Add Trim, Tile & a Mantel
This is where you can really start to see the fireplace taking shape! Now that you have your structure, it’s time to MAKE IT PRETTY!
I started by framing out the fireplace using some extra window/baseboard trim I had in the garage. Once I framed it out, I drew out the section I wanted to add tiles to and framed that in as well using 1×3’s and 1×4’s. Also, I added underlayment here to give the tiles something to stick to. I also added 1×4’s on the edges of both sides to start giving the fireplace some definition.
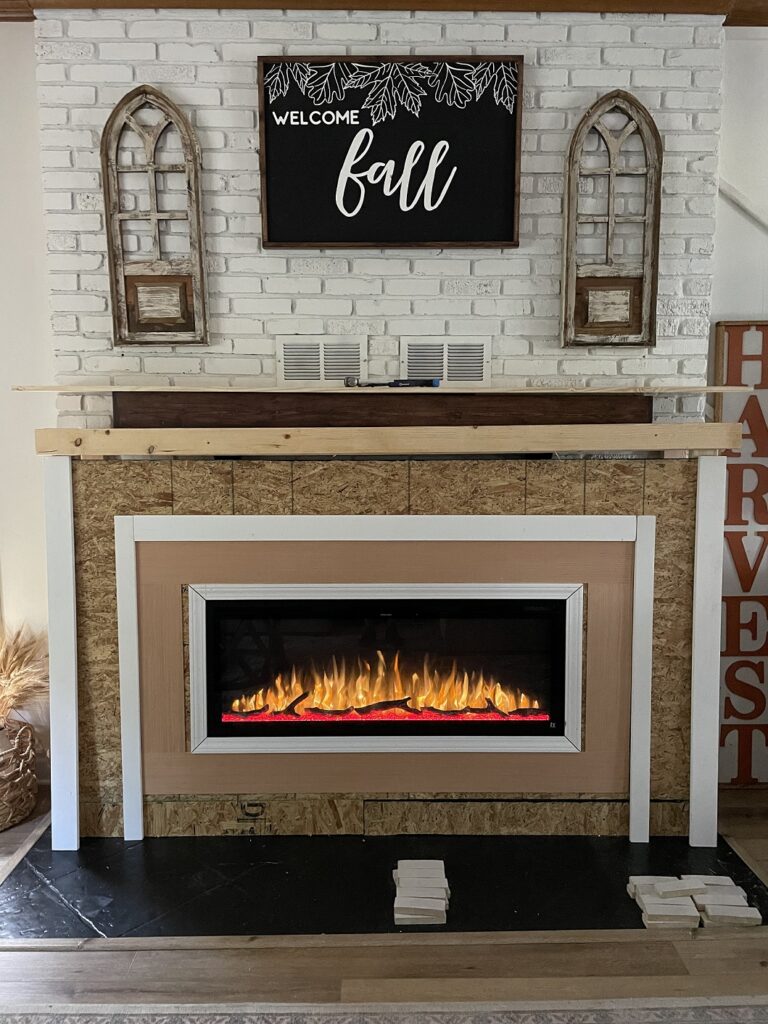
I attached underlayment on top of any remaining OSB.
Also, I added shoeing trim to the exterior 1×4’s.
I also attached the 1x16x8 to the top of the pre-existing mantel and added the 1x10x8 to the front 2×4’s to create a new mantle. I added 1x10s to each side of the mantle. Then I placed 1x3s on the bottom of the mantel to complete it.

Make sure to fill in all of the seams with wood filler or spackle.
Now it’s time for tile!
STEP 5: Tile
I absolutely love the look of Zellige tiles and I was lucky enough to partner with Riad Tile on a tiling project for my kitchen, and happened to have just enough left over to tile my fireplace! The Zellige I used is the color Snow White. I used tile adhesive to set the tiles on the underlayment and a wet tile saw to cut the tiles. Once they were all placed, I used the PVC trim to trim around the edges of the tile.
Now it’s time for grout!
STEP 6: Grout the Tile & Paint the Remaining Trim & Underlayment
I used Mapaei grout in Avalanche to complete the tile work.
Next, I painted the remaining underlayment and trim on the front of the fireplace.
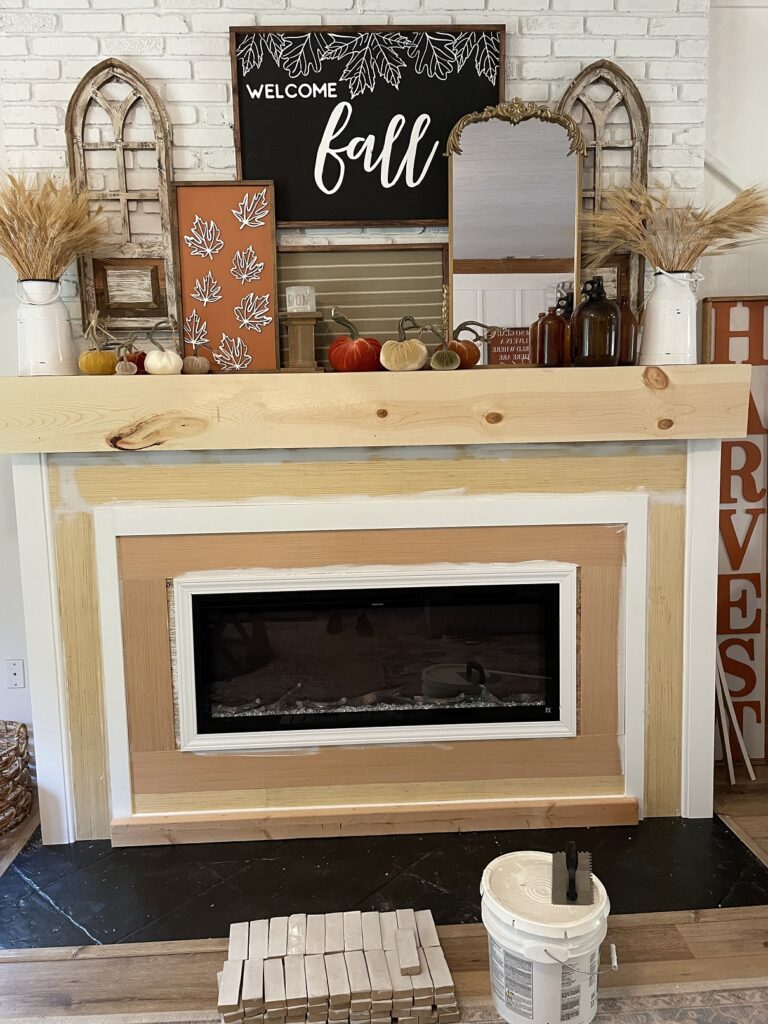
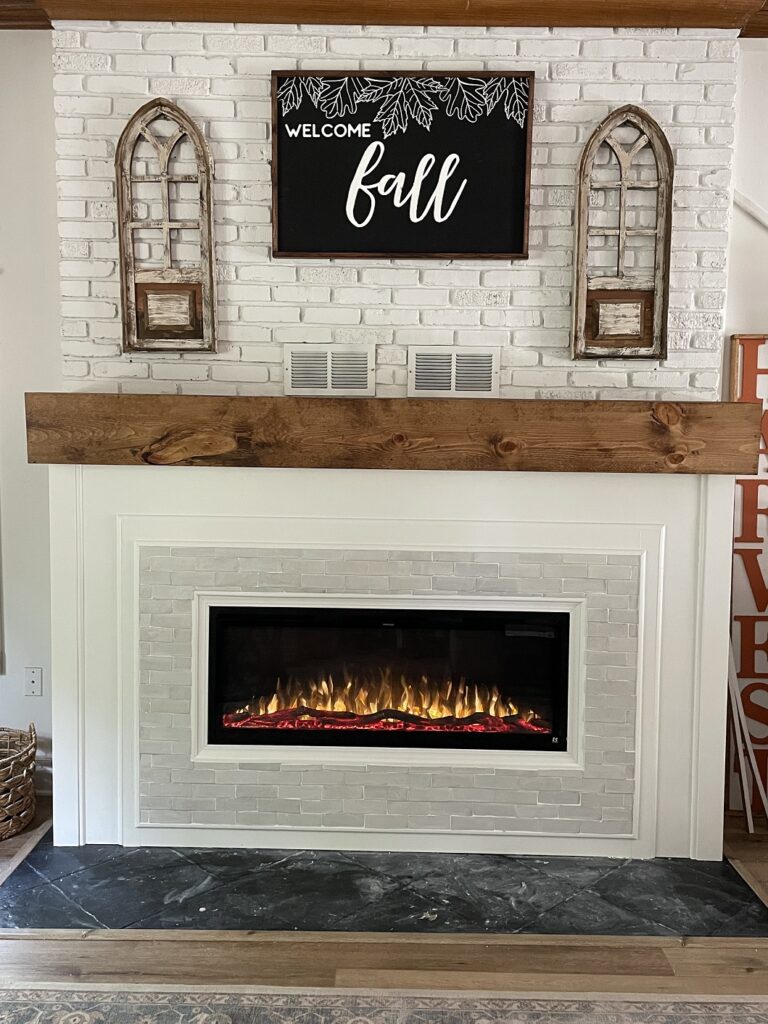
STEP 7: Stain the Mantel
I used Minwax Pre-Stain wood conditioner prior to staining my mantel.
Then I used Minwax Wood Finish in Early American to stain the mantel.
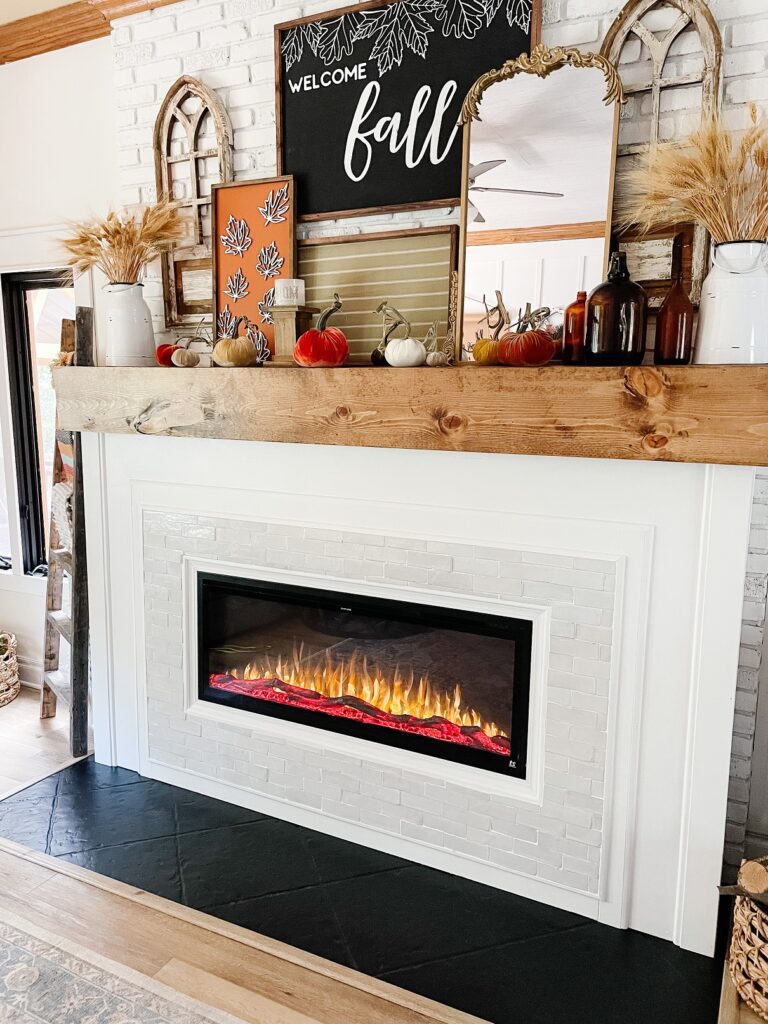
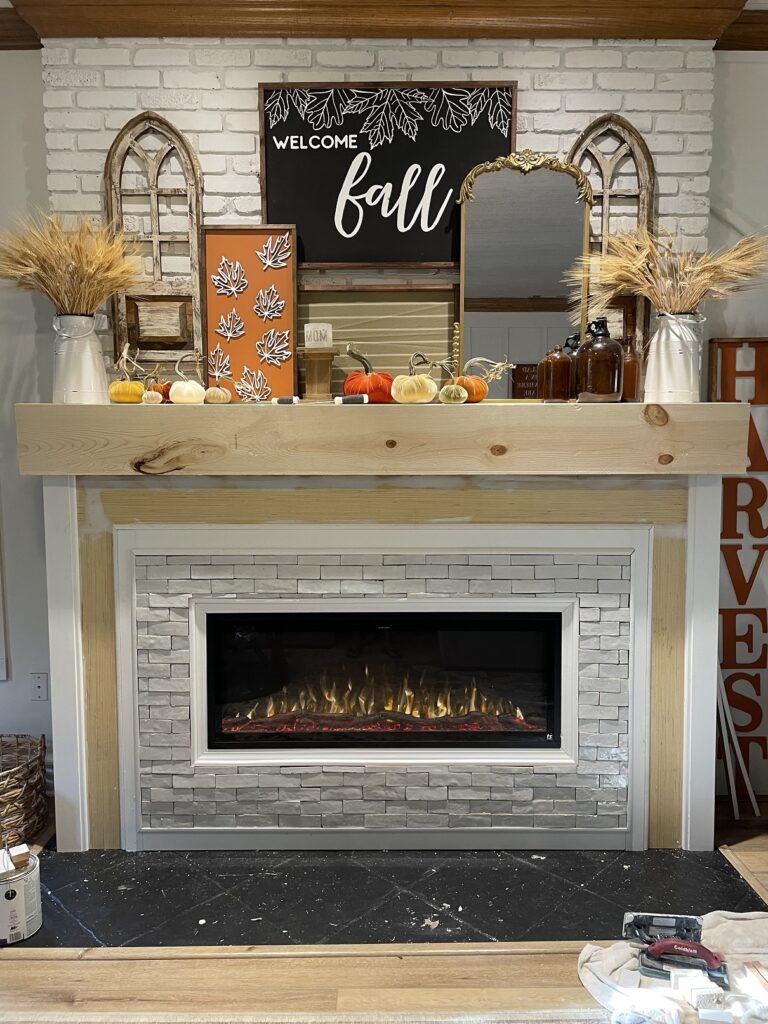
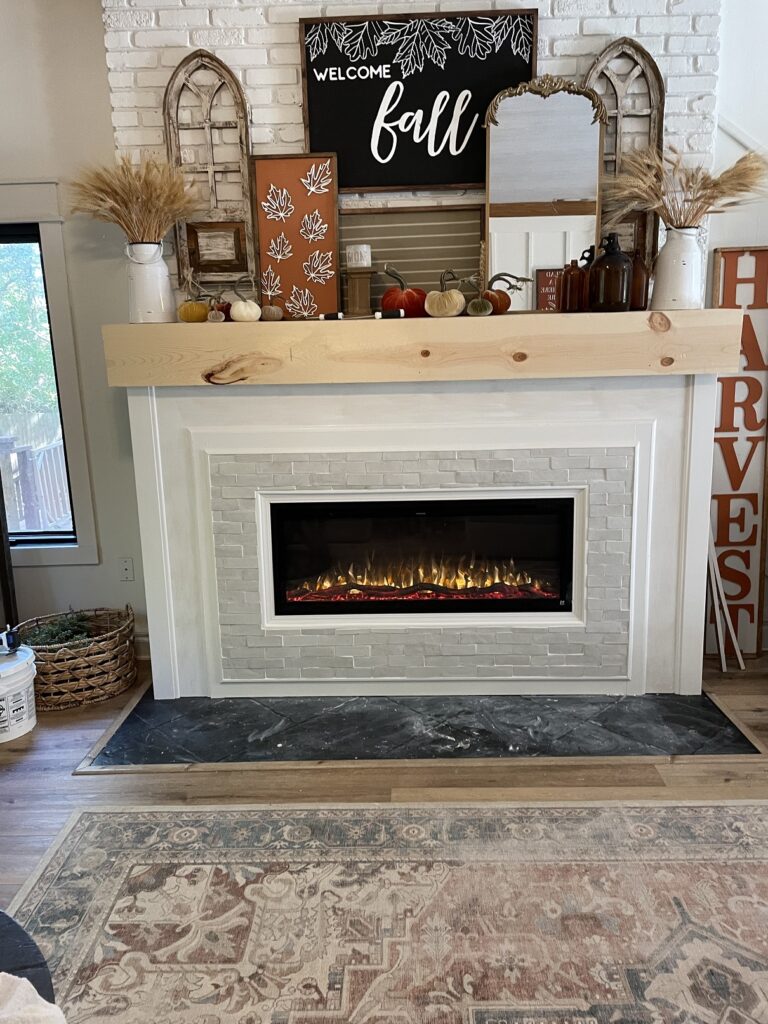
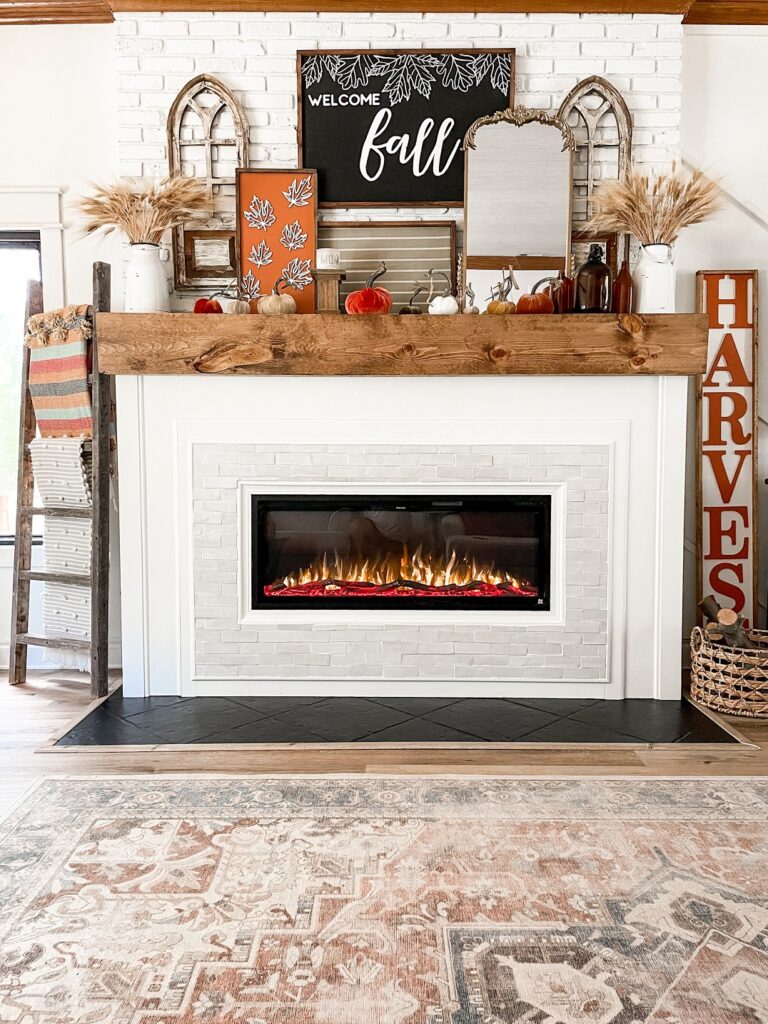
STEP 8: Clean Up, Decorate, & Enjoy
Last but certainly not least, I cleaned up my mess, decorated the mantel, grabbed the remote for the fireplace and got ready to enjoy this beauty! I can adjust the brightness, size, and color of the flames and coals. The fireplace is also wifi enabled and can be controlled with my phone using an app or by ALEXA! It also heats up to 400 sq ft! It’s super cozy and ready for Fall!
Liked this article? Tour Astra’s DIYed bathroom renovation! And don’t forget to follow us on Instagram, Facebook and Pinterest for your daily dose of farmhouse inspiration!