


How to Make DIY Patterned Floors

Learn how to create a patterned tile look without replacing all your floors.
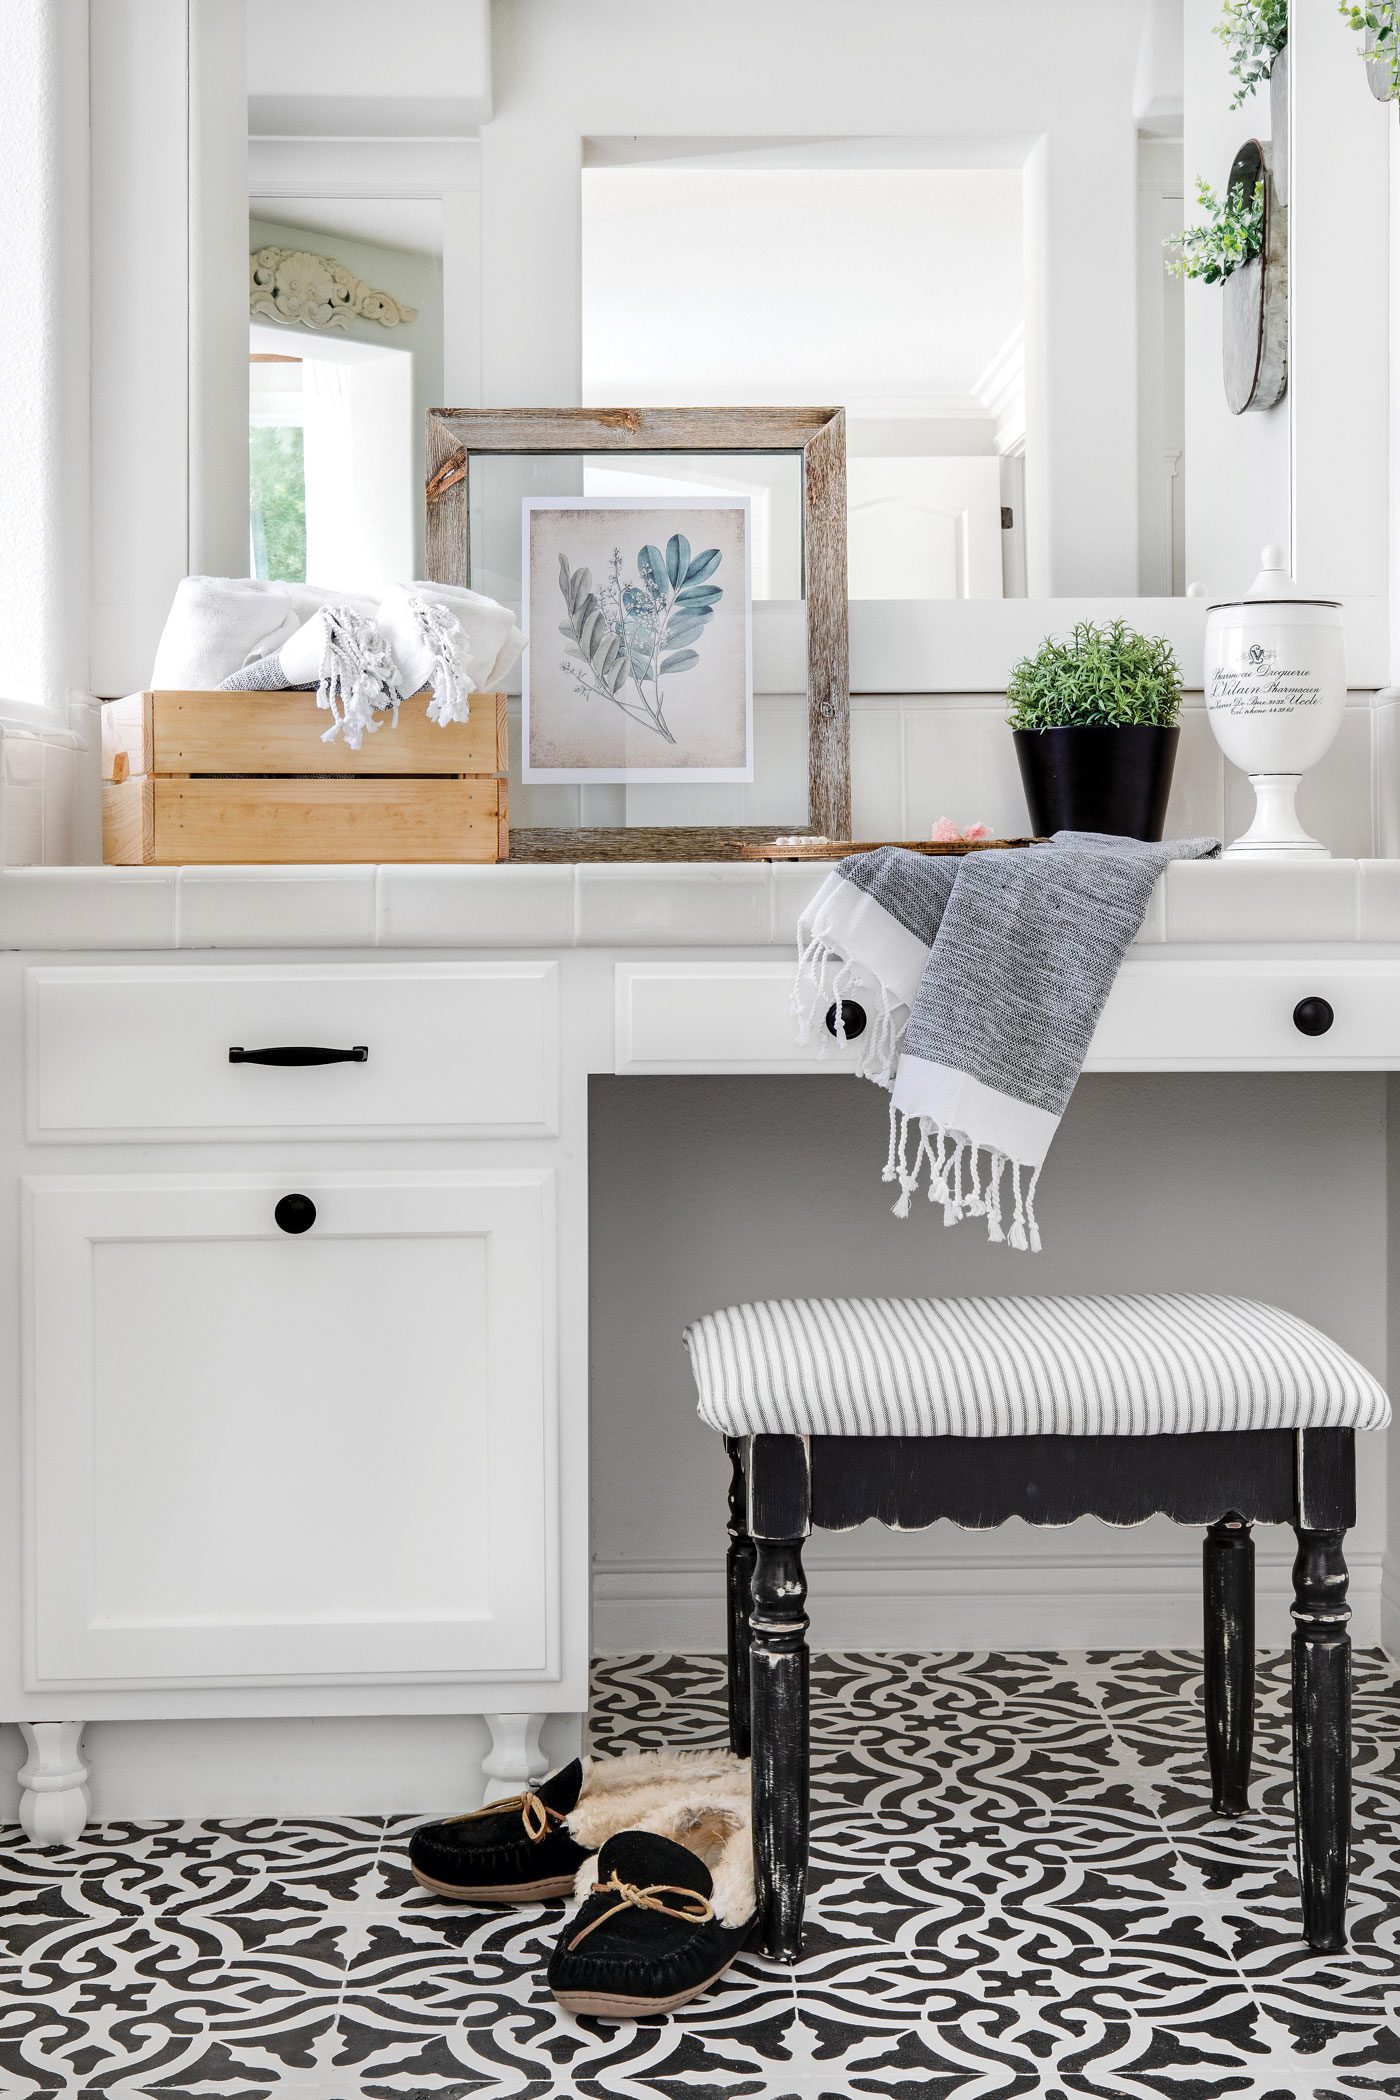
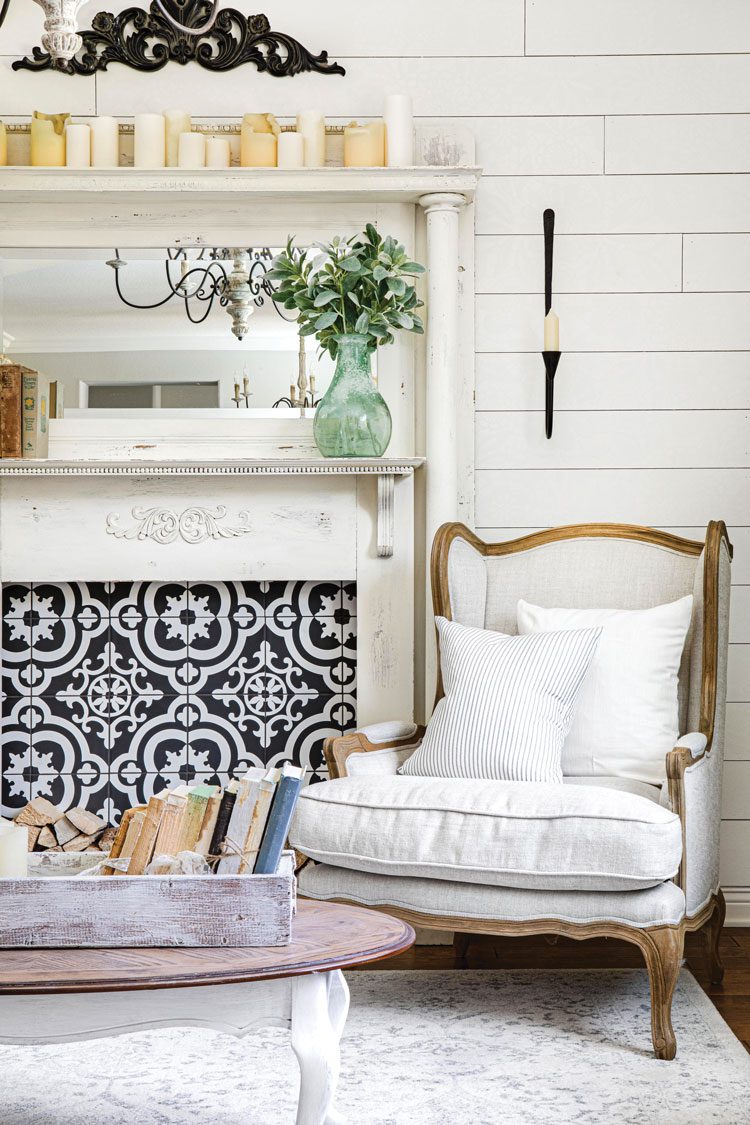
Patterned tile exudes farmhouse charm, whether it’s the flooring in the bathroom or mudroom, or even as a fireplace surround. But completely replacing the flooring isn’t always an option. If you have tile (or another flooring) already in place that’s in good condition, you might just want to paint it to change the look. Here’s how.

What You’ll Need:
- Vacuum, floor cleaner and rags
- Painter’s tape
- Primer (if necessary)
- Interior floor paint of choice, in two contrasting colors
- Small paint roller
- Paint brush
- Stencil of choice (we recommend getting two)
- Stencil brush
- Wet rag or paper towels
- Small craft brush
- Clear top coat floor paint of choice
What You’ll Do:
- Clean the floor. This shouldn’t be a quick wipe or mop, but a deep scrub to get up all the dirt build-up. This is elbow grease at its finest; the cleaner the floors are, the better the paint will stick.
- Tape off the floor with painter’s tape. Wear clean socks while you do this, so you don’t get the floors dirty again.
- With a paint roller, apply the first coat of either the primer or base coat. Don’t lay the paint too thickly (you don’t want it to puddle), and if you’re painting over tile, you can paint the grout as well. Use the paint brush to get the edges. Let the paint dry completely.
- If you need to paint a second coat of the base color, or a base color over the primer, do that now. If you’re not sure if you need a second base coat, test a small area and see if the color improves.
- Once the floor is dry, paint the second color with your stencil and stencil brush. Use painter’s tape to keep the stencil in place, and only use a small amount of paint each time—you don’t want it to pool underneath the stencil. Clean the stencil regularly (we recommend getting two in case one gets too messy).
- If you get paint outside the stencil pattern, wipe it up right away with a wet rag. If you notice after the floor is dry that there are still areas with paint where it shouldn’t be, fix them with a small craft brush and the first base color. Let the paint dry completely.
- Finish with the top coat. This will work just like the base coat: Use a small paint roller for the majority of the area, and a paint brush for the edges.
- Let it dry completely, then remove the painter’s tape and enjoy your new flooring.
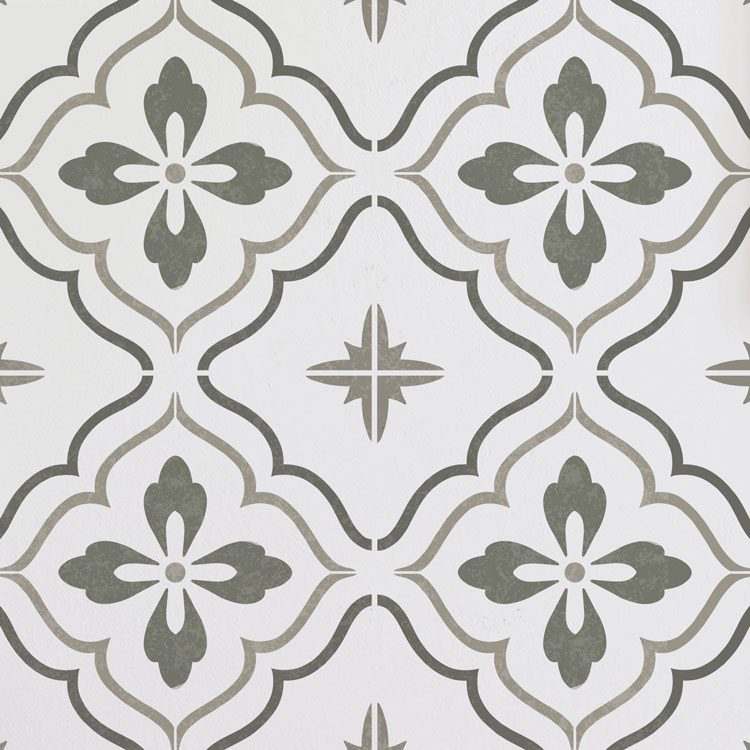
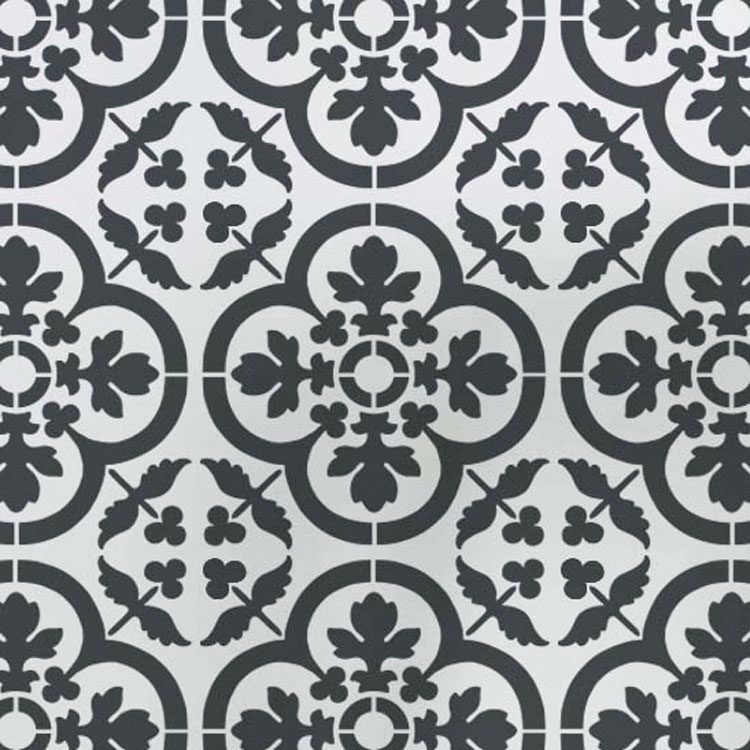
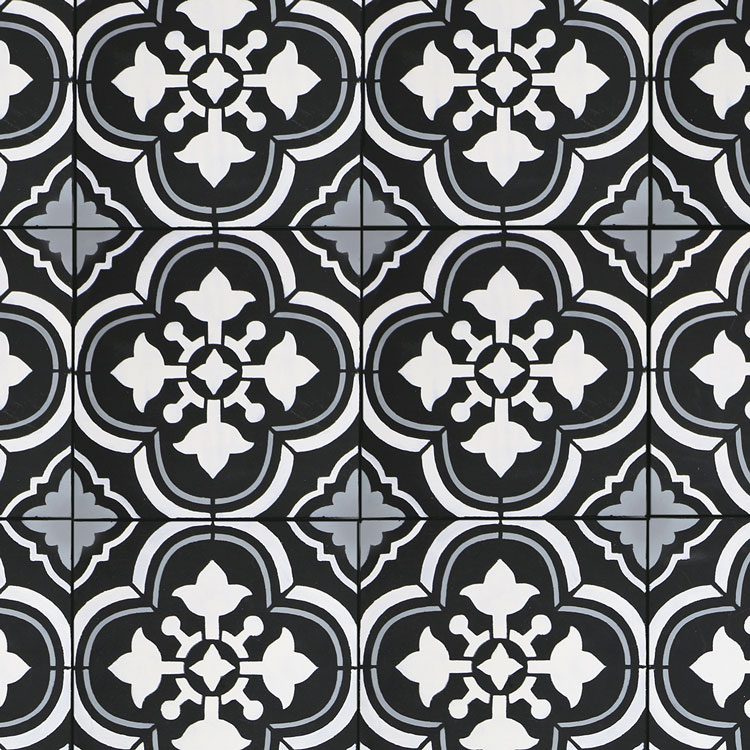
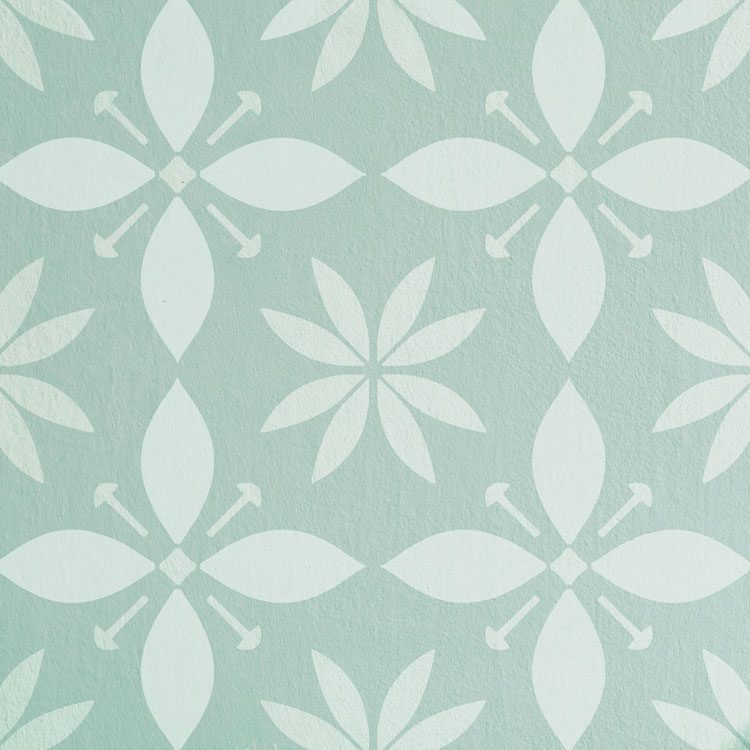
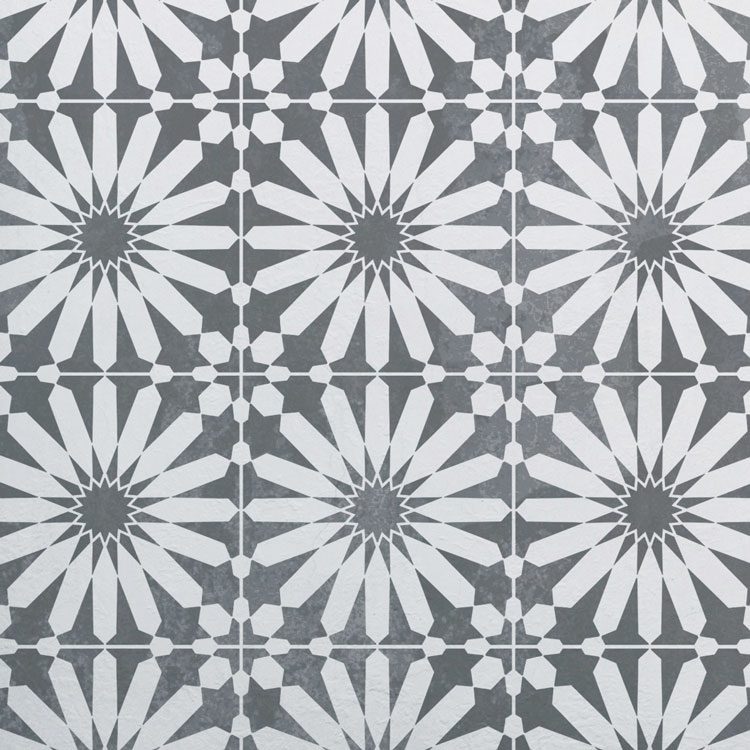
Stencil Style
There are so many gorgeous stencil options available. Here are a few of our favorites from Cutting Edge Stencils. You can get these in different sizes, to better match your existing tile. And don’t forget that the color is up to you—you can create any stencil pattern in any color to suit your home’s color palette.
Paint Pick
What kind of paint should you use for floors?

Durability. Since flooring is a high-traffic area, the paint you use should be durable. Opt for an epoxy-based paint, rather than a latex or water base.
Flooring Material. Are you painting over tile, concrete, vinyl or even wood? There are many companies that offer paint specifically for floors—just make sure the paint you get works for your flooring. It should say on the label.
Base Coat and Top Coat. You’ll want not only a base coat (with two colors for your pattern), but a clear top coat as well. This will help protect your paint job from chipping. Some companies offer kits that come with both, so you know you have all the paint you need.

Primer. Depending on the paint you get, you may need a primer underneath the base coat as well. Check the manufacturer directions—if it doesn’t need a primer, it will say so on the label.
For more great DIY ideas, don’t miss DIY Built-In Fireplace. For more extensive DIYing, see DIY Renovation Tips From an Expert. Of course, don’t forget to follow us on Instagram, Facebook and Pinterest to get your daily dose of farmhouse inspiration!