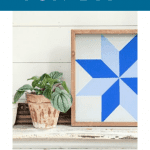


DIY Barn Quilt Wall Art

Quilting has a long tradition in the US, and there are thousands of traditional quilting block patterns that have been passed down through generations of American women. The newest tradition, centered on farmhouse décor, is to paint a large quilt block on the side or front of a barn. Barn quilts have quickly become popular across the US, and now you can take the tradition into your own home with this DIY barn quilt wall art.
What You’ll Need:
- Square piece of wood at desired size (whole inches work best)
- Square wood frame or wood trim cut to size
- Optional: wood glue
- Paint of choice (used here: Dixie Bell Paint in Driftwood, Blueberry and Cobalt Blue)
- Paint brush
- Pencil and ruler
- Painter’s tape
What You’ll Do:
1. First, prep your piece. We started with a framed wood square from a craft store, but you could also use plywood and add four pieces of wood trim around the outside. Simply stain the trim in your desired color; then use wood glue to secure the pieces to the edges of the plywood to create the frame.
2. Paint 1–2 coats of your base color onto the plywood, allowing the paint to dry in between coats. If you’re adding a frame, you may want to add it at the end. Otherwise, make sure you tape it off to protect it from the paint.
3. Sketch out the eight-pointed star pattern on the wood with a ruler and light pencil marks. This does require some precision, so you may want to get out your calculator. Follow the illustrations:
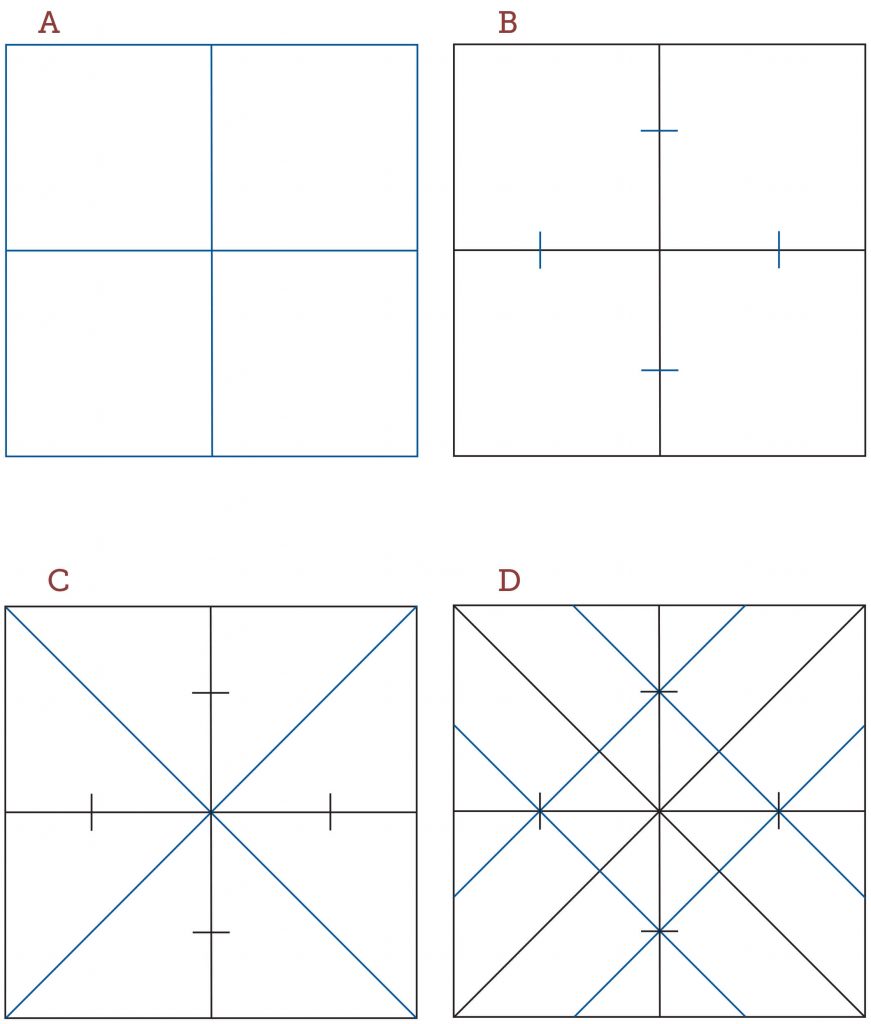
- A. Divide the square into quarters with one horizontal and one vertical line. To calculate, divide the full width of the piece in half (e.g., 10″ ÷ 2 = 5″).
- B. Draw a mark on each of the four lines, 20% in from the outside edge. To calculate, multiply the full width of the piece by 0.2 (e.g., 10″ x 0.2 = 2″ from each outside edge).
- C. Draw a large X on the piece, which should intersect in the middle and end at the outer corners.
- D. Draw diagonal lines to intersect with the four marks, taking the lines out to the edge of the piece.
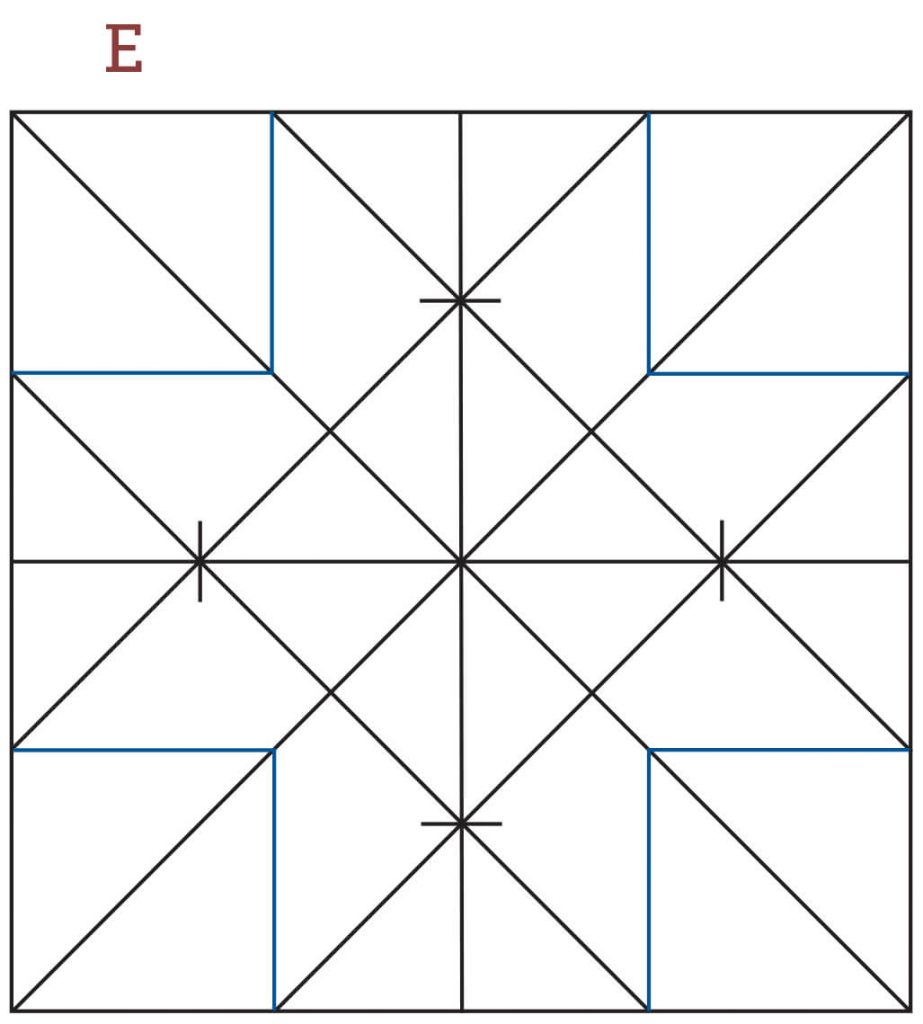
- E. Draw a square in each corner, starting at the edge of the diagonal lines you drew in step D. The square shape should meet along the diagonal lines you drew in step C.
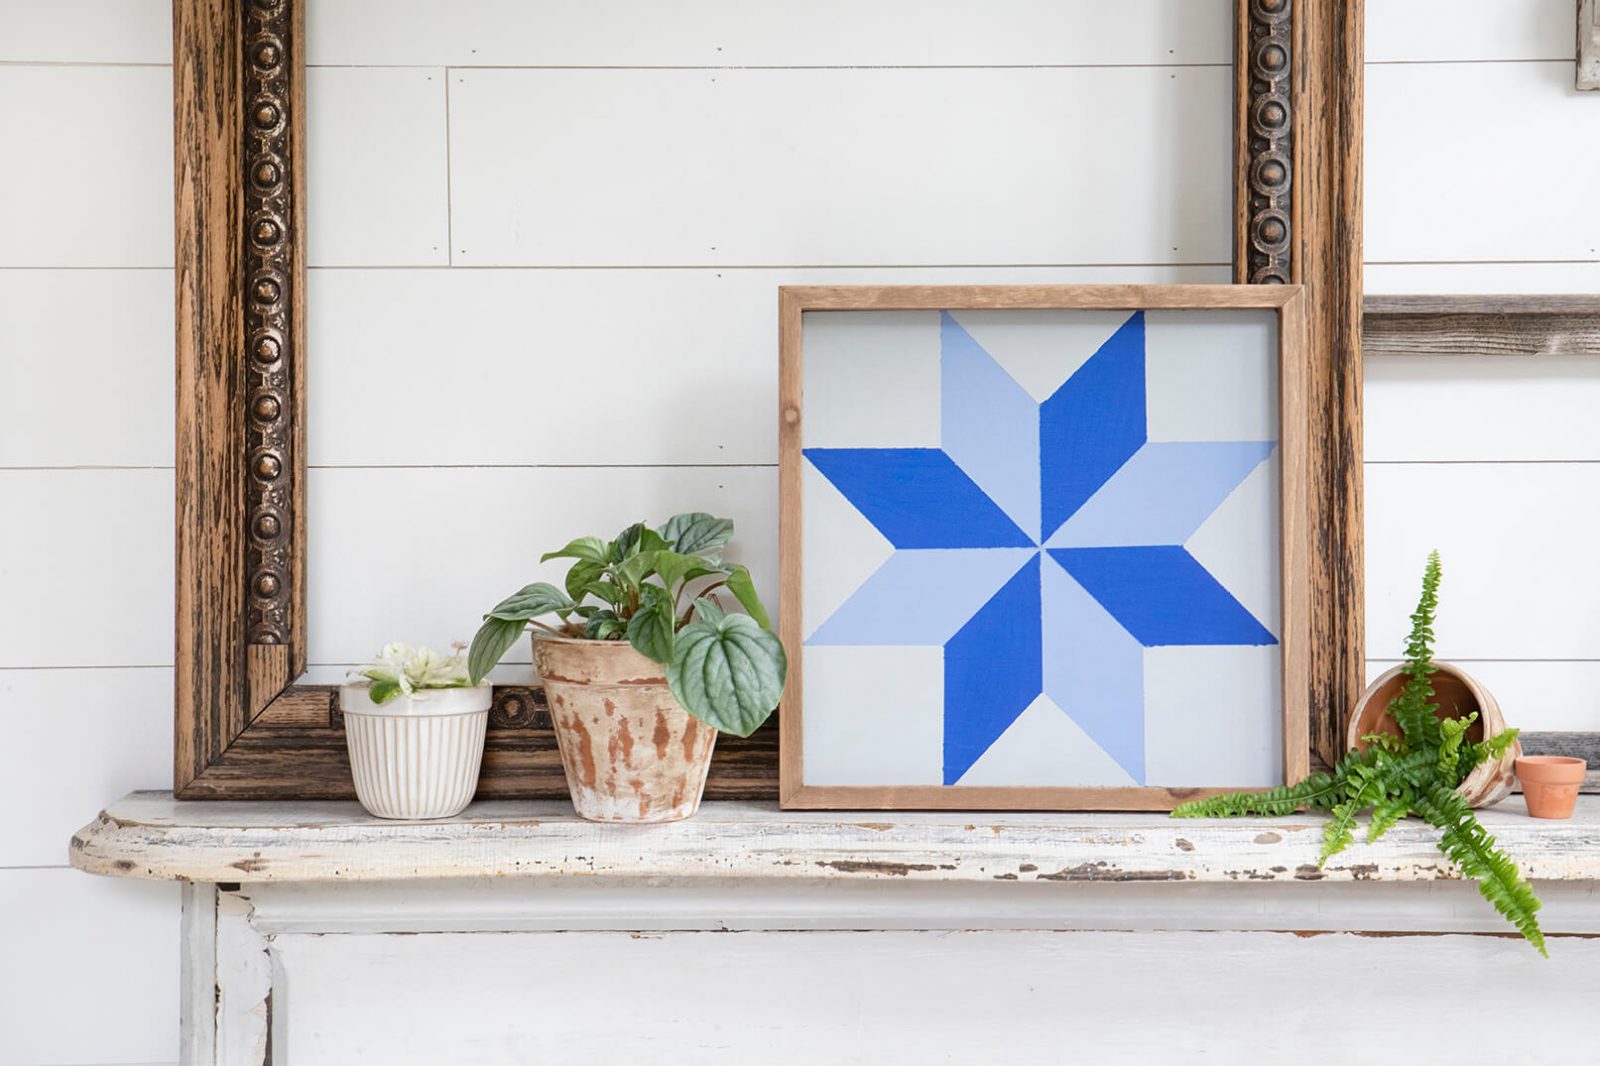
4. You should now be able to see the star shape for your DIY barn quilt wall art. Erase the extra lines around the outside you don’t need.
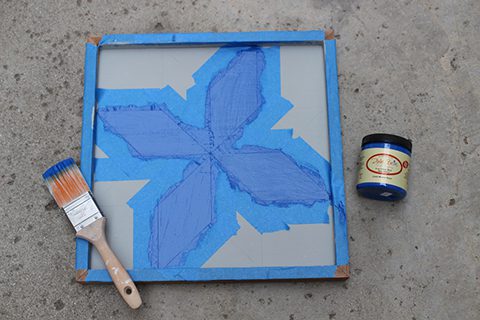
5. Tape off every other star point, and paint in the first of the two accent colors.
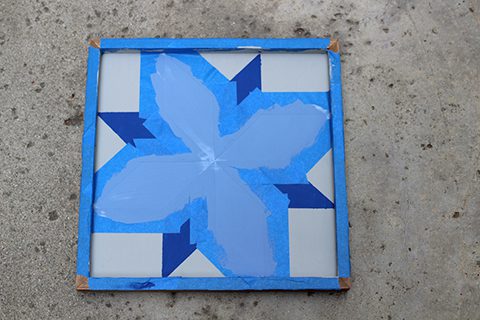
6. Wait for the paint to dry; then take off the tape and repeat for the second color.
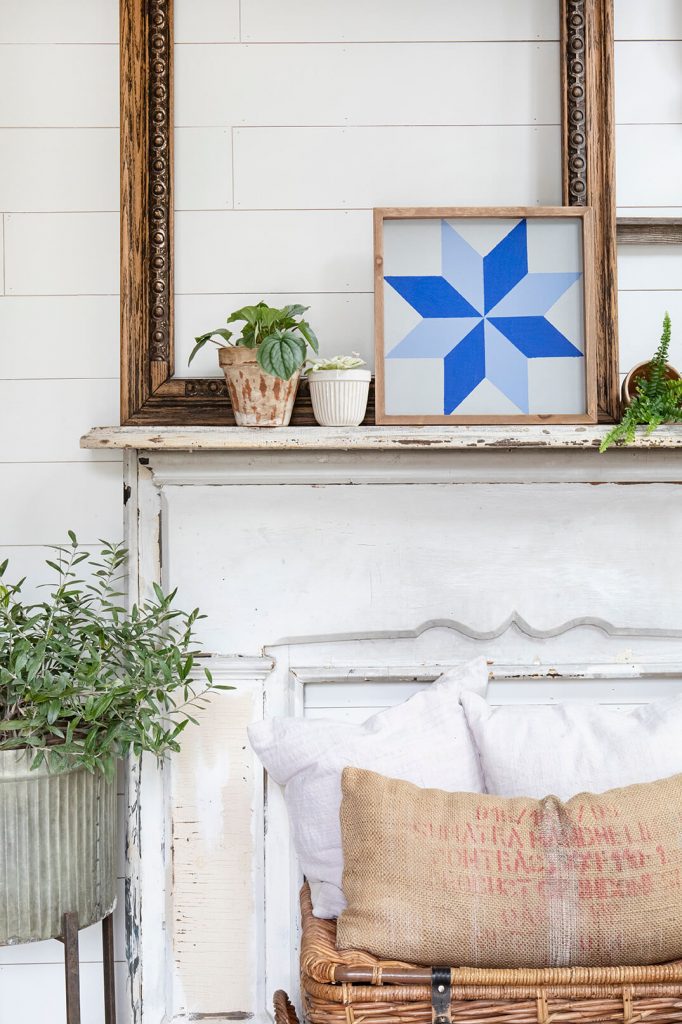
7. Once the paint is dry, remove all the tape to reveal your eight-point star barn quilt. Tie your walls into the American quilting tradition with this fun painted DIY barn quilt wall art.
Love crafting? Try learning to do brush lettering! Of course, don’t forget to follow us on Instagram, Facebook and Pinterest to get your daily dose of farmhouse inspiration!