


DIY Mudroom Wall Paneling
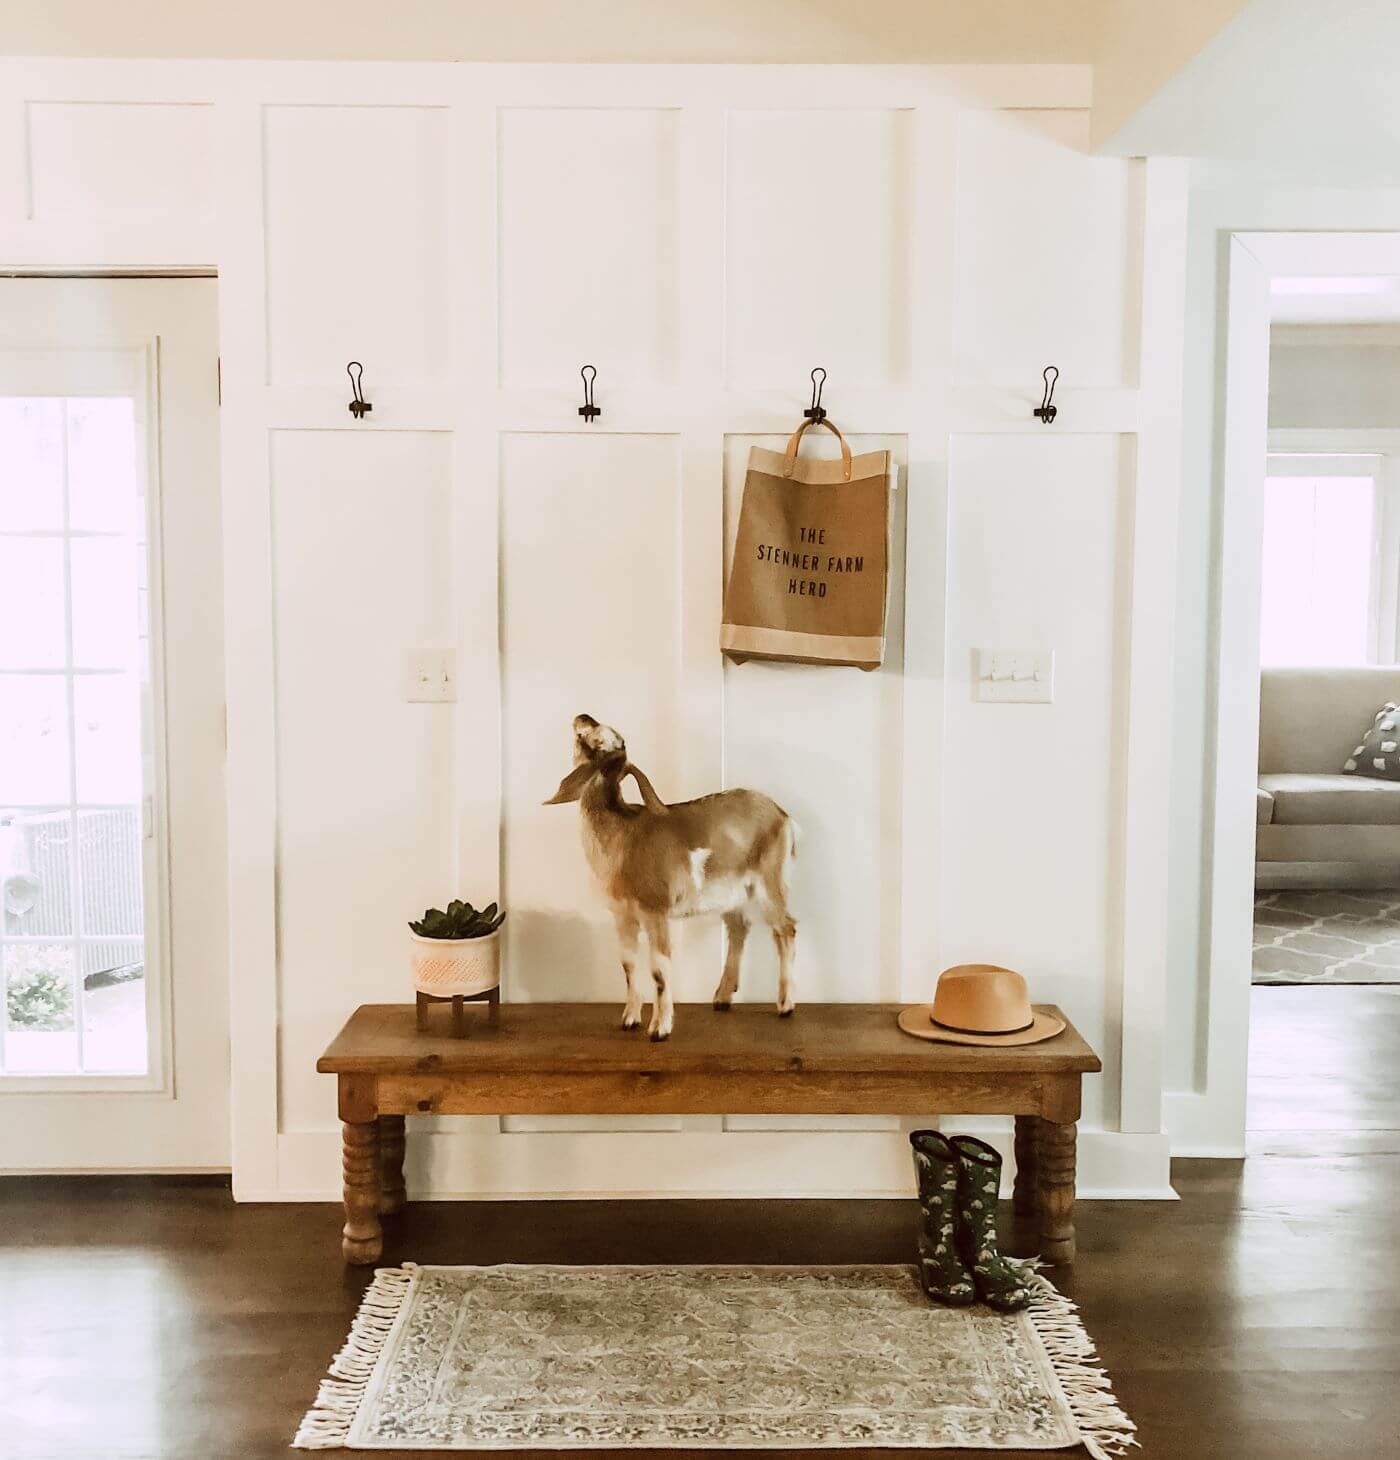

Do you have a wall that needs coat hooks and organization? Most families could use a mudroom wall, even if their neighborhood builder didn’t give them one. With this easy tutorial, you can install a DIY board and batten mudroom wall anywhere in just one afternoon. It only takes a couple of hours and costs under $150.
Small Farm Practicality
A lot of chaos and traffic come through the Stenner farm doors. On any given day, we have a kid’s sporting event, baby goats sneaking in the back and lots of mud on our boots. After the barn and chicken coop chores are done, we needed a dumping ground for all our dirty gear.
Keeping our DIY projects cheap and easy allows us to spend our time and money on the things we love, usually goats and gardens. This is why I’ve made a few shortcuts to the DIY project that will keep your wallet and schedule happy. The main hack in this tutorial is using the existing sheetrock for the base. Installing the board and batten directly onto the wall eliminates the need for costly sheets of wood. Once the sheetrock is painted with the trim paint, it looks like an expensive solid wood wall. Let’s get started!
Supplies and Tools:
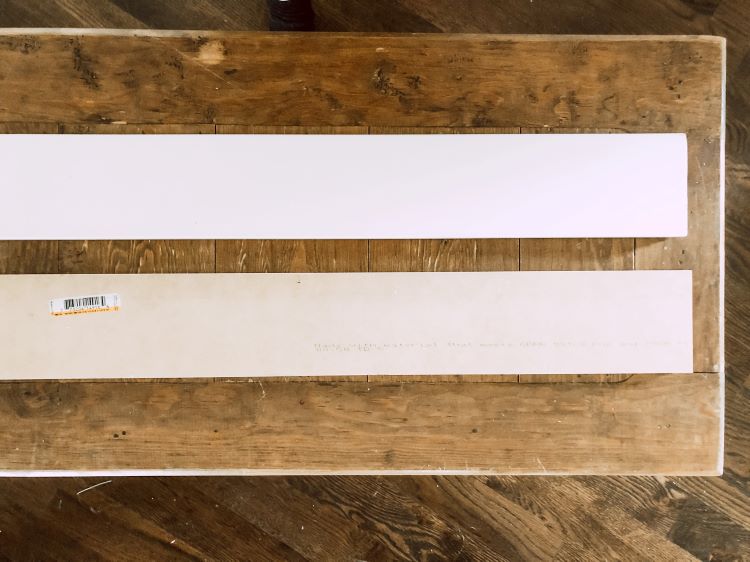
- 1×4 primed MDF 8ft boards
- Caulk
- Paint
- Nails
- Saw
- Nail gun
- Paint sprayer or brush & roller
- Level
- Tape measure
- Construction Adhesive
- Sanding sponge
- Painters tape
Step 1
Your first step is to measure the wall and determine how many boards you need for your desired spacing. We used 1 x 4 primed MDF boards. The top horizontal trim is 8 ft high with the vertical battens about a foot apart. We placed the middle horizontal trim 5 feet high. This is the board that will hold the hooks. You can customize your wall spacing to fit your personal needs.
Remember to give yourself grace if your walls are uneven. Our home is 120 years old, and it has a kitchen addition in this space. There are strange corners and angles in most homes. Try to embrace the imperfections and uniqueness. These make your home special!
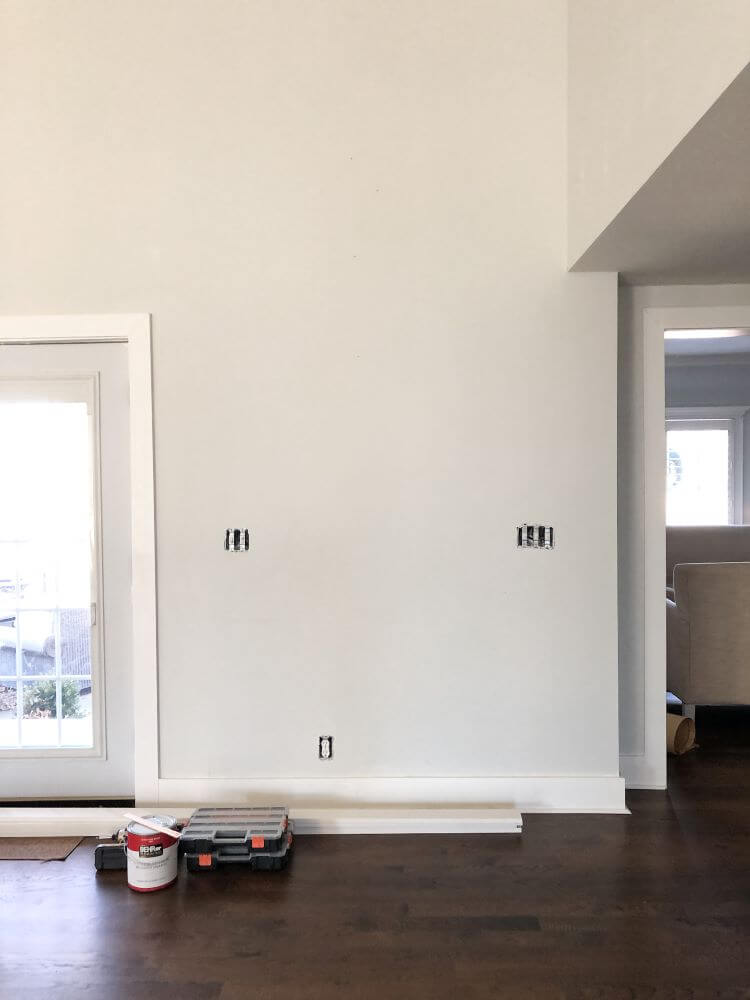
Step 2
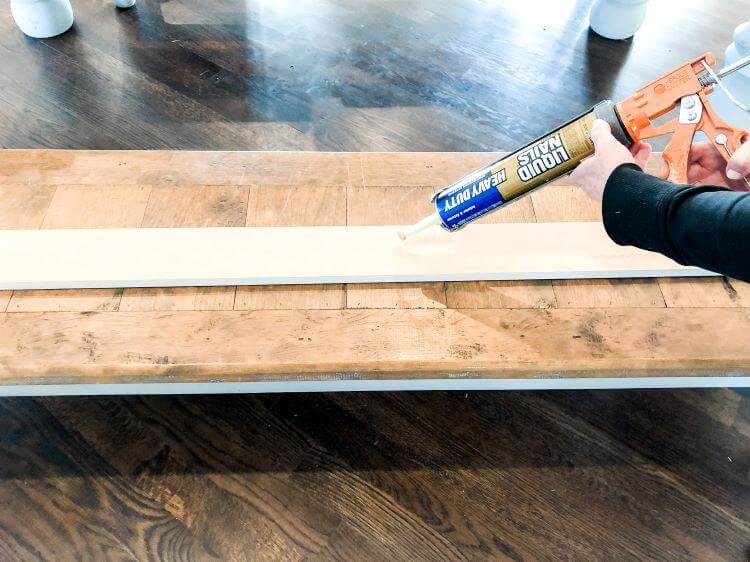
Once your electrical covers are removed, you are ready to add the boards. We cut the MDF boards with a miter saw. You could use a hand saw or ask the home improvement store to do it for you. Feel free to make placement marks on your wall with a pencil. The final paint coat will cover it. We added construction adhesive to the back of each board. A level will help your positioning and straight lines. Once it’s in place, it’s time to nail each board.
Step 3
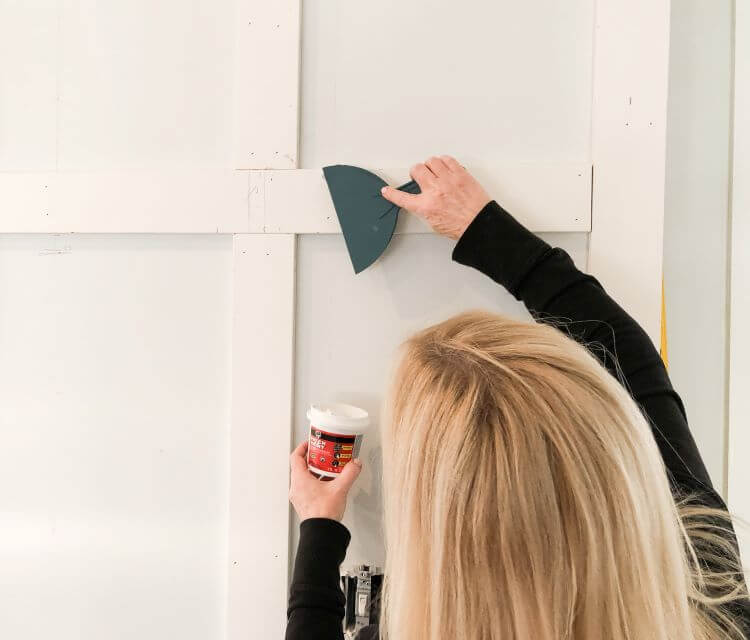
When all the boards are in place you can fill the nail holes and caulk the seams. Once that is dry, lightly sand the entire space with a sanding sponge for a smooth surface.
Step 4
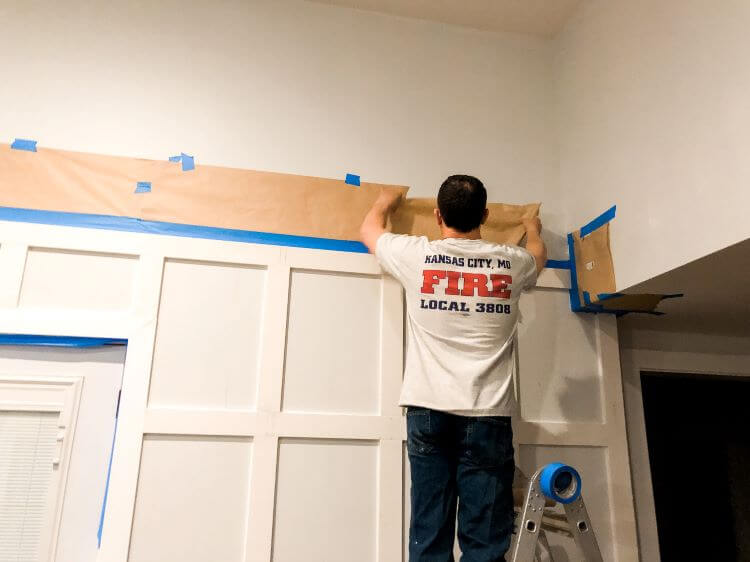
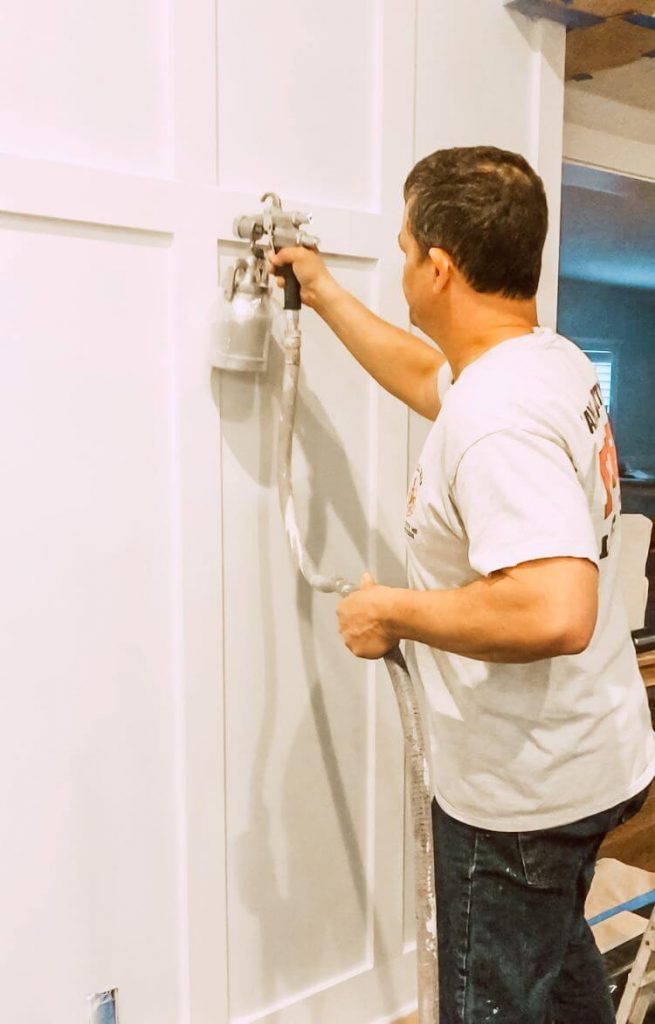
Before you break open the paint, it’s a good idea to tape off the walls with painter’s tape. This will keep the paint from getting on the nearby surfaces. Now you are ready for the paint. We used a paint sprayer, but others choose to brush and roll it. A high gloss enamel is our preferred choice for interior trim.
Step 5
Let your paint dry for a couple of hours before pulling off the tape. You can then replace your electrical covers and add your coat hooks. Now your mudroom wall is ready for some minimal décor, backpacks and boots. Who says function can’t be fun and pretty?
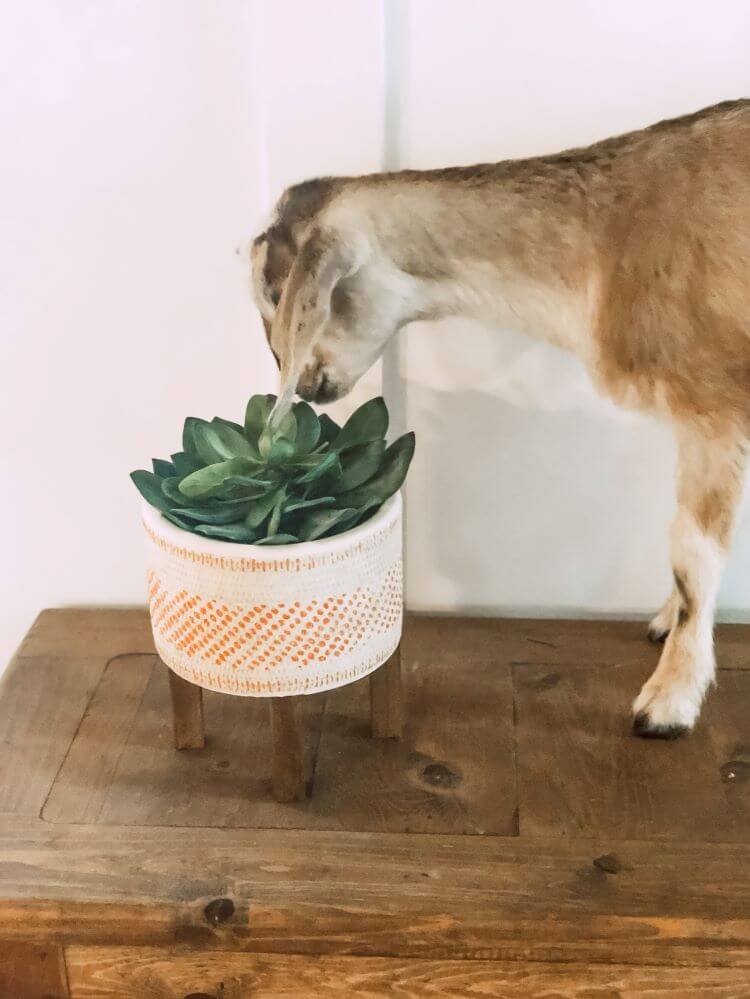
Even with a quick and easy tutorial, you may want to schedule in a snack break, like Honeynut did. A DIY board and batten mudroom wall is a great addition to your home. It’s a favorite gathering spot for all the kids–especially the goats!
Love DIYs? Learn to make your own patterned tile. But don’t forget to follow us on Instagram, Facebook and Pinterest for your daily dose of farmhouse inspiration!

Lana lives with her husband and kids on a small farmstead in Kansas City, where they raise goats, chickens & bees. They are fixing up their 120 year old farmhouse one room at a time. Lana is a University Business Professor, and she enjoys local Kansas City BBQ any chance she gets. Learn more about Lana at LanaStenner.com.