


How to DIY the Antique Paint Look

Editor’s Note: Jessica Sigmon is our 2023 Brand Ambassador! See the entries of our other 2023 contest finalists (here and here and here). Today, Jessica is sharing with us her antique paint technique.
Do you have a table that you love but, you want it to look antique and worn in?
There are so many ways to achieve this antique paint look. There are some that include power tools and some that include special paint. Not everyone has access to these items or wants to go buy a special paint for a project.
I have you fix, friends! Most of us DIYers have chalk paint laying around the house and school glue. School glue? Yes, it is the key ingredient to making the antique paint look.
Let’s gather our materials for this simple and easy project for antique paint!
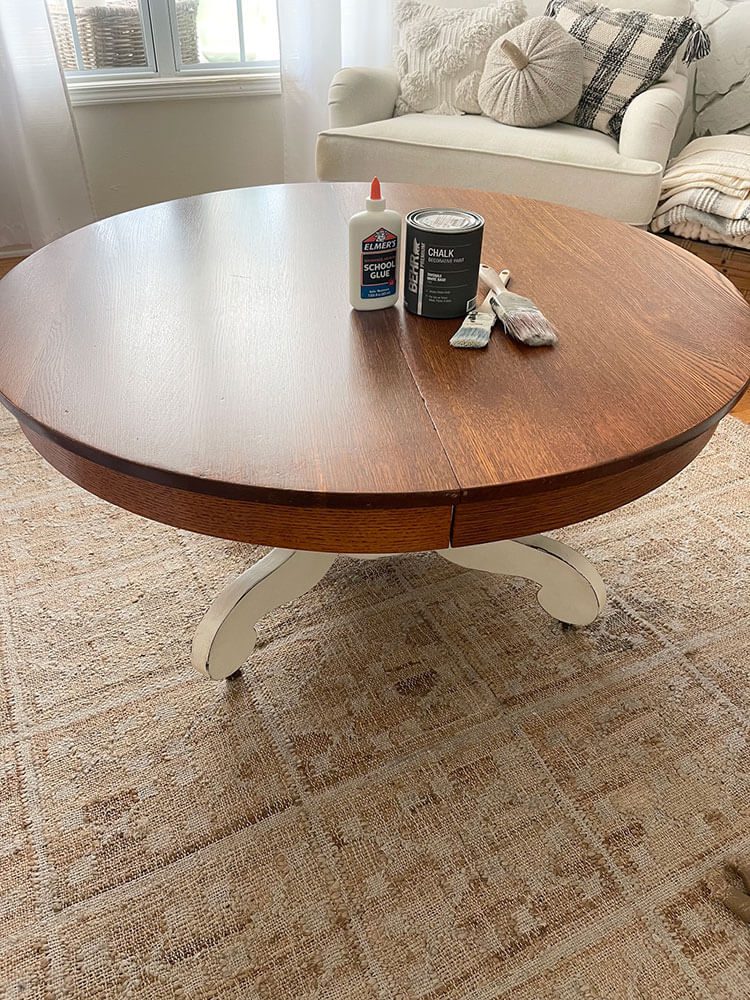
What You’ll Need:
◦ Any color and brand of chalk paint ( I used Behr Chalk in Farmhouse White)
◦ School glue
◦ 2 paint brushes
◦ Towels
◦ Blowdryer (optional)
◦ Antiquing wax (optional)
What You’ll Do:
1. Clean the table or another item you want to give the antique paint look. I used a mild cleaner to wipe it down.
2. Once you have wiped down your item and it’s fully dry, you’re ready to
begin.
3. Start out by working in sections. Since I’m doing this on a round coffee
table, I started on the edges, half way around.
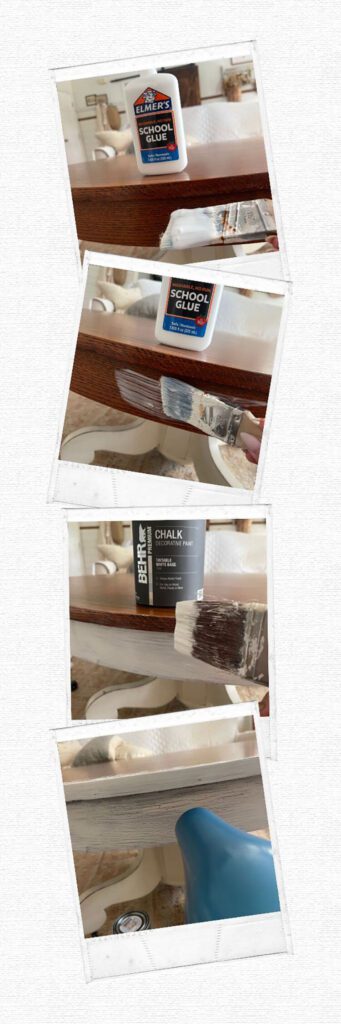
4. You will apply glue to your paint brush. Then apply it to an area in
strokes on your piece.
5. Now that your glue is applied, you can either let it dry on its own, or you can
do what I did and use a blowdryer to speed up the drying time. You will want
your glue to be almost dry, but still tacky. This doesn’t take long, especially with the blowdryer.
6. Once your glue is almost dry, take your other paint brush and dip it into your chalk paint and apply over the glue. TIP: Try not to over-apply the paint. You will want to go back over it because the glue will make the paint look raised. That is how it is suppose to look. Trust the process.
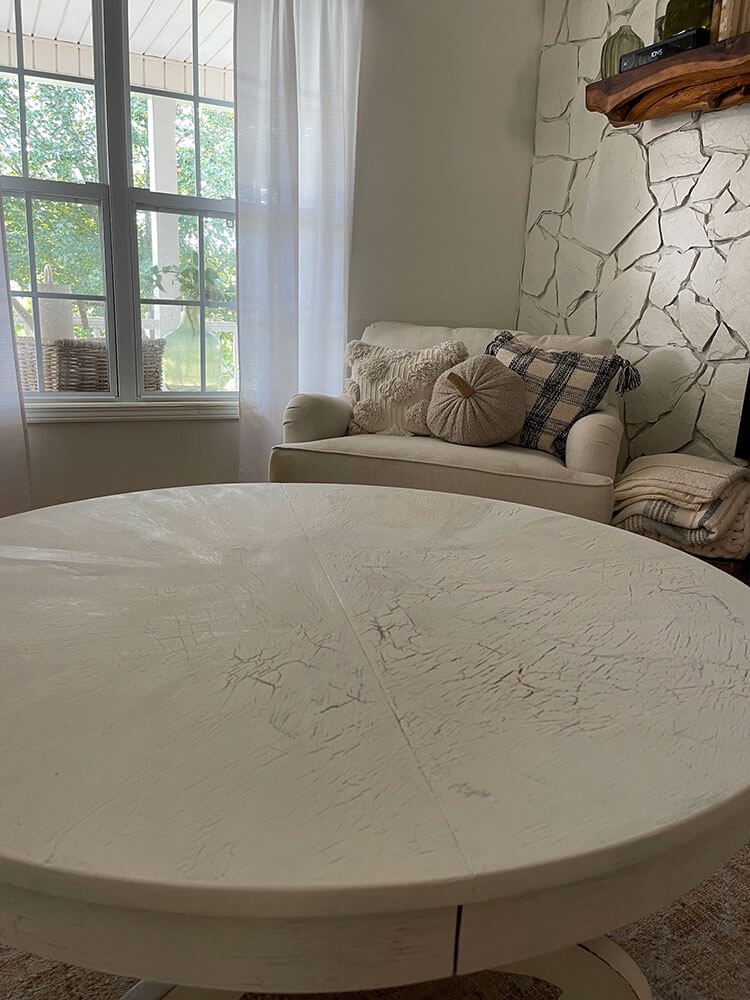
7. Now let’s watch the magic of antique paint happen! As the paint and the glue begin to dry, it will start to crackle. The crackled paint will give you the aged and antique paint look to the item. I like to apply more the one coat to a piece, so I use the blowdryer here, too. Plus, I like to watch the paint crackle.
8. Let each coat dry 1 hour before applying another coat. You will use the same
process to apply more coats as well.
9. Once you are happy with the color of your item, I suggest letting it dry overnight if you want to apply a clear wax or antiquing wax for sealing.
10. I used an antiquing wax and a towel to get the wax into those cracks for that antique paint look. Apply the wax and wipe away the excess. Repeat until you achieve a look that you love. Don’t forget to let it dry really well!
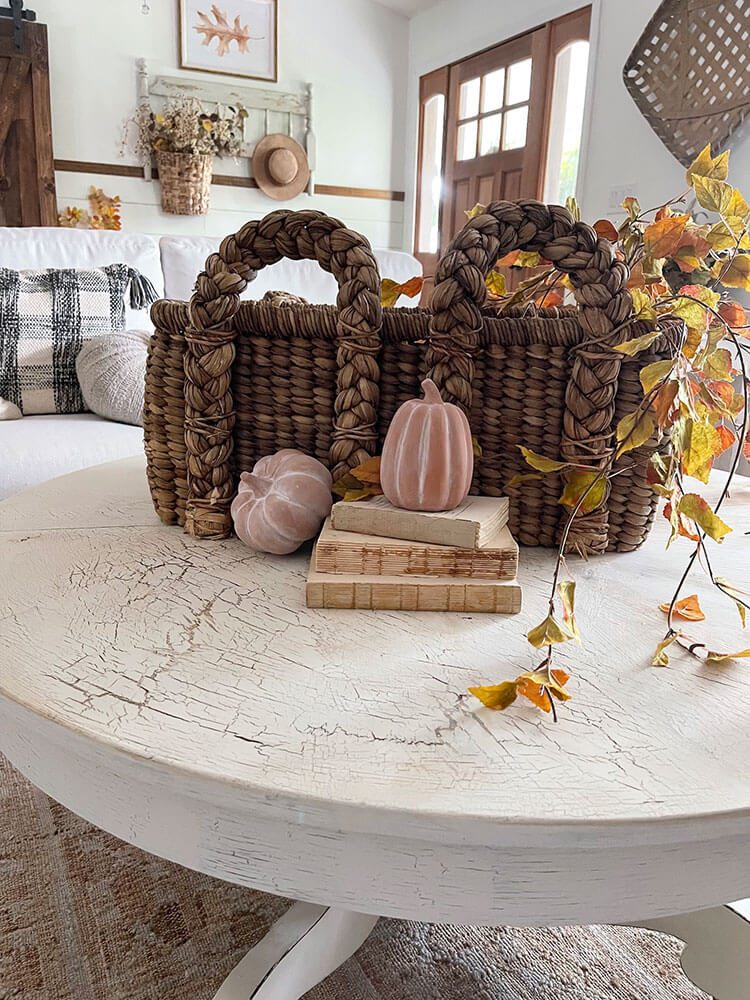
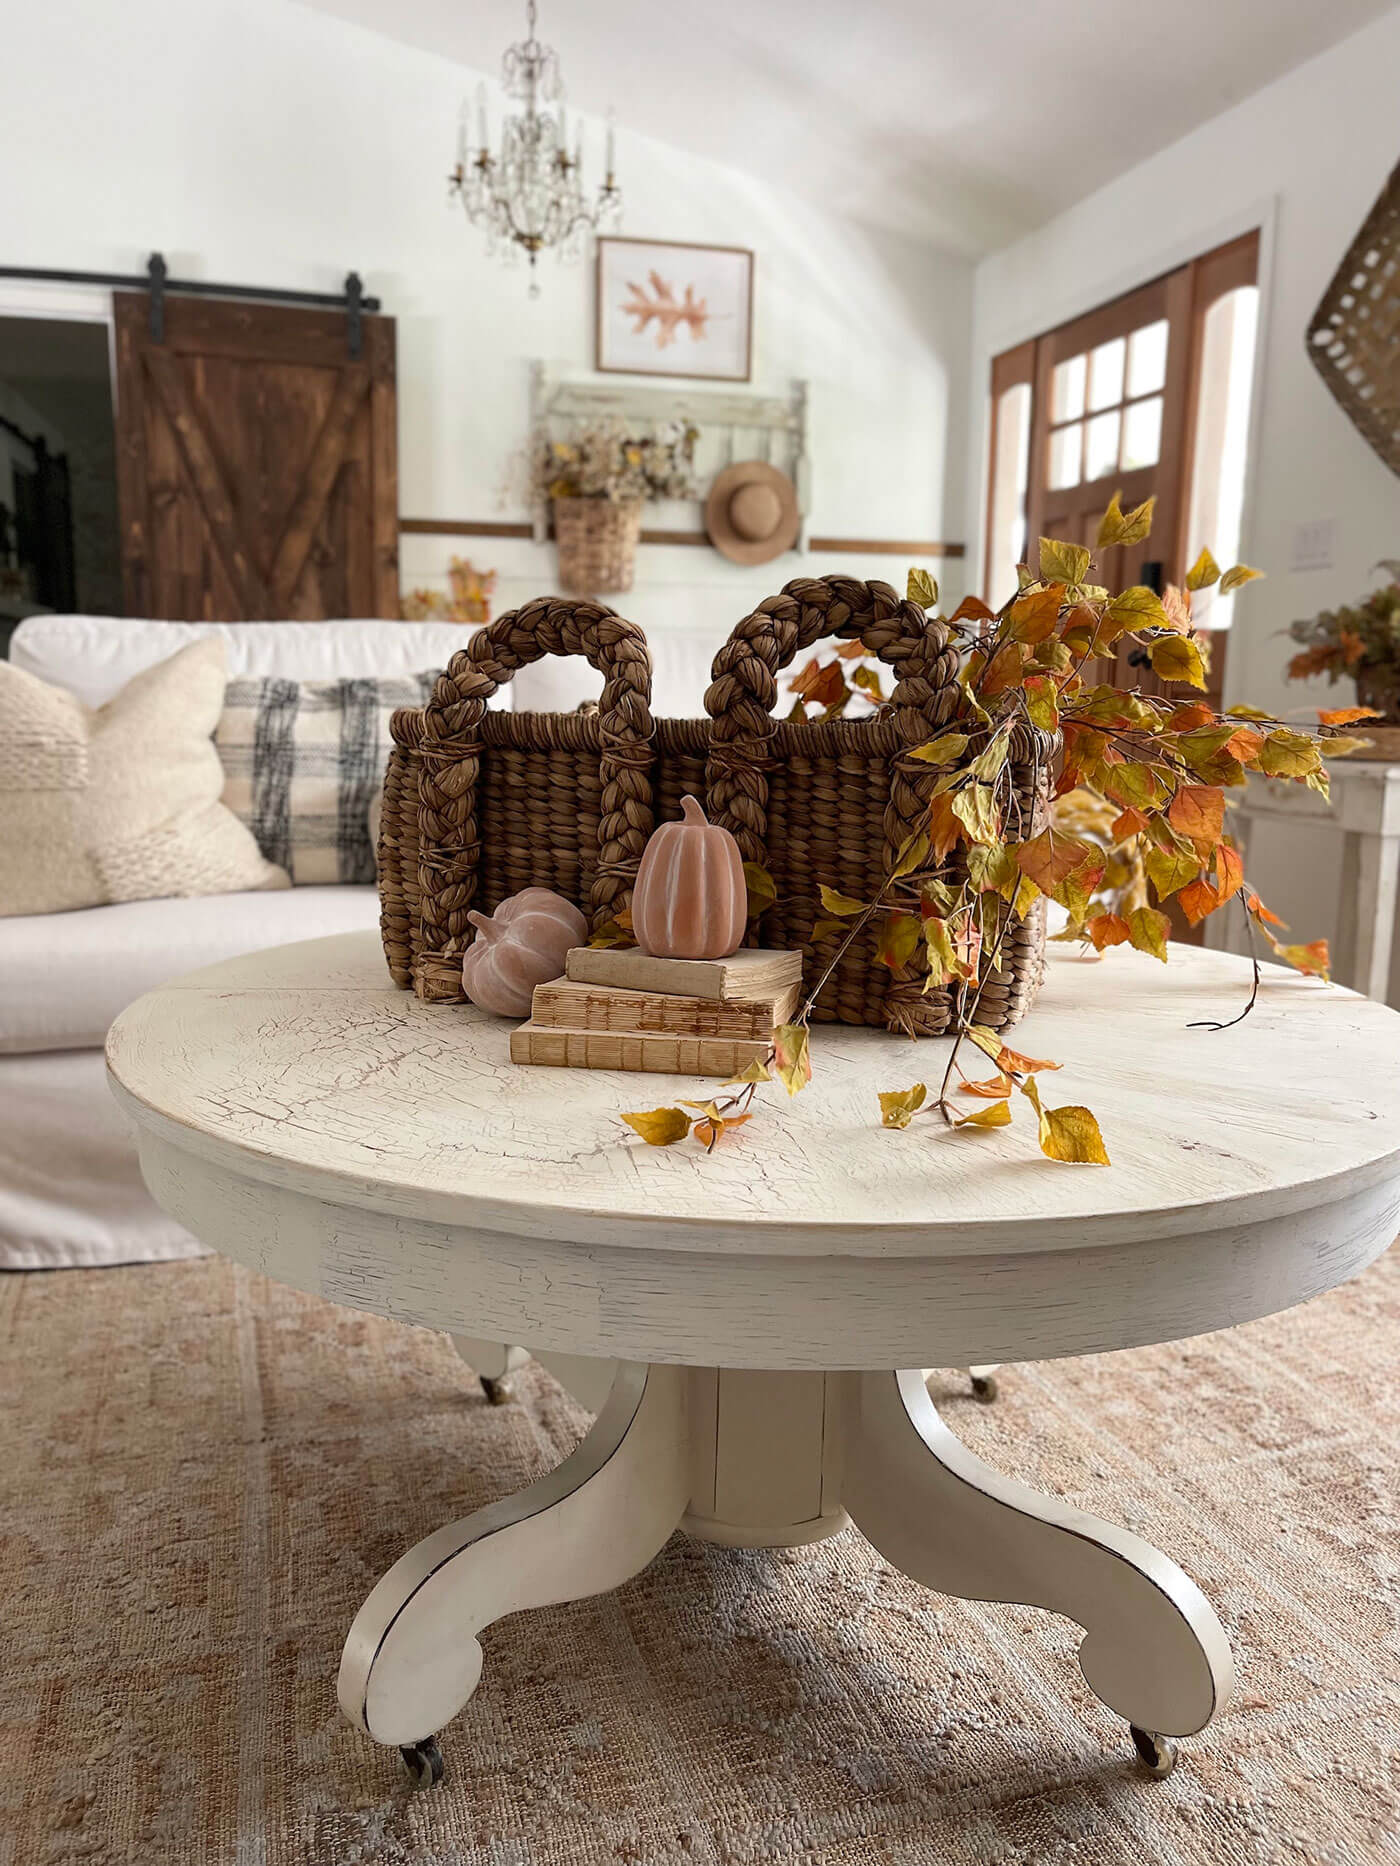
Finishing Antique Paint Touches
Finally, you’re ready to style with your newly aged piece. Simple and easy friends, plus it’s really fun watching how something as simple as the school glue we’ve used since we were kids can really change a piece of furniture.
Budget friendly and it gives us a unique antique paint look!

I’m Jessica, but mostly everyone knows me as Itty Bitty Farmhouse! A small town girl from a smaller NC town that loves a good DIY project, flea market pickin’ trip, and a Pinterest loving junkie. My love for all things vintage started from a child. I can remember those Sunday trips to the flea markets with my parents.
Want to see some of our favorite furniture makeovers? Check it out here! And of course, don’t forget to follow us on Instagram, Facebook, and Pinterest to get your daily dose of farmhouse inspiration!