


How to Refinish A Bathtub
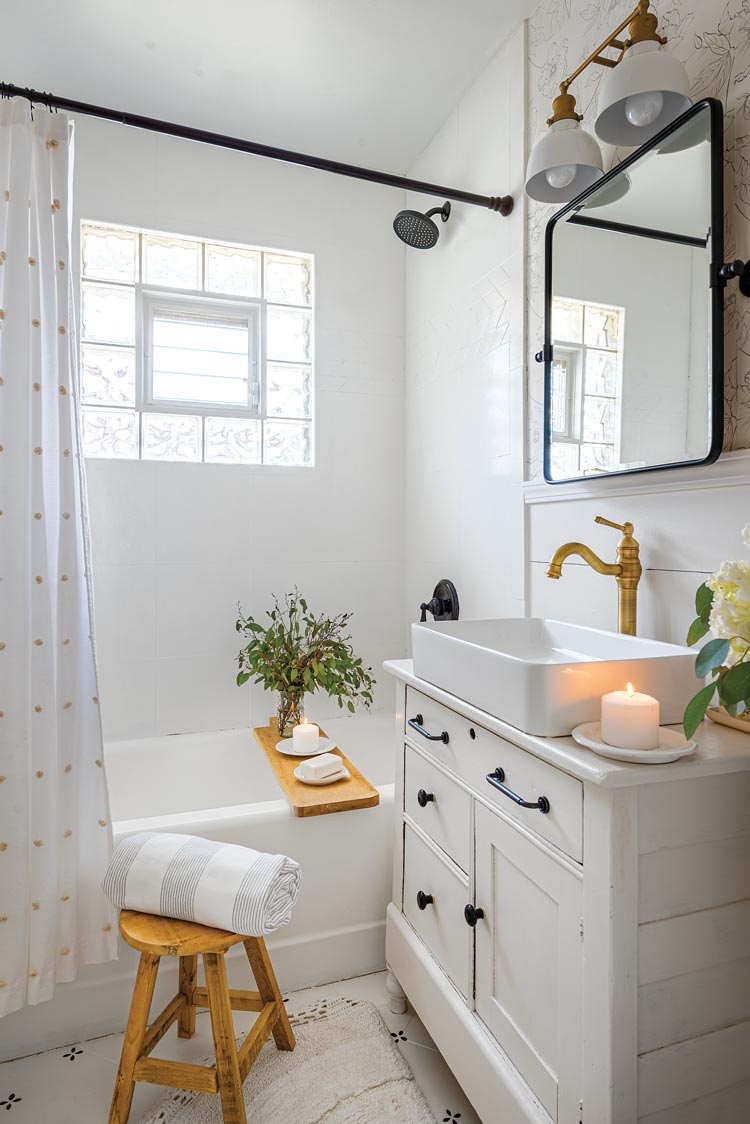

Homeowner and DIYer Cynthia freshened up the bathroom in her Chicago home and takes us through the steps to refinish a bathtub and make the whole room look like new—without a full-scale renovation.
If you aren’t ready for a full bathroom renovation, this easy DIY may be your solution! Kits from Home Depot make this simple do-it-yourself project accessible to anyone. Plus, it will leave you with a bathtub and tile that look brand new.

What You Will Need:
- Homax Tough as Tile Refinishing Kit: spray-on option in the color of your choice
- Magic Tub & Tile Refinishing Kit: roll-on option in the color of your choice
- Mask: for protection from paint fumes
- Gloves
- Safety glasses
- Painters tape
- Abrasive cleaner
- A fine-bristle paint brush
- Paint tray
- Grout and tile sealer (Cynthia used 24 fluid ounces)
What You Will Do:
- Clean and prep your surface so that you have a nice smooth starting point.
- Sand away any peeling or chipped paint and fill any imperfections in the surface of the tub.
- Scrub the surface of your bath and tile with your abrasive cleaner; wipe clean.
- Remove all caulking and rinse; allow surface to dry.
- Tape off the bathtub and tile to help keep any product from getting on the floors or walls.
- Cover all bathtub hardware.
- Now you’re ready to apply. Follow the detailed instructions included in the kit.
- Mix paint with the activator.

Want more design ideas? We’d love to have you follow along with us! Head to on Instagram, Facebook and Pinterest and follow us for daily inspiration. And don’t forget to sign up for our newsletter (right below this article) for inspiration right in your inbox!