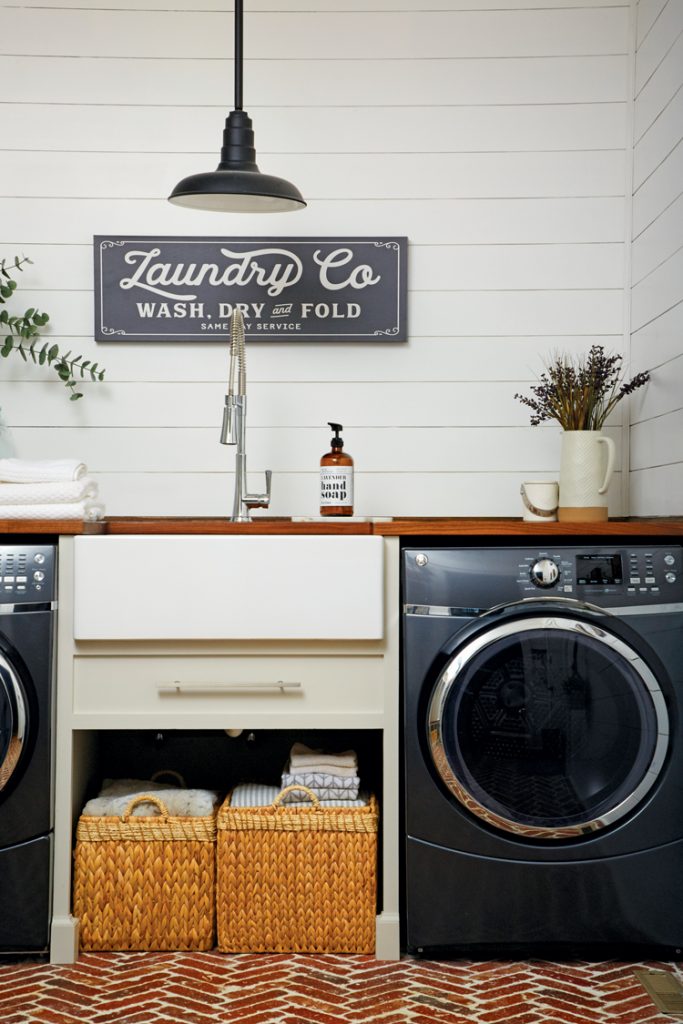
DIY Shiplap For Your Farmhouse
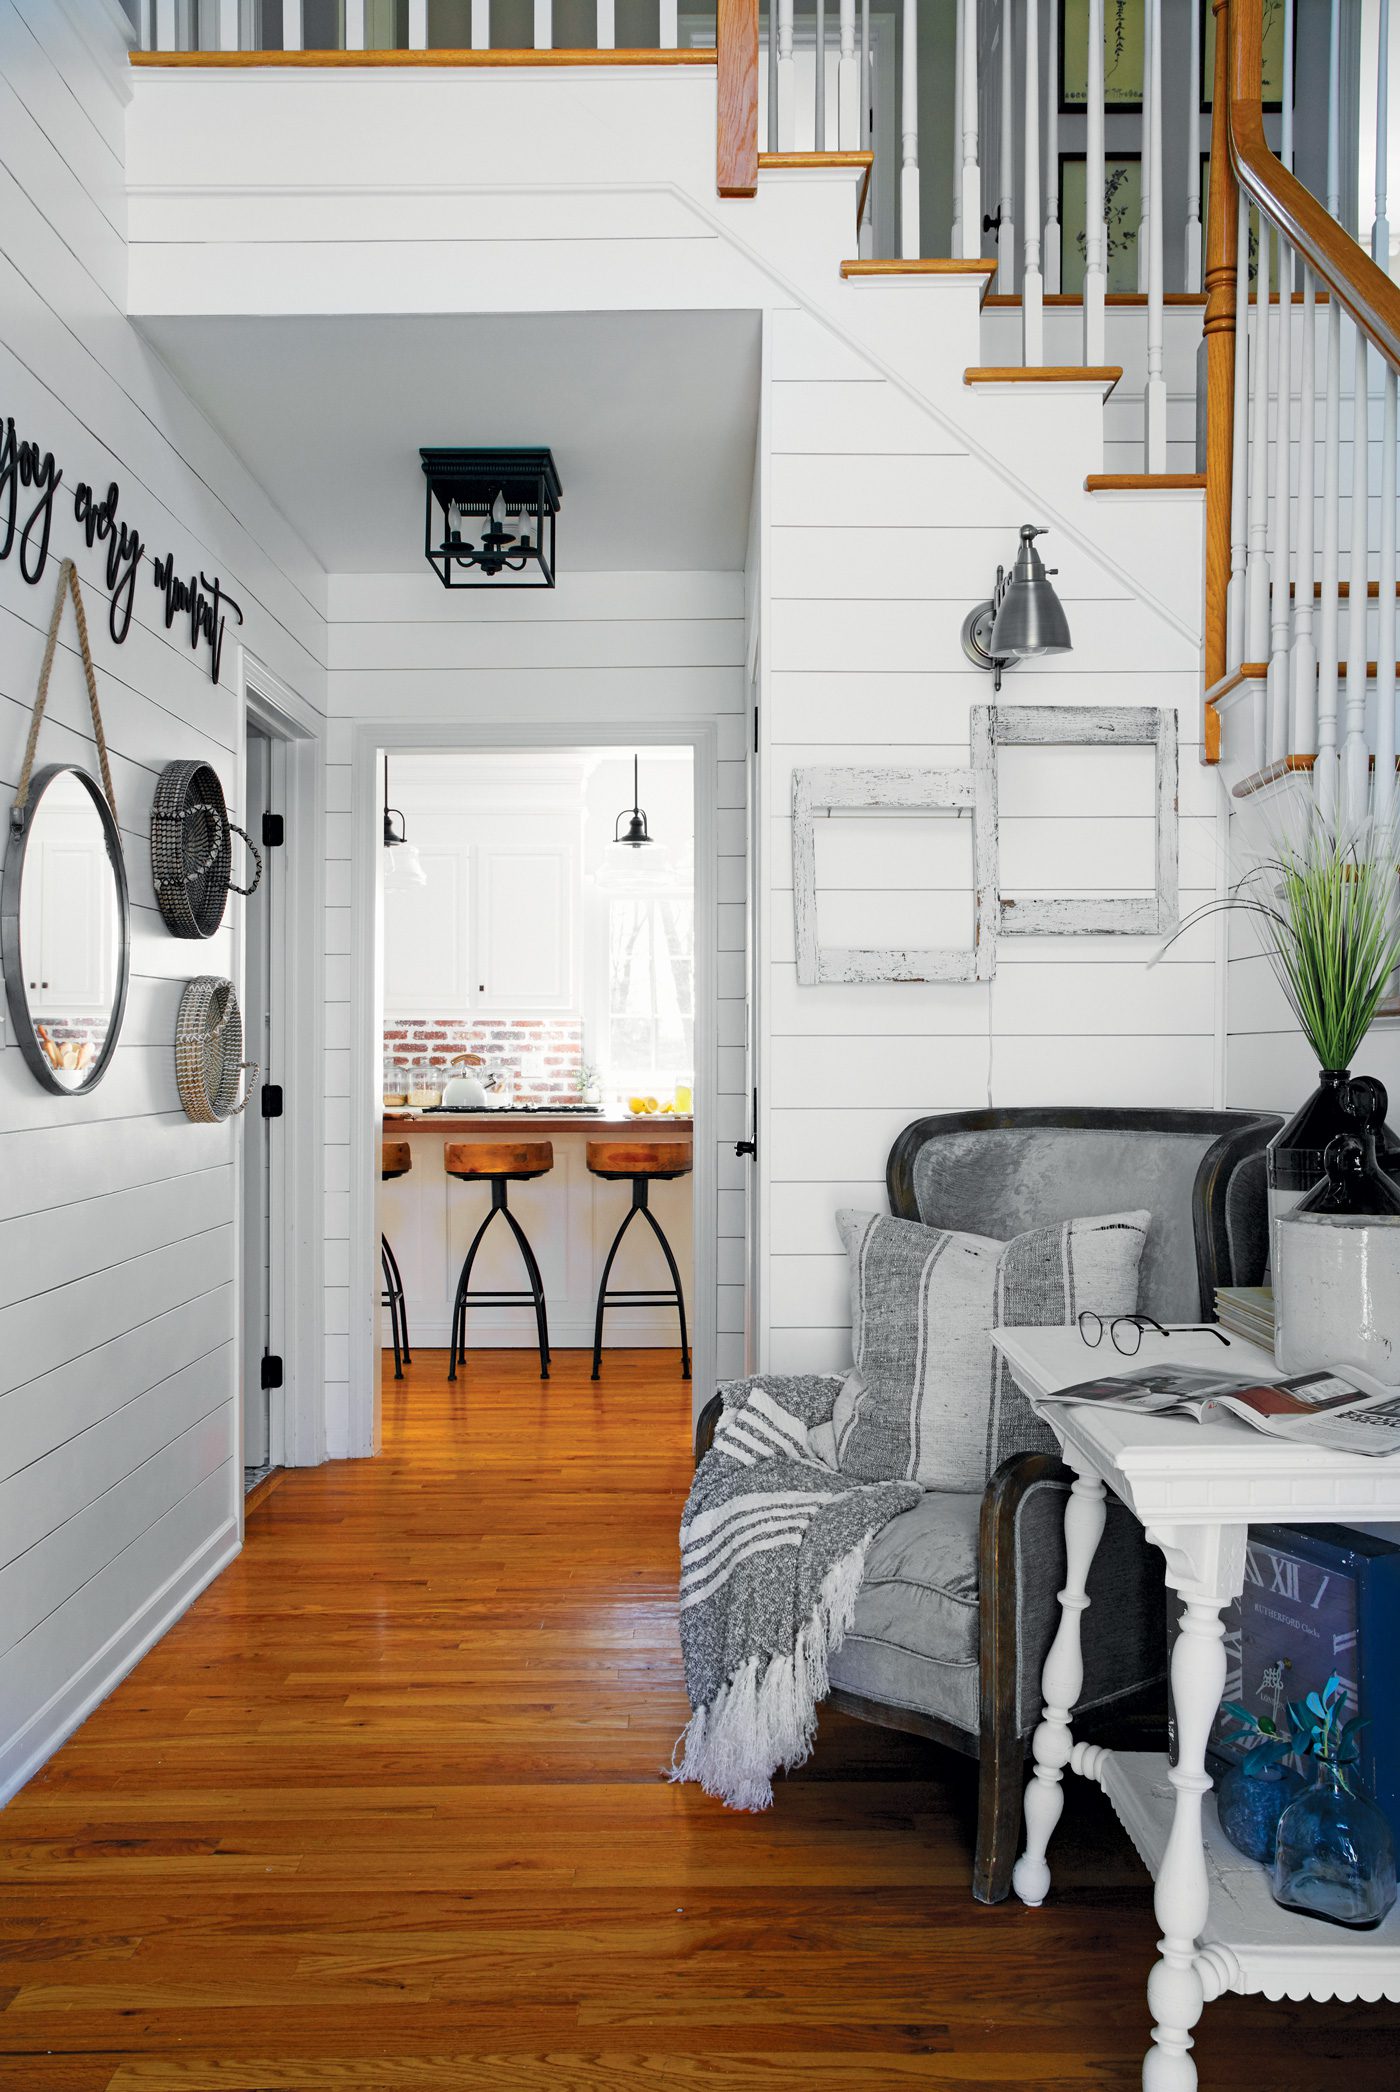

DIY shiplap is a great project for beginners, and is budget friendly too! Here’s how to get the look of custom wall paneling.
What You’ll Need:
- Plywood
- Sand paper
- Level
- Stud finder
- Nail gun and nails
- Liquid nails
- Spacers or nickels
- White paint of choice
What You’ll Do:
- First, measure your wall to determine how much plywood you need for your DIY shiplap. Once you have the plywood, rip it down into 6-inch strips, and sand the edges for a more finished look.
- Lay the first piece on top of your baseboard. If you don’t have a baseboard, start at the floor. Make sure it’s level.
- Once the piece is level, place liquid nails on the back, and nail them into the studs with a nail gun.
- Space your next board on top of the first one by using ¼-inch spacers. Alternatively, you can use nickels.
- Repeat all the way up to the ceiling to get the DIY shiplap look.
- Once your DIY shiplap wood is in place, paint the wall with several coats of white, waiting in between until each coat is completely dry.
Ready for another DIY project? Try this DIY for open shelves! And don’t forget to follow us on Instagram, Facebook and Pinterest for your daily dose of farmhouse inspiration!