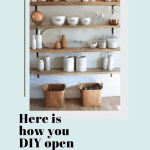


DIY Open Shelves


Add classic farmhouse style to your home with these DIY open shelves you can make in a few hours. Open shelves are both trendy and practical, and there are so many looks you can achieve with them.
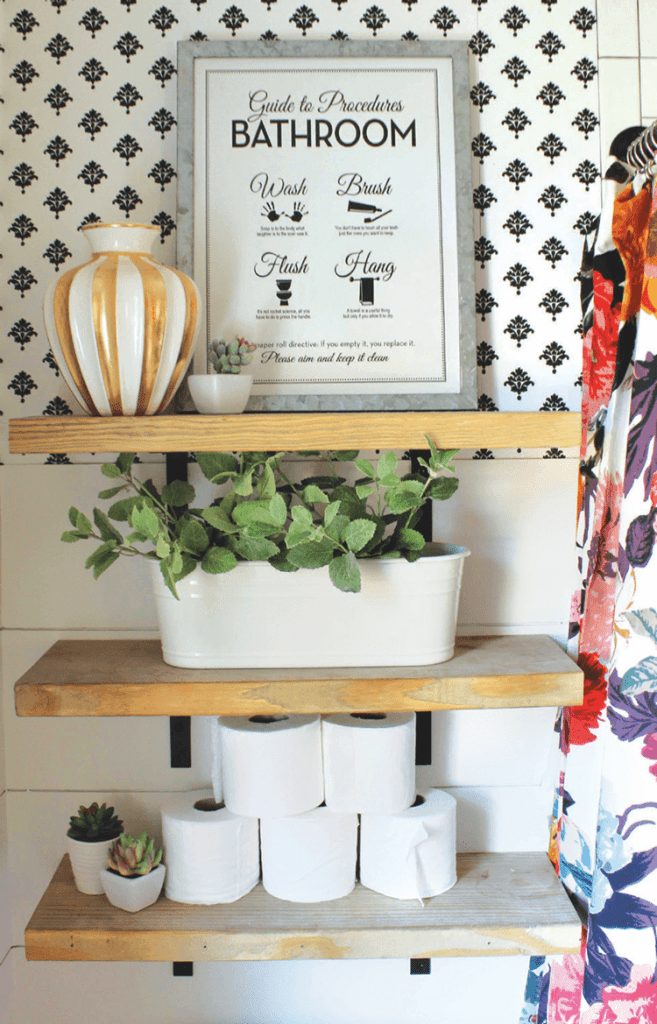
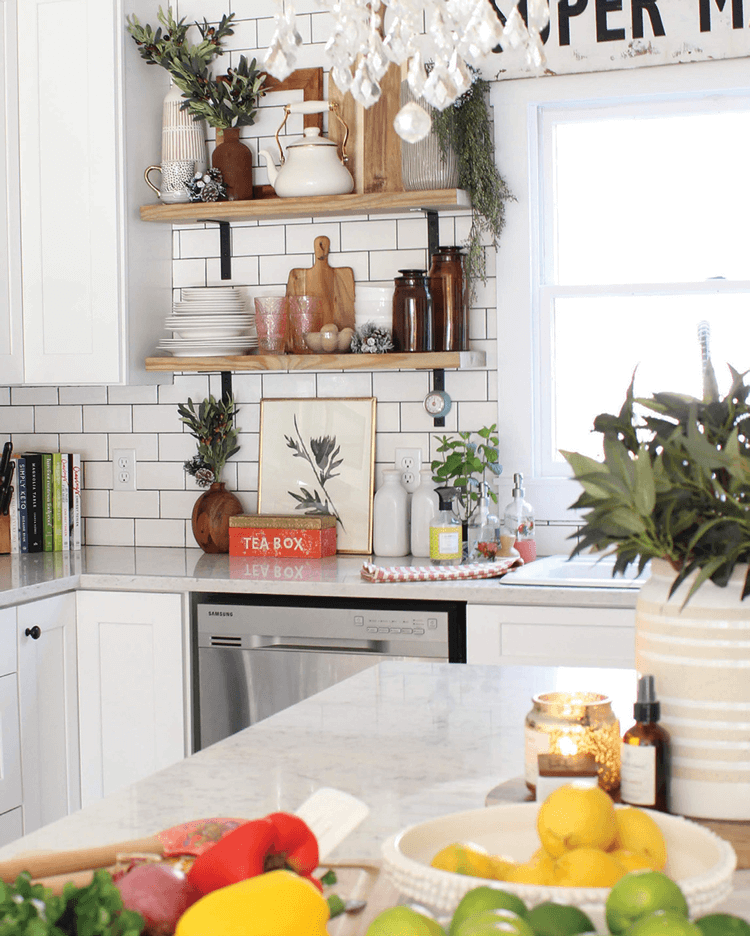
For blogger Rhiannon Lawson of Rhiannon Lawson Home, the project is a catch-all solution she and her family have used in several places in the kitchen and bathroom.
“It’s an incredibly easy, affordable DIY project with a big impact, and it’s tons of fun to decorate and display favorite items,” she says. Here’s how you can do the same.
Here at American Farmhouse Style, we absolutely love to share our finds from around the web with you! That being said, you may notice that some of the links in this article are affiliate links. This means that if you click through and make a purchase, AFS receives a small commission at no extra cost to you! Truly a win-win!
WHAT YOU’LL NEED:
- Measuring tape
- Stud finder tool
- 2×10-inch pine wood
- Hand or circular saw
- Sandpaper
- Stain of choice (used here: Minwax Weathered Oak)
- Paintbrush
- L brackets
- Black matte spray paint
- Pencil
- Level tool
- Drill
- Dry wall anchors (optional)
WHAT YOU’LL DO:
1. First, measure the area where you want the shelves. Use the stud finder to determine if you can secure the L brackets directly into the studs. If the area doesn’t have studs, you’ll need to get dry wall anchors to secure the shelves instead of regular nails.
2. Cut the wood to the length of your desired shelves.
3. To prep the wood, sand it lightly; then wipe it down. Paint on a coat of stain. Depending on the finished look you want, you can either sand again and paint more coats, or leave as is. “I’m often asked if we sand and add a clear coat, but we do neither,” Rhiannon says. “They clean and wipe well, and I was worried about it looking ‘shiny’ or too polished.”

4. Spray paint the L brackets and screws with black matte spray paint. Alternatively, you can buy L brackets in the color of your choice if you want to spend a bit more. “This was strictly a money-saving tactic,” Rhiannon says. “You can find them already finished black, but they cost much more.”
5. Position the top of the L brackets onto the bottom of the shelves, and drill in place. Then position the shelf on the wall and mark with a pencil. “Always be sure to check with a level and, if possible, screw your L brackets into studs,” Rhiannon says. Then drill either the screws or the dry wall anchors (followed by the screws) to secure the shelves.
“Always be sure to check with a level and, if possible, screw your L brackets into studs,” Rhiannon says. Then drill either the screws or the dry wall anchors (followed by the screws) to secure the shelves.
Go get started on your own DIY open shelves! If you’re still in the mood for some DIY projects, check out these DIY patterned tiles. And don’t forget to follow us on Instagram, Facebook and Pinterest for your daily dose of farmhouse inspiration!