


DIY Reclaimed Wood Wall
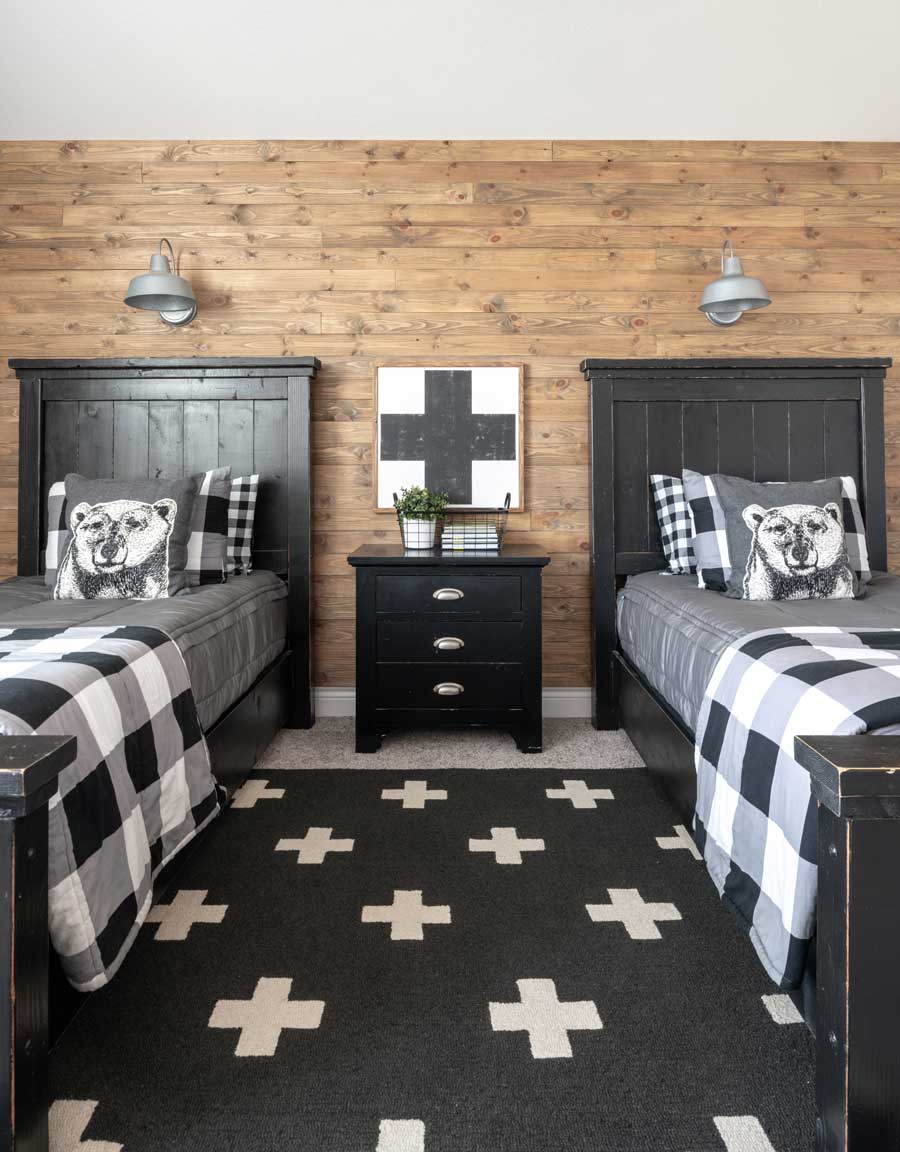

Reclaimed wood walls add the perfect farmhouse touch to any room, whether you want it for a hallway, nursery, bedroom or even your living room. This project is perfect for power tool beginners, so don’t let the lumber section of Home Depot intimidate you! Homeowner Holly Lauritzen created a stunning DIY reclaimed wood wall for her boys’ bedroom, and the result is both rustic and cozy. Here’s how you can do the same.
What You’ll Need:
- Wood of choice
- Cleaning agent, such as TSP
- Sponge or rags
- Primer and paint brush (optional)
- Miter or table saw
- Nail gun or brad nails and hammer
- Level tool
What You’ll Do:
- Clean the wall with your cleaning agent and sponge or rags to get rid of residual oils or dust.
- If you’re using pallet wood that may leave gaps, prime the wall first with a dark color like black so the gaps aren’t as noticeable. If you’re using pallet wood, you’ll also need to prep the wood itself by washing and sanding it.
- Lay your first few rows on the floor before you attach them to the wall. This way you can see the layout and cut any pieces on the edges of the wall.
- Starting at the bottom, secure the first row of wood to the wall. If you’re using prefinished wood such as Wall Concept, the product will come with double-sided floor tape to help you secure the wood in place. You can also use a nail gun or brad nails and a hammer to secure the wood.
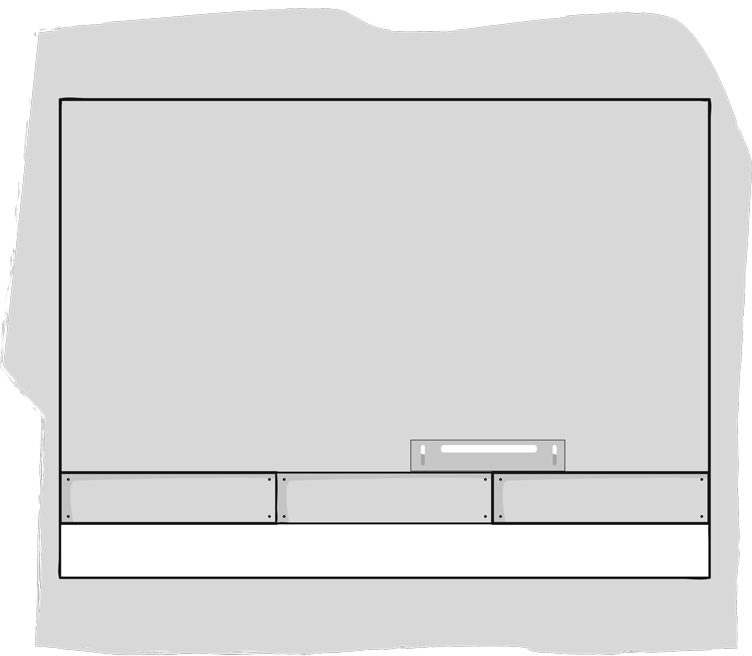
- Once you have the first row in place, check it with a level tool (refer to Illustration 1). Even a slight shift can make the whole wall look crooked, so don’t skip this step.
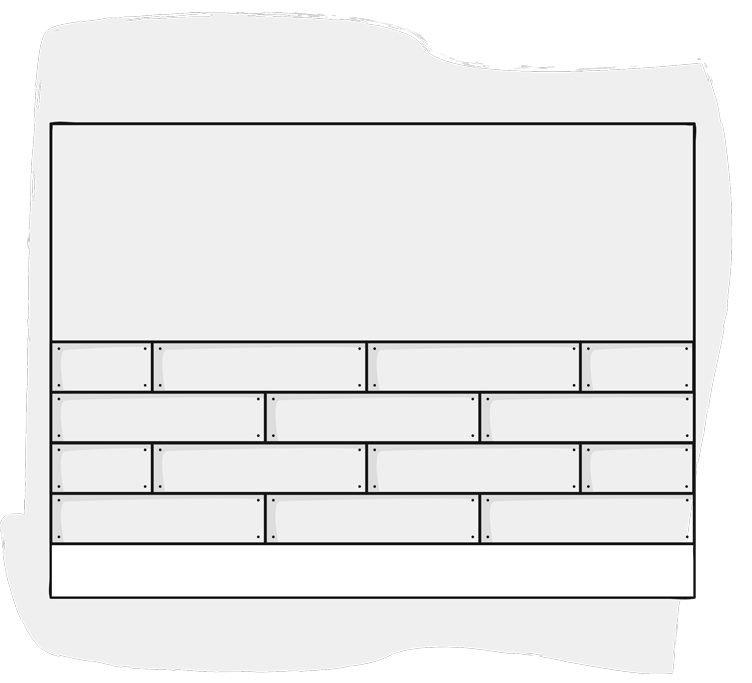
- Continue to work your way up the wall, checking with the level every few rows. Offset the pieces so the seams don’t line up—this will give you a more diversified and rustic look (refer to Illustration 2). Keep your saw handy so you can cut the edge pieces as you go.
- Finish working the rows of wood until the wall is covered, and enjoy.
Of course, don’t forget to follow us on Instagram, Facebook and Pinterest to get your daily dose of farmhouse inspiration!