


DIY Door Trim Makeover
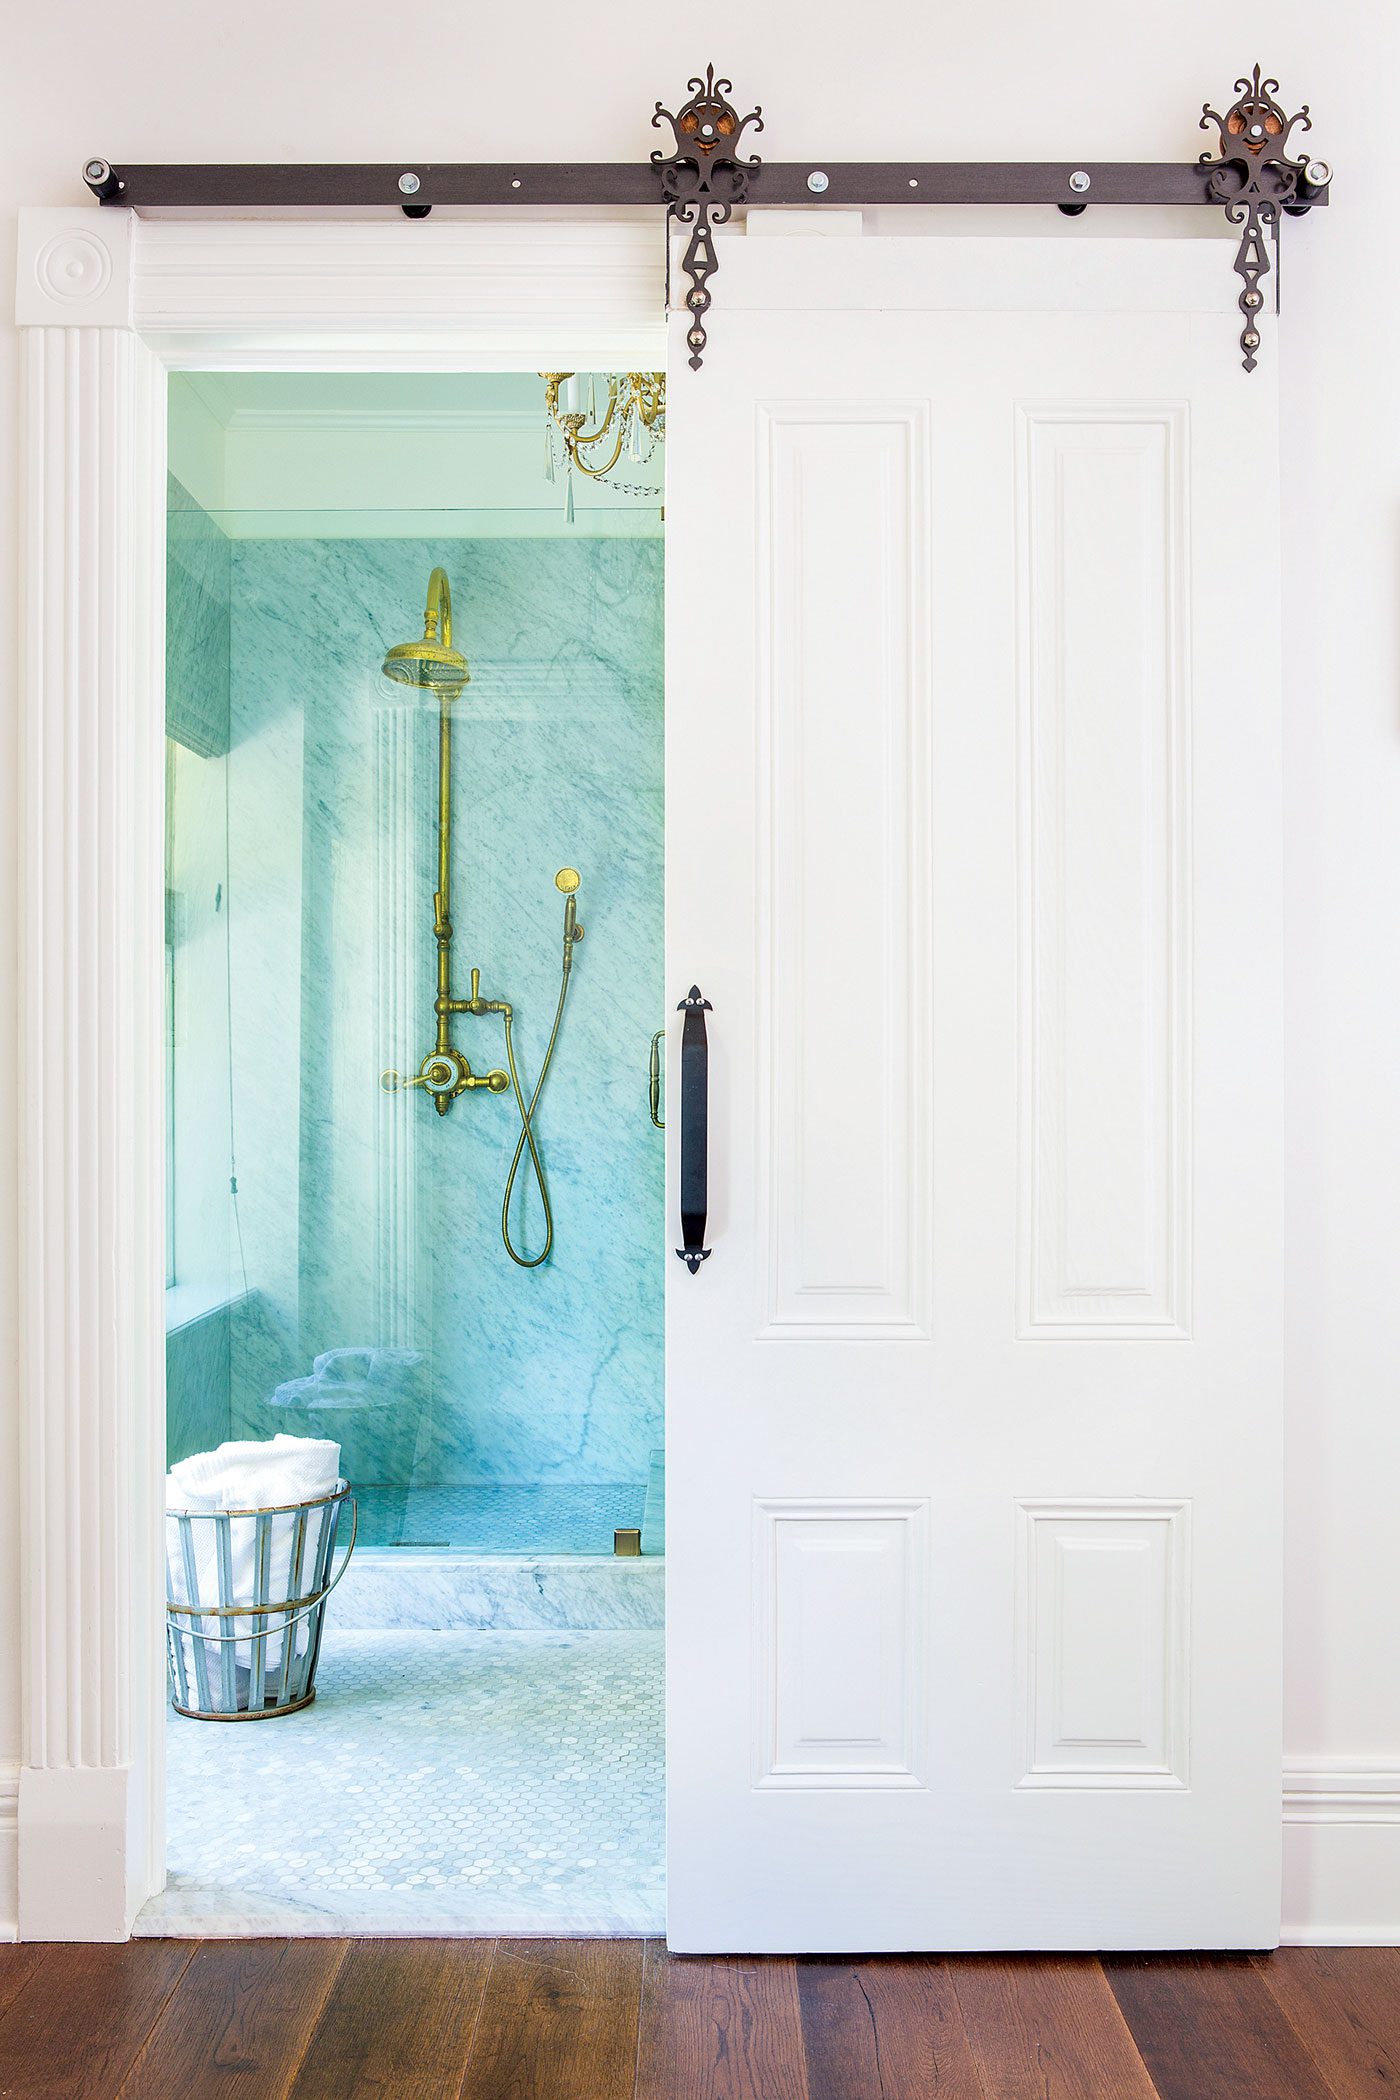
Image by Bret Gum

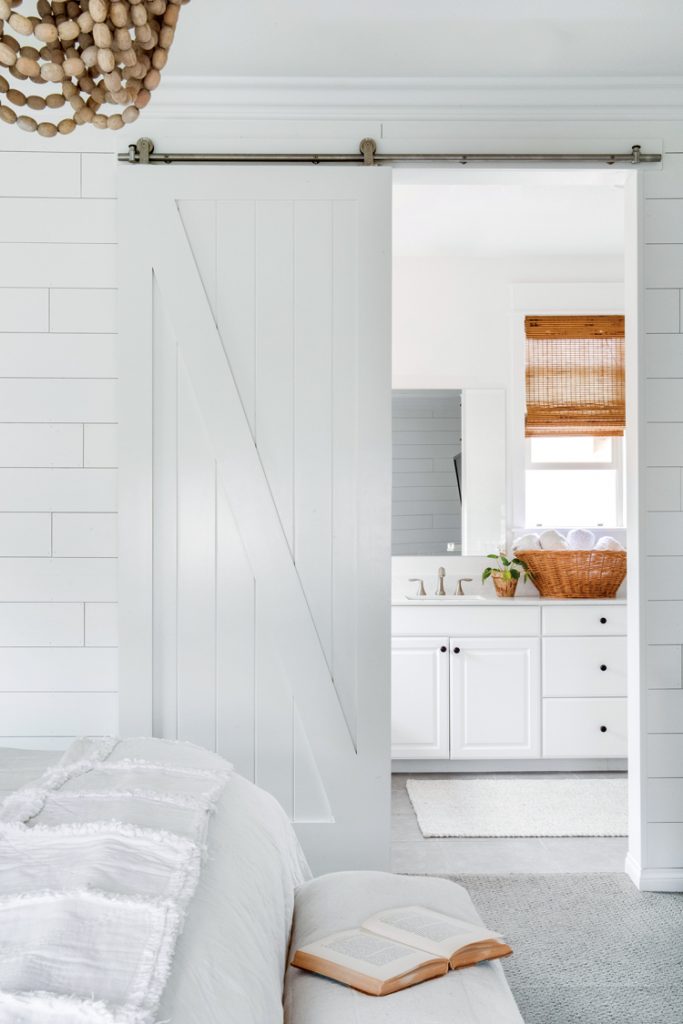
It can be tricky to add architectural features to your home without doing a major renovation. But don’t worry—there are small changes you can make to help get that custom farmhouse look. One of those ideas is to add door trim to your interior doors. This will make your basic, flat doors look textured and custom.
What You’ll Need:
- Graph paper and pencil
- TSP or another surface cleaner
- Decorative trim (or ¼” plywood if using the flat panel option)
- Chop saw or table saw
- Level
- Liquid nails and painter’s tape or nail gun and wood putty
- Caulk and caulk gun
- Caulk finishing tool
- Paint and paint brush
Note: We haven’t included specific dimensions for the cut panel pieces. There are many different sizes for interior doors, so you’ll need to measure and decide on those dimensions yourself.
What You’ll Do:
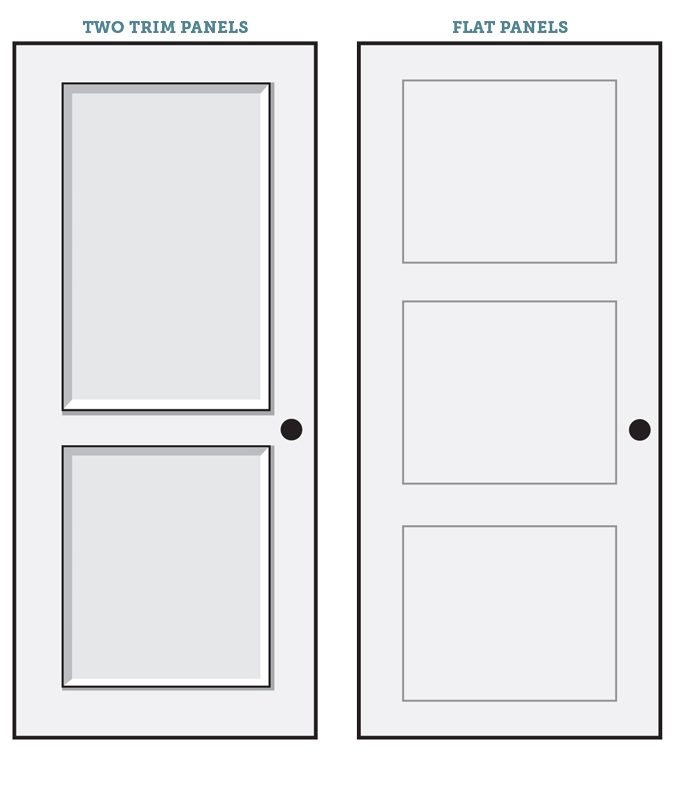
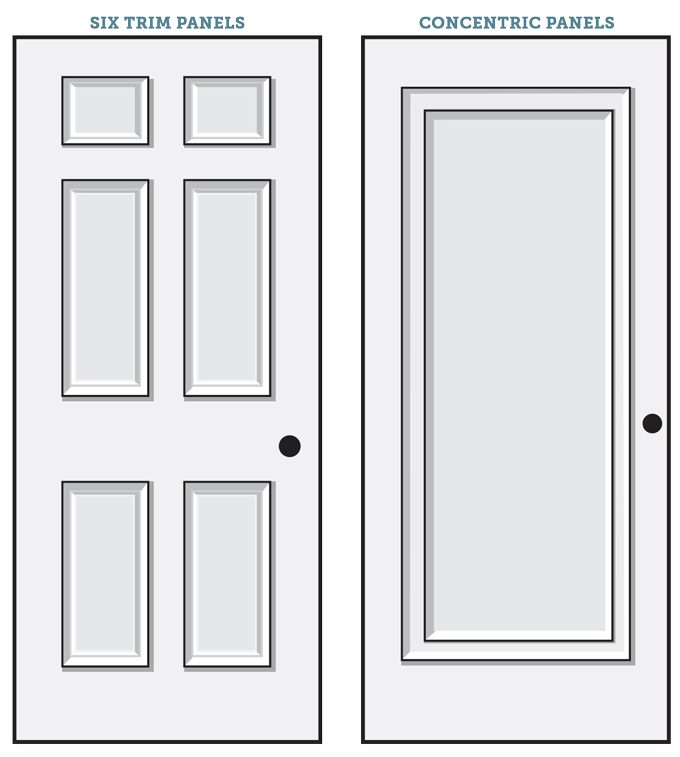
- First, use the graph paper and pencil to draw out the panels for your door. Decide how many panels you want (we’ve given you four different ideas here), and the dimensions you want for each. For the trim panels, you’ll add box shapes onto the door with decorative trim. For the flat panels, you’ll add ¼” plywood around the outside of the door to create the outsides of the boxes. Measure and remeasure to make sure you have the correct dimensions before buying and cutting the trim.
- Wash the door with TSP or another multi-surface cleaner. Wear gloves, and let the door dry completely.
- Cut the trim to size with the chop saw or table saw. If you’re using decorative trim, you may need to cut the pieces at a 45-degree angle to create a finished corner. Dry fit the panels to make sure you’ve cut the pieces correctly.
- For the flat panels: There’s an extra step for this panel option. You’ll need to cut a hole in one of the long panel pieces for the doorknob. Use a jigsaw or hole saw to do that.
- Attach the pieces to the door, using the level to make sure each piece is straight. If using liquid nails, keep the pieces in place as they dry with painter’s tape. If using a nail gun, fill the small nail holes with wood putty.
- Once the door is dry, fill all the edges (where the panels meet the door) with caulk, using the caulk finishing tool to smooth the beads of caulk. You’ll use a lot of caulk here—that’s fine. Filling all the edges will create a clean, finished look. Allow the caulk to dry completely.
- Paint the door the color of your choice and let it dry. Note that for the best finished look, either tape off or remove your doorknob, so you don’t accidentally get paint on it.
Tip: To add even more character to your doors, paint them a color that contrasts with the walls, and change out the doorknobs.
Ready to make your home look custom? Learn how to add the German schmear method to brick! And don’t forget to follow us on Instagram, Facebook and Pinterest for your daily dose of farmhouse inspiration!