DIY Felted Wool Pumpkins

Get creative this fall with felted wool pumpkins made from thrift-store sweaters.
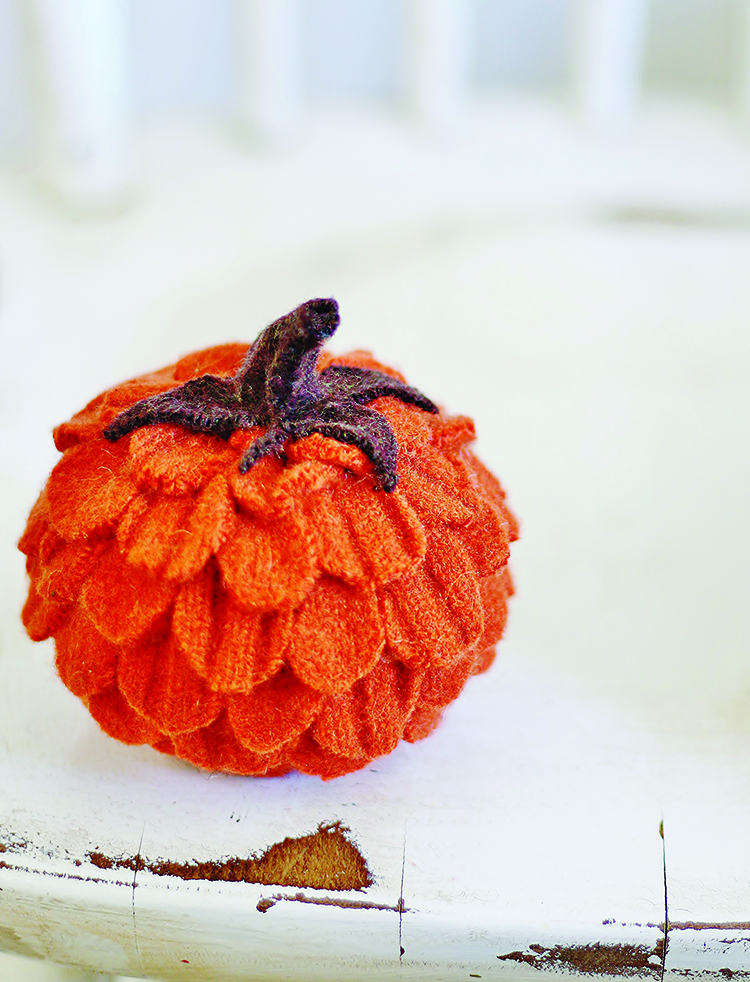
These festive bright orange pumpkins are the perfect accessory for your fall décor. This upcycling project uses a dollar-store pumpkin, felted wool and glue. The entire project costs about $5 (it’s even cheaper if you shop your closet) and takes only an afternoon to finish.
Here’s the step-by-step on how to create your very own felted wool pumpkins.

What You’ll Need:
Wool sweaters in brown and orange
Washer and laundry soap
Small StyrofoamTM pumpkins (check the dollar store)
Fabric scissors
Fabric glue or hot glue gun and glue
What You’ll Do:
Start with orange and brown wool sweaters. You may have one in your closet, or you may find one around the corner from you at a thrift store. Just pick your shade of pumpkin orange (or even another pumpkin-friendly color) and head to the washing machine.

Felt the wool sweater. Set your washer on the hottest, longest cycle you have, and add a small bit of laundry soap. Felting happens with the friction of the washer, so the longer the sweater is in the washer, the more felting will occur. Remember when your mother told you never to wash wool in the washer because it would shrink? That’s why we’re washing it here. The fibers of the sweater shrink and pull together—that’s when felting happens. You can also add an old pair of tennis shoes to help agitate the fibers.
Check the sweater after you take it out of the dryer. If the wool has tightened and shrunk in size with a rounded appearance, then you know your felted wool is done. You will now be able to cut the wool without the edges fraying.

For the pumpkin, start with a small StyrofoamTM pumpkin you can find at the dollar store. Remove the plastic stem from the top.
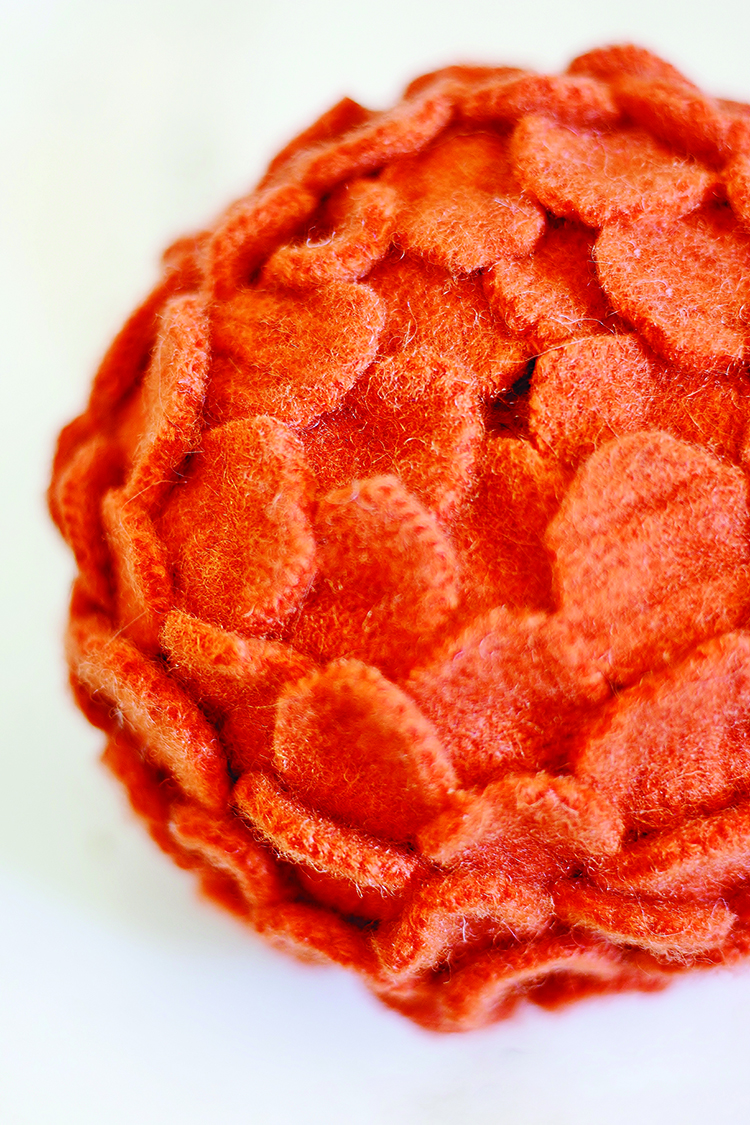
Cut out circles from your felted sweater. You’ll need approximately 50–75 2-inch felted circles for a small pumpkin like this. You can use a quarter as a template for the circles. Trace the circle onto the felted sweater and cut out the circles.
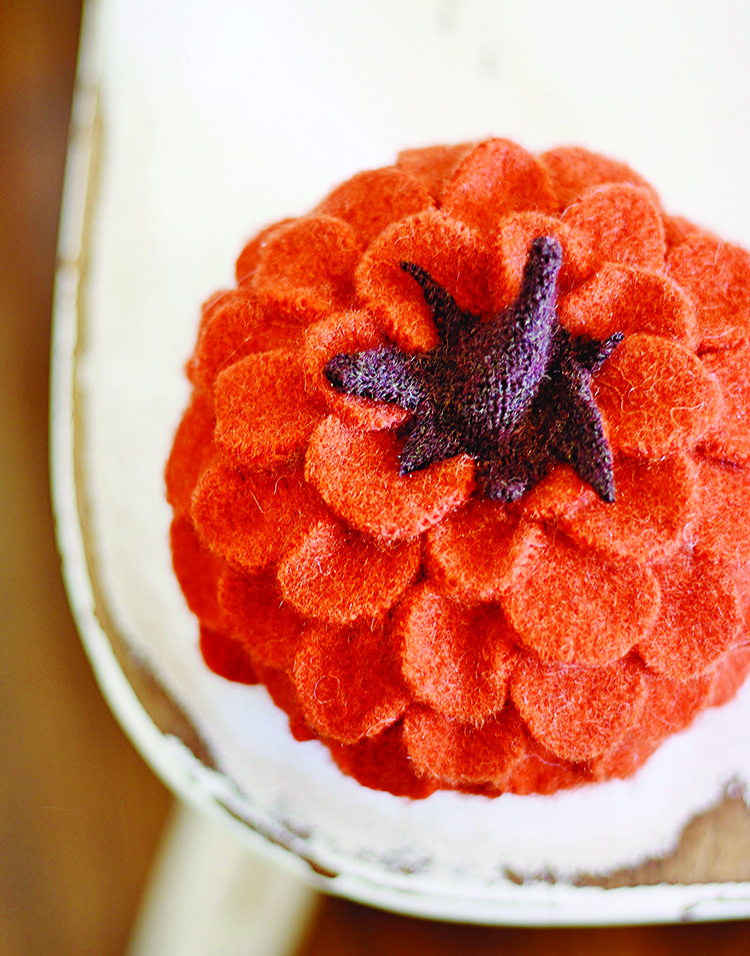
Starting at the bottom of the pumpkin, glue the circles onto the StyrofoamTM base in rows. Each row should overlap the previous circles. Keep gluing until you have completely covered the pumpkin.

To make the stem, cut out a star from the brown felted sweater. Glue it to the top of the pumpkin, covering the edges of the rows of circles. Next, roll a small tube to create a stem and glue it to the center of the pumpkin. Now your felted wool pumpkin is ready to add to your fall décor.

If you loved making these DIY felted wool pumpkins, check out our other DIY fall ideas such as How to Make a Lattice Pumpkin Wall DIY and Fall Farmhouse Style on a Budget. Of course, don’t forget to follow us on Instagram, Facebook and Pinterest to get your daily dose of farmhouse inspiration!


