

Refresh Your Walls with Wallpaper

Two experts share their insight on how to best use wallpaper in your next home project.
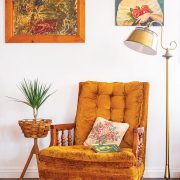
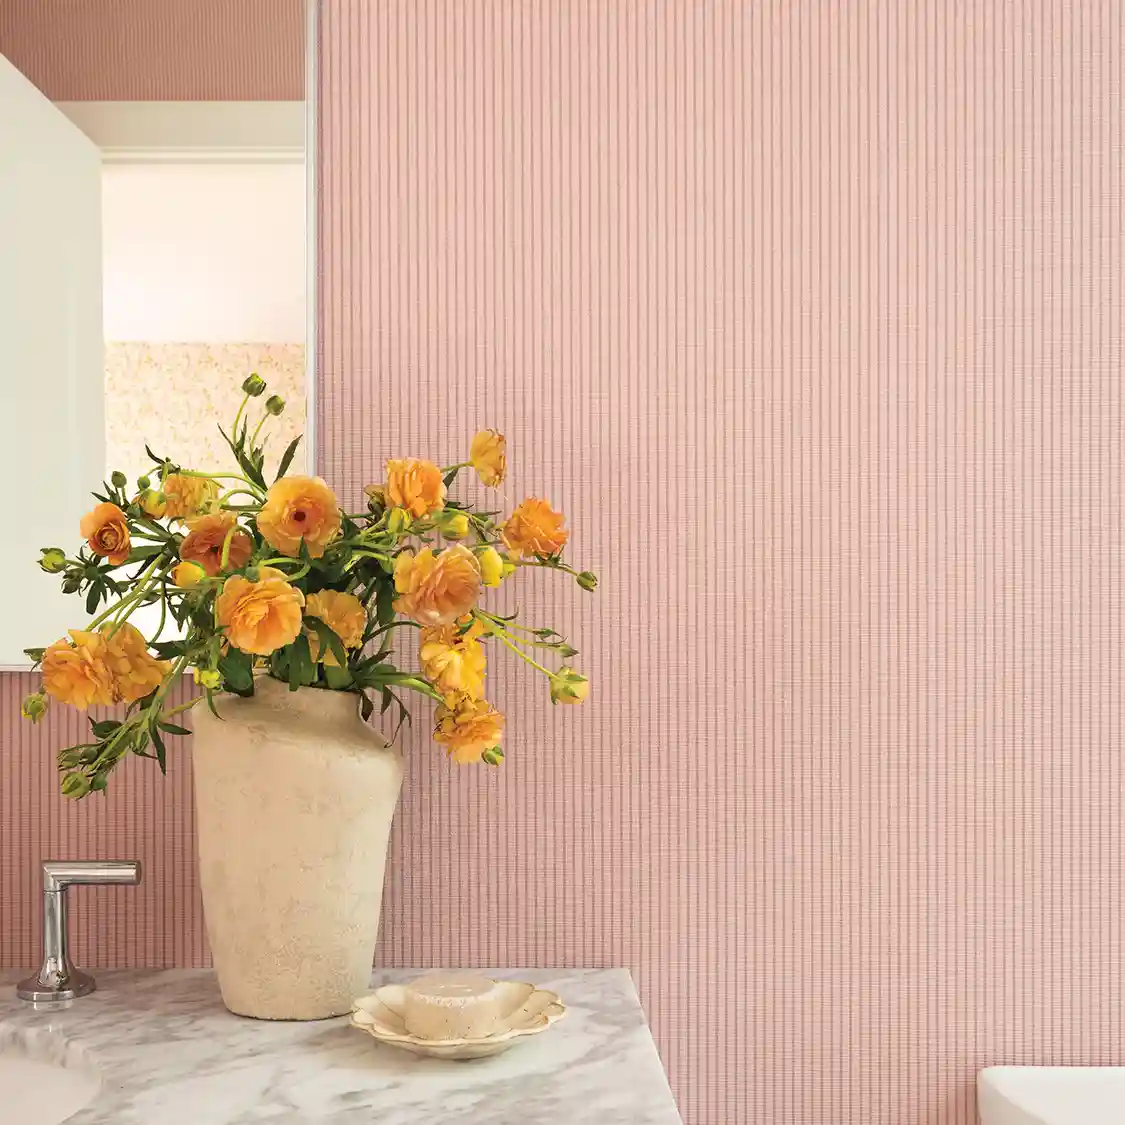
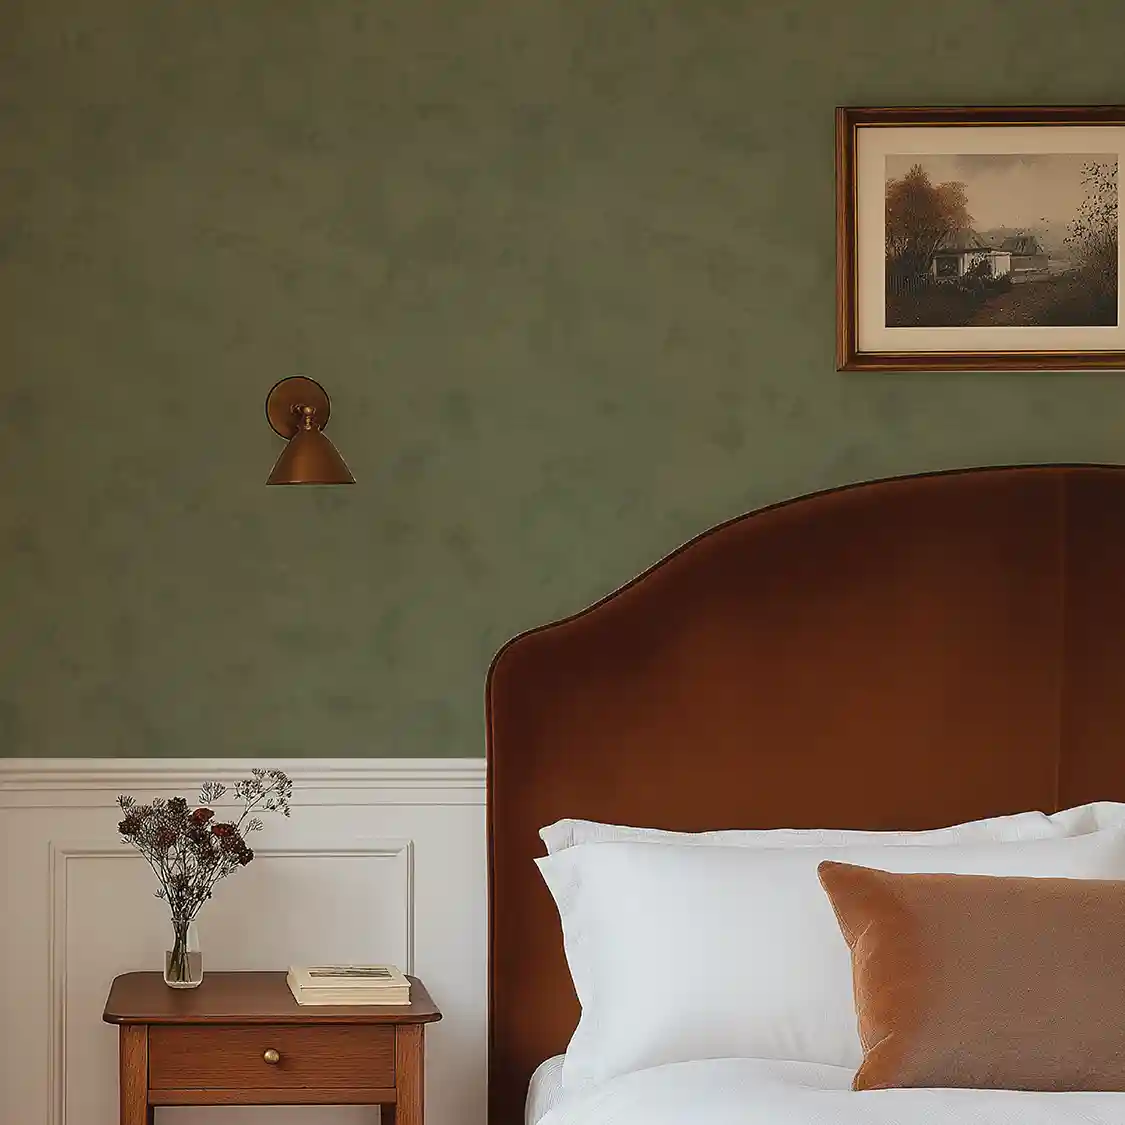
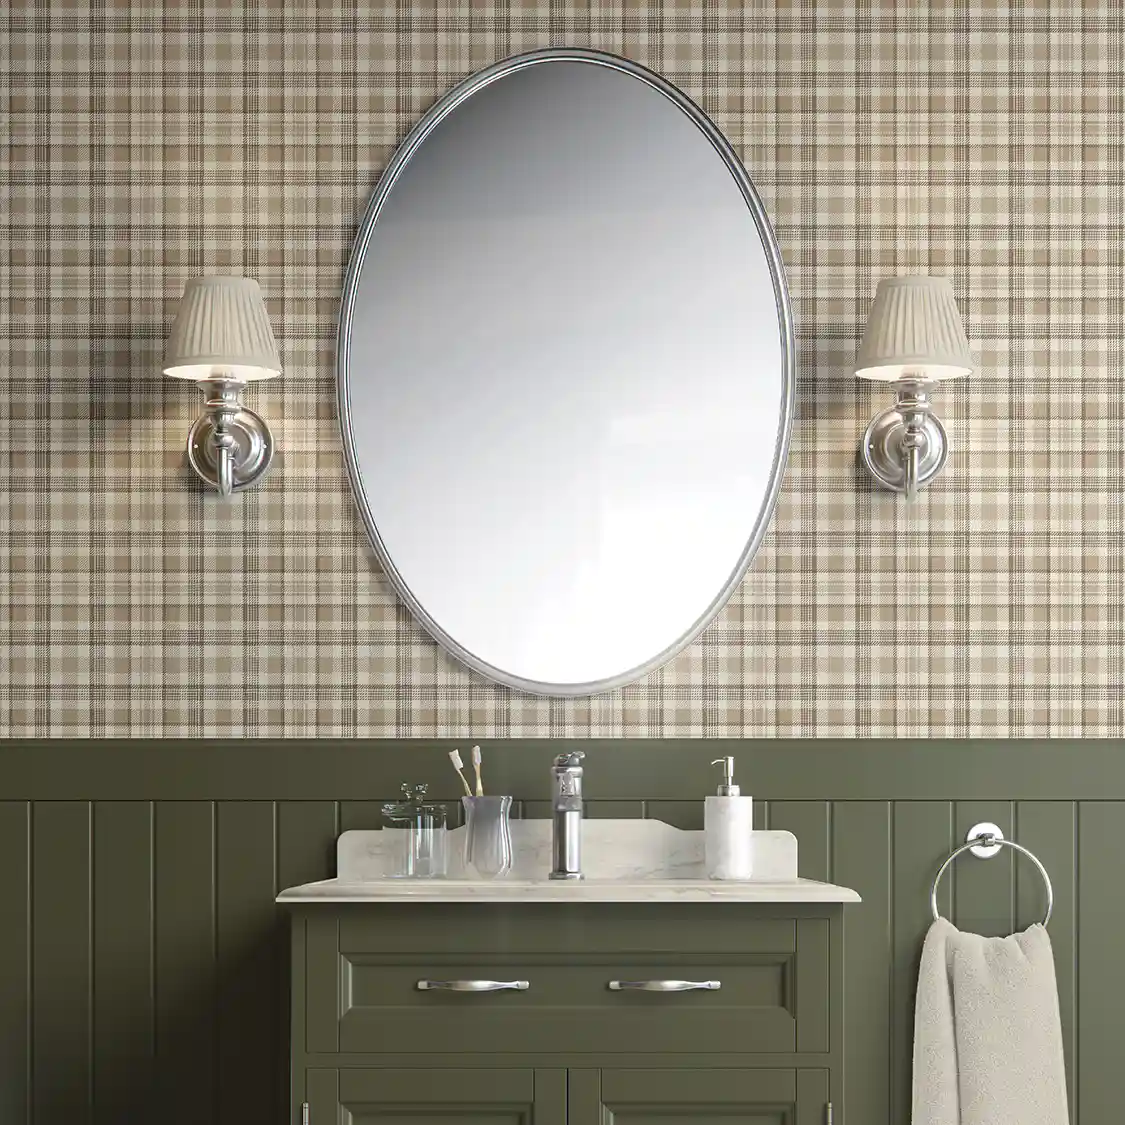
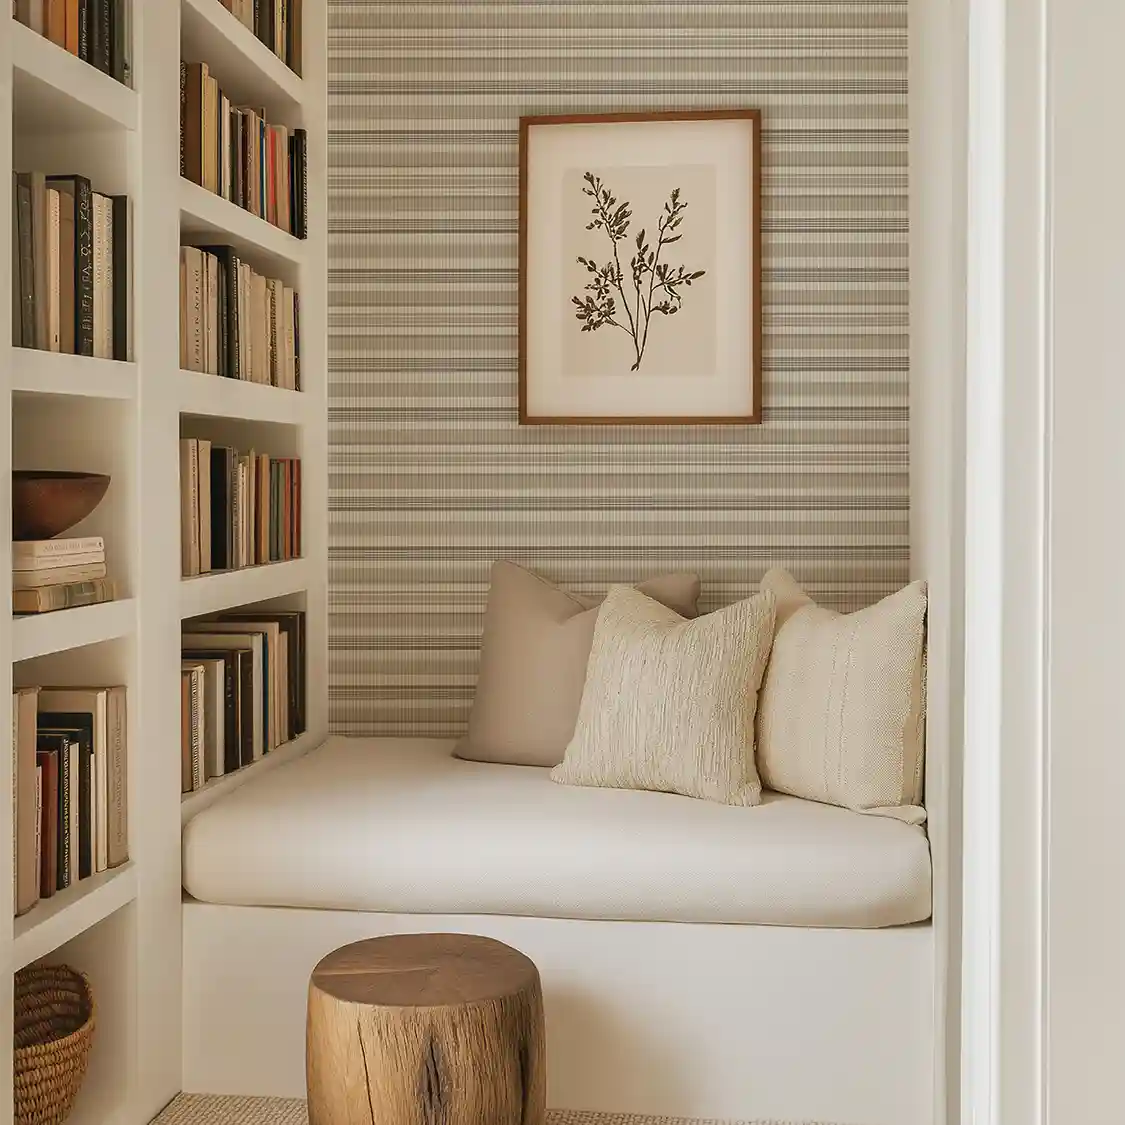
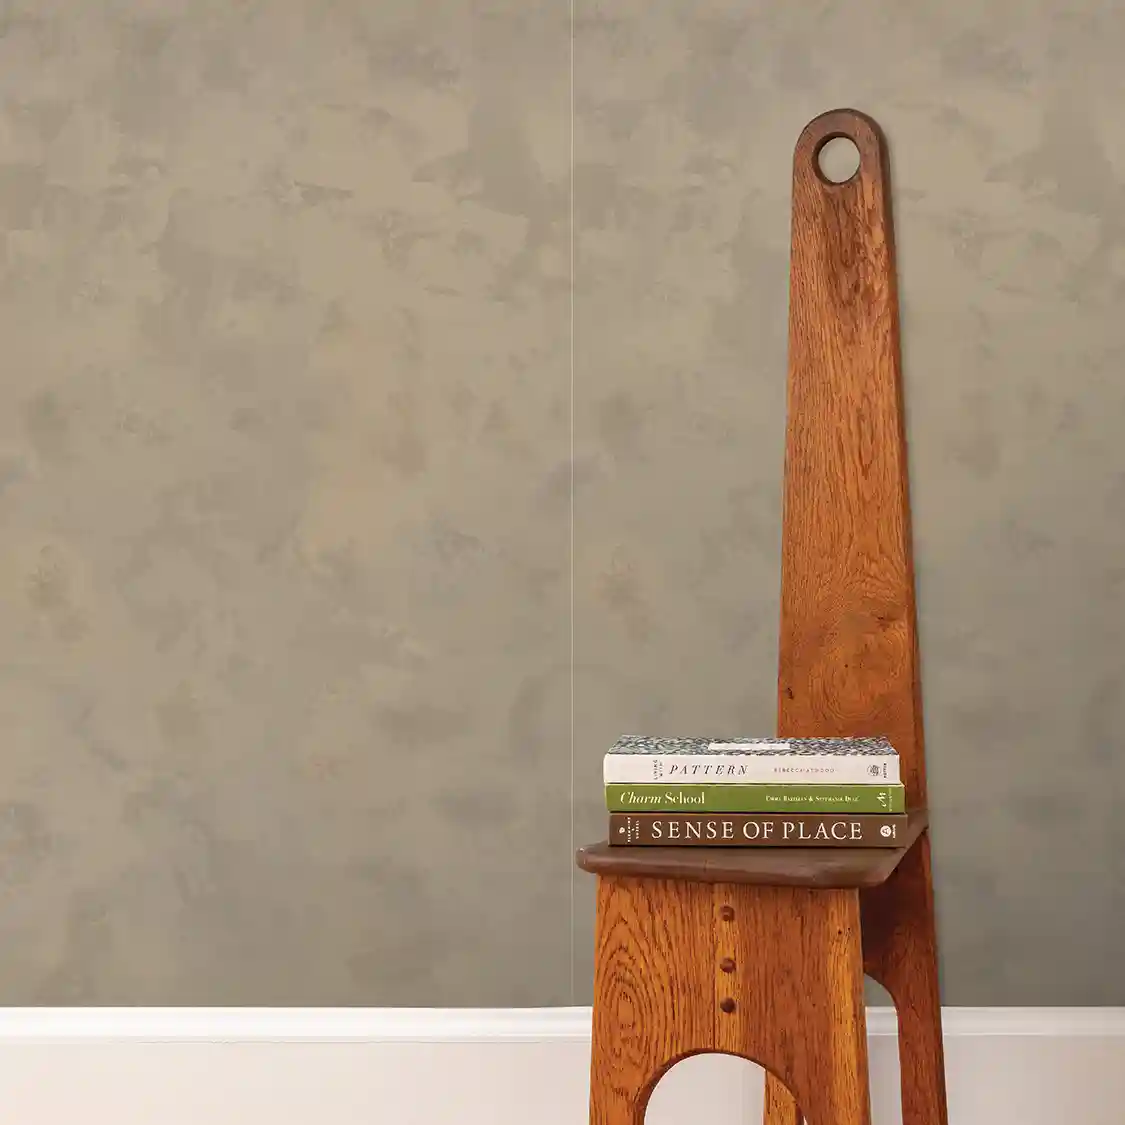
From powder rooms to entryways, how we choose to adorn our walls greatly impacts the look and feel of each room in our homes. While paint is the typical wall treatment of choice, wallpaper is another way to inject color, texture and patterns into any space. Bringing together thoughtful design and quality production, Far Studio and Chasing Paper collaborated to create a collection filled with rich and luxe textures and colors. Brittany Hakimfar, Founder and Lead Designer at Far Studio, and Elizabeth Rees, Founder at Chasing Paper, offer their insights into the selection process of wallpaper, and how to maximize its use in your home.
AFS: How can you use wallpaper to its best effect in home design?
Brittany Hakimfar: Wallpaper really adds the next layer to design. For instance, it can take a small space and make it feel like a jewelry box if you cover all the walls and ceiling with the wallpaper, or it can act as an accent in a larger room.
AFS: Could you share some ideas on how to incorporate different colors/patterns in your home design via wallpaper?
Brittany: This collection is a great way to incorporate subtle patterns and saturated colors into your space, which is something that I feel can be mixed and matched in a timeless way. Blending neutrals with textures and patterns never feels too overwhelming but can add a very special and unique quality to a space. It is always great to mix up the materials and use the grasscloth in some areas for an extra touch of texture! This never goes out of style!
AFS: What are the different types of wallpaper and how are they applied?
Elizabeth Rees: There are a few different types of wallpaper: self-adhesive (typically referred to as removable or peel-and-stick wallpaper), and traditional wallpaper that is either non-pasted or pre-pasted. Each type is available in a variety of substrates such as vinyl, fabric, traditional wallpaper and grasscloth, to name a few. Self-adhesive substrates typically have a backing that you remove to reveal a self-adhesive panel that then applies directly to the wall. Non-pasted substrates come without any adhesive incorporated and require adding wallpaper adhesive prior to applying it to the wall. Pre-pasted substrates typically feature an incorporated adhesive that requires adding water to activate prior to applying to the wall. Another element that will affect installation is whether or not the wallpaper comes in a continuous roll or is sold in pre-cut panels. If sold by the roll, you will need to trim the panels to align by hand. Pre-cut panels eliminate this step, as they should align perfectly upon receiving.
Applying Your Wallpaper
Designer Elizabeth Rees shares her tips and tricks on how to make the most out of your wallpaper, whether peel & stick, traditional non-pasted or traditional
prepasted.
Before You Begin:
Prep your walls by giving them a good wash. “Allow ample drying time after cleaning,” Elizabeth says. “After it is clean and dry, prime the surface with a wallpaper prime.”
You’ll need to create a plumb line before installing your wallpaper, since most walls do not make perfectly straight angles. “Start with a corner or straight line using your level and use your pencil to make small lines across the wall to keep the wallpaper panels straight as you work,” Elizabeth says. “If you are working with a panel or strip that covers the full height of the wall, create vertical plumb lines to work off of. If you are using panels that are shorter than the full height, use vertical and horizontal plumb lines that are the same size as the panel.”
You’ll want to give yourself some additional height when installing your wallpaper to reposition and trim as needed. “I recommend approximately two inches at the top and two at the bottom,” Elizabeth says.
Peel & Stick (Self-Adhesive)
Materials You’ll Need: Pencil, step ladder, wallpaper smoother, small pin, level or laser level, and a utility knife
“Peel the wallpaper from the backing about 6”-8” at a time and smooth it with your wallpaper smoothing tool (or hand). Once you reach the end of that section, peel back an additional 6”-8” and repeat down the length of the panel until fully installed. For smoothing, start from the center of the panel and smooth out to the edges. Ensure your panels are not overlapping but instead are placed seam-to-seam.”
“If any stubborn air bubbles pop up, use your pin to prick a small hole in the center of the air bubble. After the hole is created, smooth out the air bubble.”
“Once the panel is installed, use the ruler to create a tight seam at the top and bottom of the wall, and use the utility knife alongside the ruler to slowly trim the excess at the top and bottom in a straight line.”
“As you work across the wall, repeat the process of smoothing and trimming the wallpaper strips until the project is completed.”
Traditional (Non-Pasted)
Materials You’ll Need: A soft bristle roller brush, a seam roller, a sponge, wallpaper adhesive, a smoothing tool, a drop cloth or tarp, and a step ladder
“If you are using a continuous roll, cut your first strip. When creating your strip, ensure you have enough to align it with the next strip or previously installed strip for a patterned wallpaper. If you are using wallpaper with pre-cut panels, they should align perfectly.”
“Using the roller brush, apply the wallpaper adhesive directly to the surface that the panel will be adhered to, or onto the panel backing.”
“Start at the top of the wall while aligning the edge with the plumb line you made previously, ensuring you leave the excess height at the top and bottom of the wall for ease of trimming.”
“Once aligned, smooth the panel onto the surface, starting from the center and moving outward toward the edges. Ensure you use ample paste, as this will allow you to slide the wallpaper panel into alignment with the previous panel more easily. Once two strips/panels are installed next to each other, use your seam roller to apply pressure directly onto the seam between the two to ensure the seams are evenly adhered to the wall.”
“If any excess adhesive appears on the surface, use your damp sponge to gently wipe it away.”
“Once the panel is installed, use the ruler to create a tight seam at the top and bottom of the wall, and use the utility knife alongside the ruler to slowly trim the excess at the top and bottom in a straight line.”
“As you work across the wall, repeat the process of smoothing and trimming the wallpaper strip, and ensure you double-check the pattern alignment when trimming a new panel.”
Traditional (Pre-Pasted)
Materials You’ll Need: Tape measure, ruler, level or laser level, pencil, utility knife or wallpaper scissors, sponge, bucket with clean water, smoothing tool or wallpaper brush, drop cloth or tarp, a seam roller, and a step ladder.
“If you are using a continuous roll, cut your first strip. When creating your strip, ensure you have enough to align it with the next strip or previously installed strip for a patterned wallpaper. If you are using wallpaper with pre-cut panels, they should align perfectly.”
“Put the surface of your strip face down. Wet your sponge and soak the back of the strip. If you have a large enough bucket, you can also roll the panel up and immerse it completely for 30 seconds.”
“Once the wallpaper is sufficiently wet, “book” the strip by folding the top half down to the middle and the bottom half up to the middle, ensuring that the paste sides are brought together. Allow the strip to stay this way for 2-3 minutes, as it allows the adhesive to activate.”
“With your first panel, start at the top of the wall while aligning the edge with the plumb line you made previously, ensuring you leave the excess height at the top and bottom of the wall for ease of trimming.”
“Using your smoothing tool or the sponge, gently smooth the wallpaper starting from the center and moving toward the edges. Starting from the center and moving outward will aid with removing any air bubbles or wrinkles. Once two strips/panels are installed next to each other, use your seam roller to apply pressure directly onto the seam between the two to ensure the seams are evenly adhered to the wall.”
“As you smooth, you may find that excess adhesive is pushed out from under the panel. Use your damp sponge to gently wipe away any excess adhesive along the seams or on the top of the wallpaper.”
“Once the panel is installed, use the ruler to create a tight seam at the top and bottom of the wall, and use the utility knife alongside the ruler to slowly trim the excess at the top and bottom in a straight line.”
“As you work across the wall, repeat the process of smoothing and trimming the wallpaper strip, and ensure you double-check the pattern alignment when trimming a new panel.”
Looking for more wallpaper inspiration? Find more ideas for Wallpaper Statement Walls. Of course, don’t forget to follow us on Instagram, Facebook and Pinterest to get your daily dose of farmhouse inspiration.