


DIY Christmas Tree with Vintage Fabric


“O Christmas Tree, O Christmas Tree, how lovely are thy branches.” Now this DIY Christmas tree is not your traditional tree, with glass ornaments and the sweet smell of pine. Instead, it’s made entirely with scraps of fabric and an old crib mattress spring! Vintage-style fabrics lend this project the perfect farmhouse feel, and the old crib mattress offers an excellent rustic palette for a Christmas masterpiece. This DIY Christmas tree project is so easy, quick and fun for all! Who knew that a few rags could be transformed into a glorious Christmas tree?

What You’ll Need:
- 5 different holiday-themed fabrics of your choice, 2 yards each
- Fabric scissors
- Old crib mattress spring
- Tree topper of your choice

What You’ll Do:
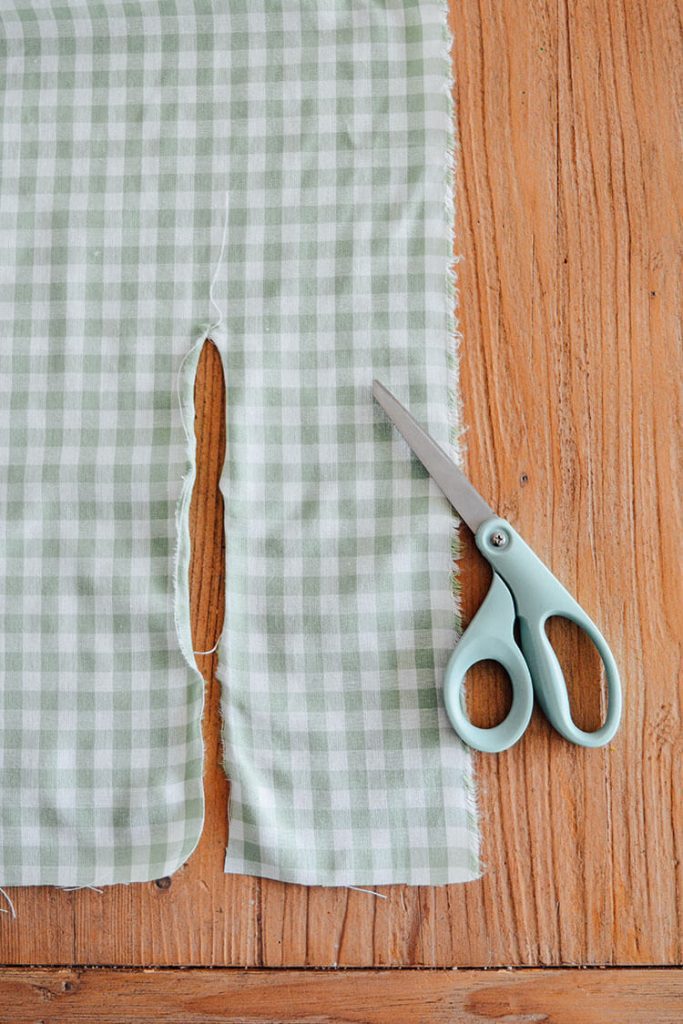
1. Cut or tear the fabric into 5-inch strips. Cut one end of the fabric and tear the rest to give it a frayed edge. This will keep the grain lines straight too.
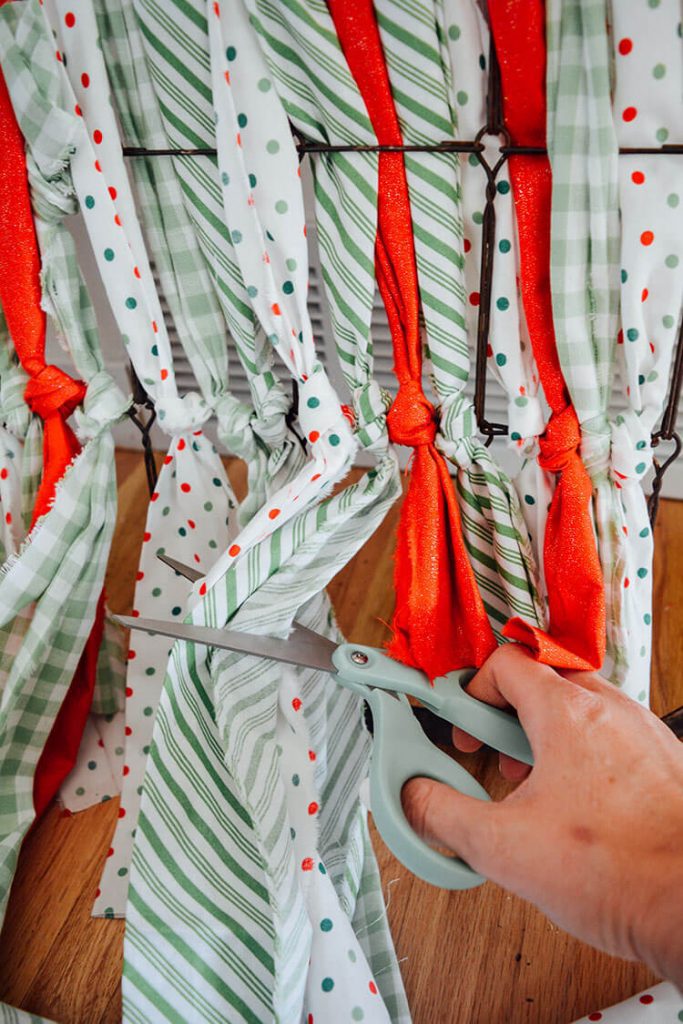
2. Tie five strips at the center column on the top of the crib mattress spring, and weave down through the wire to create the base of the tree shape.

3. Tie two more strips on the second row in the center column and weave them down.
4. Tie four strips on the third row, two strips on the fourth row, and two strips on the fifth row. Weave these down the crib mattress spring.

5. On the fifth row, add two more strips just to the outside of the center column, and to the sixth row, two more strips to the center column.
6. Add a few shorter pieces to the outside to fill in the gaps and add “ornaments” with your knots.


7. Trim the bottom so that all the strips are even and clean up any loose strings.
8. Add a tree topper of your choice!
Courtney Vettel is a wife, mom and the blogger behind The Vettel Farm. She’s all about cooking, crafting, creating and collecting, and her North Dakota farmhouse is full of vintage and vintage-inspired farmhouse decor! Come say hi on her blog or through her Instagram account.