Christina Cooney
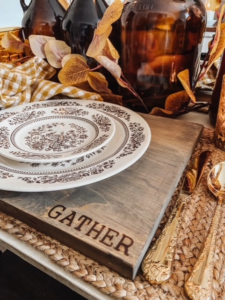
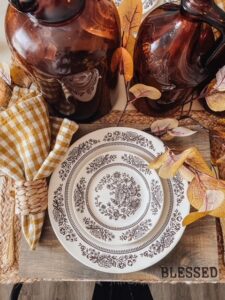
With the holidays approaching now is the perfect time to get those festive tablescapes ready for all your special family gatherings! This year I wanted to add some natural elements and personalization to my holiday tablescapes, so I made this super easy DIY wood burned charger.
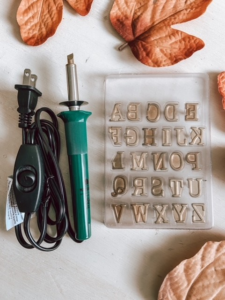
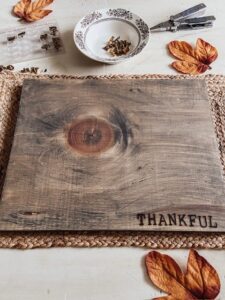
I started by going to my local hardware store and picking up a 1×12 6ft board, some wood stain, and sand paper. I then stopped by Hobby Lobby and picked up a wood burning tool, and some interchangeable letters. This part may sound a little intimidating but oddly enough it is super easy to use, much like a hot glue gun and comparable in price.
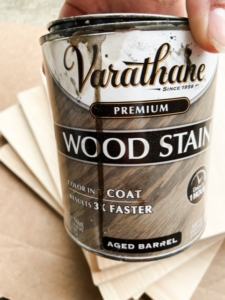
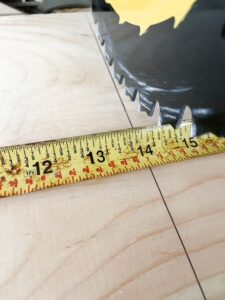
I then cut my 6ft board into 14” pieces note – one 6ft board will make 5 chargers. If you don’t have a miter saw or jig saw available, Home Depot or Lowe’s can make those cuts for you. After all boards were cut I used 180 grit sand paper to sand each piece down, then stained with Aged Walnut by Varathane which you can find at your local Home Depot store.
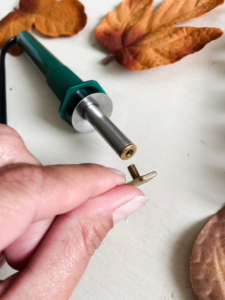
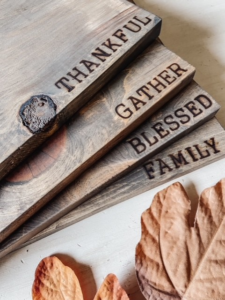
After the stain was dry I heated up the wood burner then started to burn thankful, gathered, and blessed into the bottom right corner of the charger. Like I stated earlier the wood burner tool is very simple to use, each letter just screws on and off. I suggest using needle nose pliers to prevent any burns, and to have a small dish handy to avoid any blemishes to your work surface.
What’s great about this DIY the placement of the letters is all personal preference, along with the customization! I loved this DIY so much I plan to burn Merry, Cheer, and Joy on the back so I can flip them over and use at Christmas. You can also make it even more personal by burning the names of each guest into the charger instead of using a name card.
This is such an easy DIY! One your kids can help with, and definitely a DIY that the not so average crafter can execute! Happy crafting!
